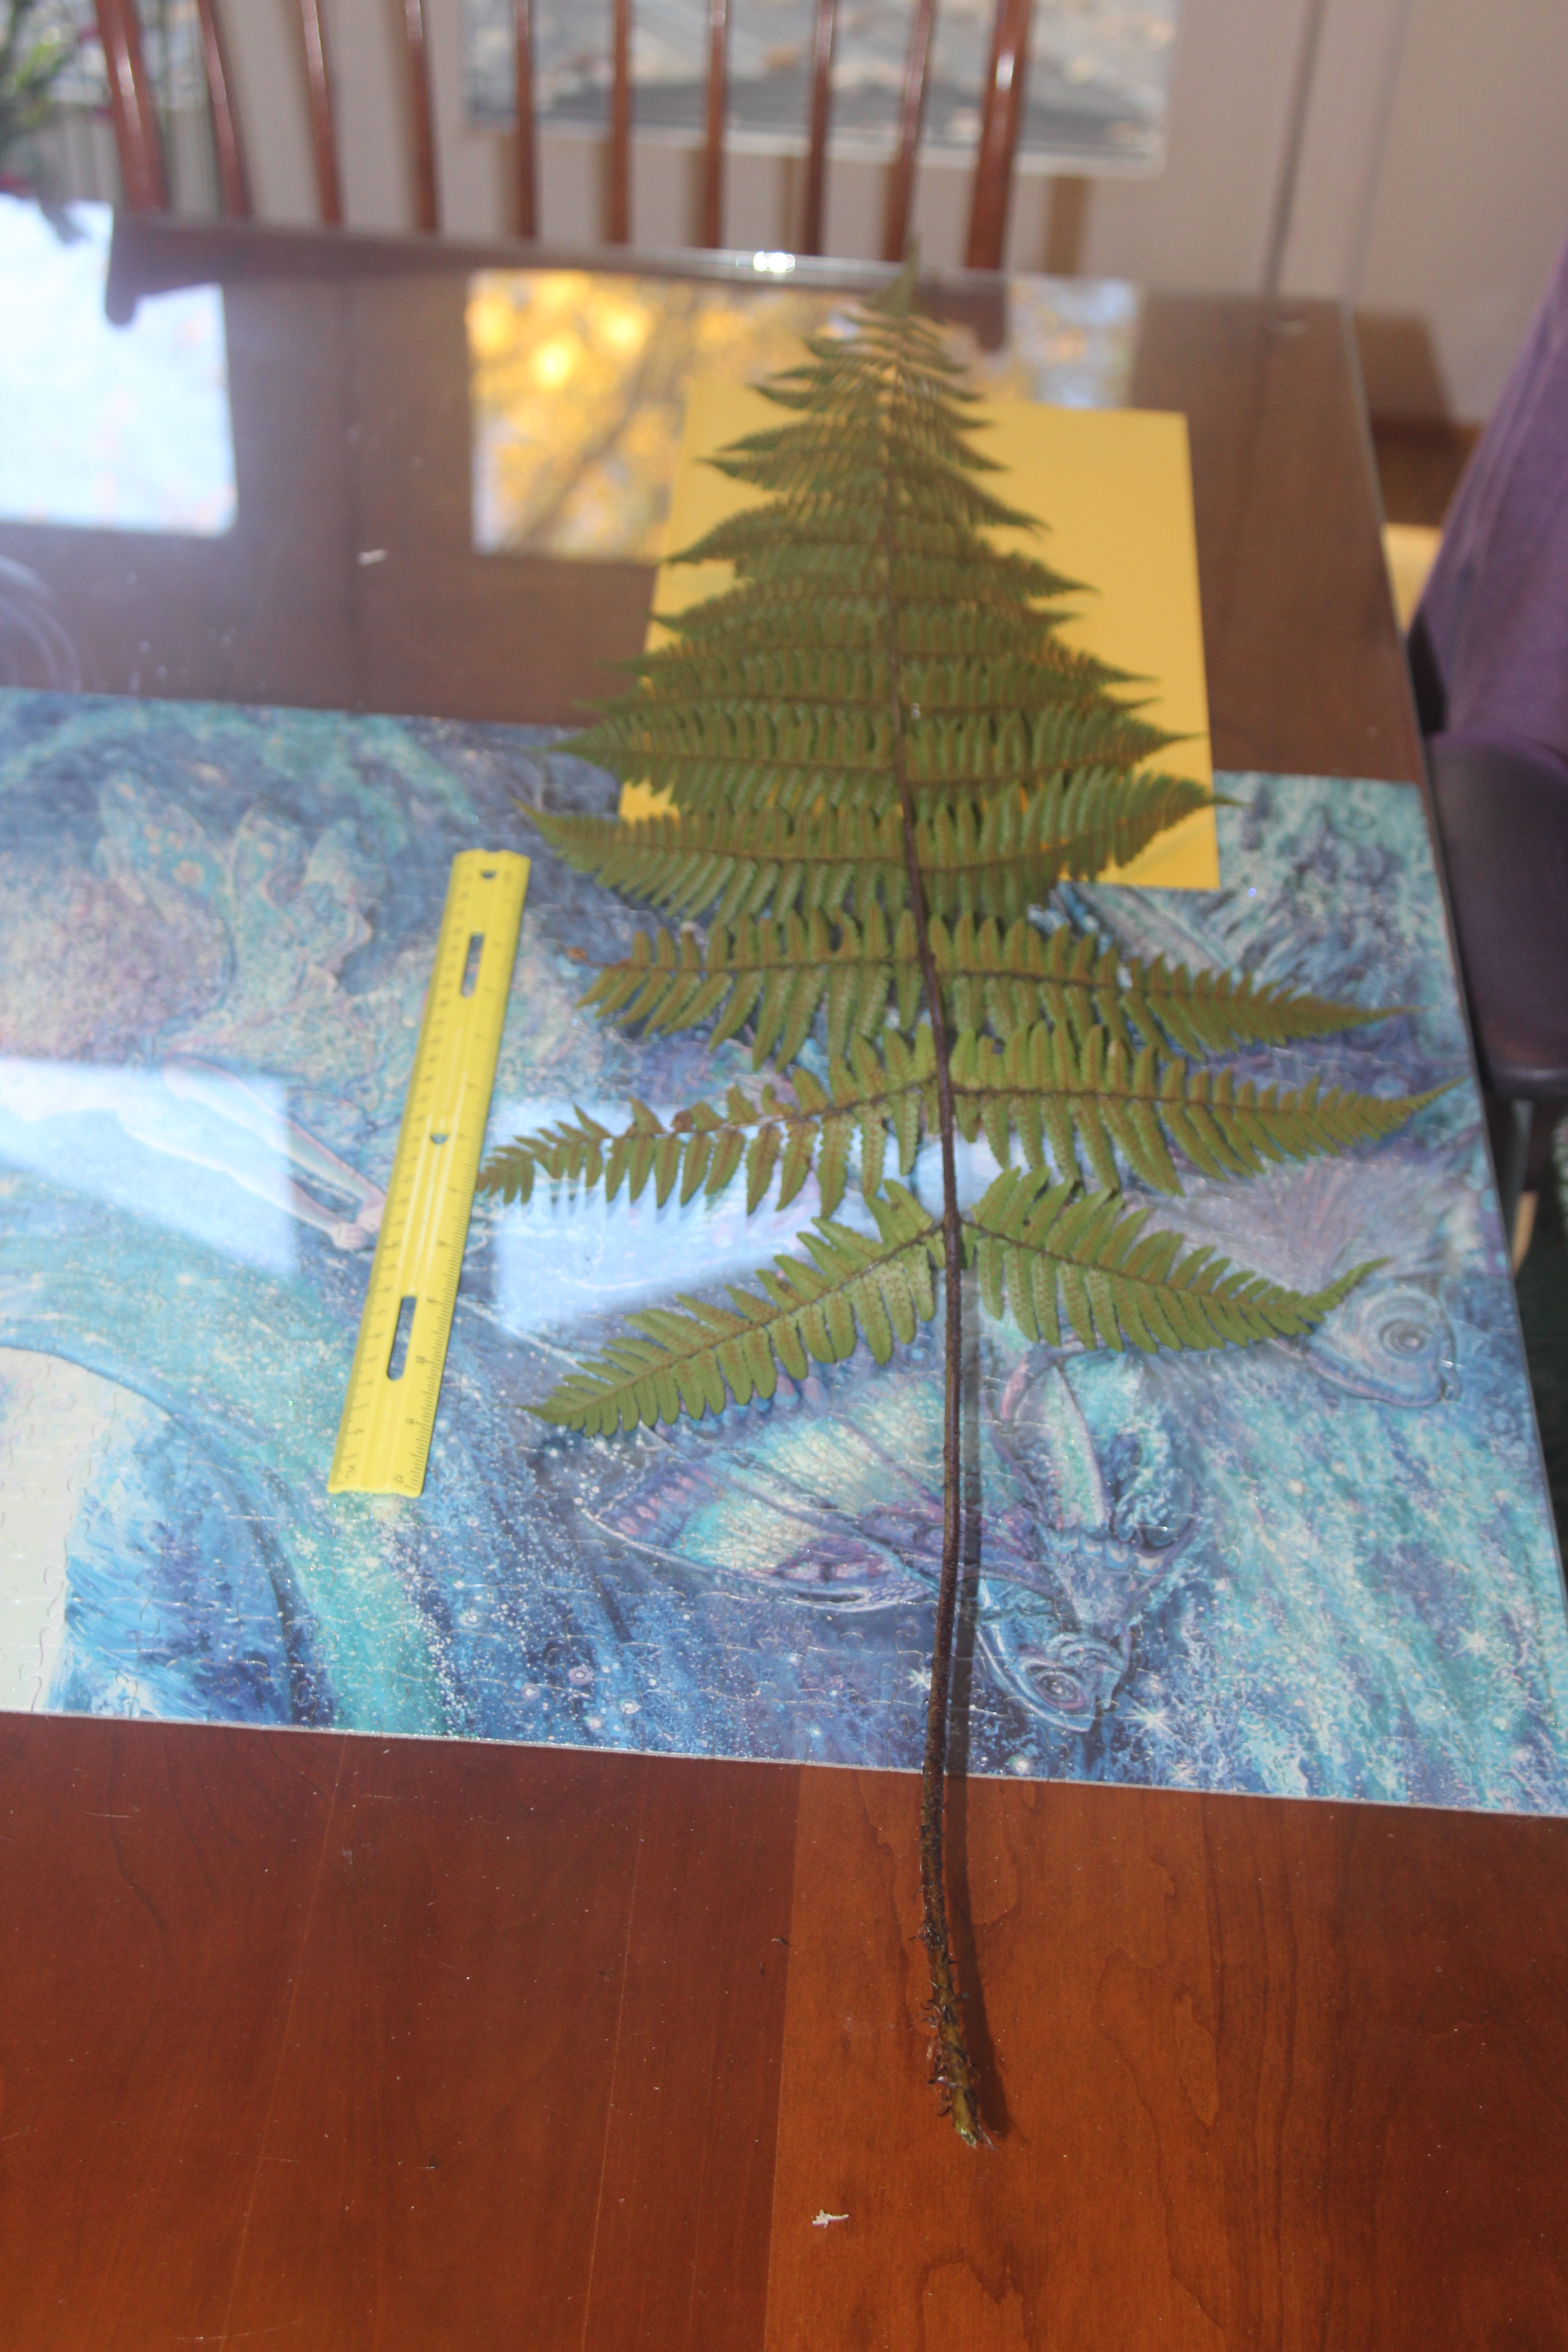
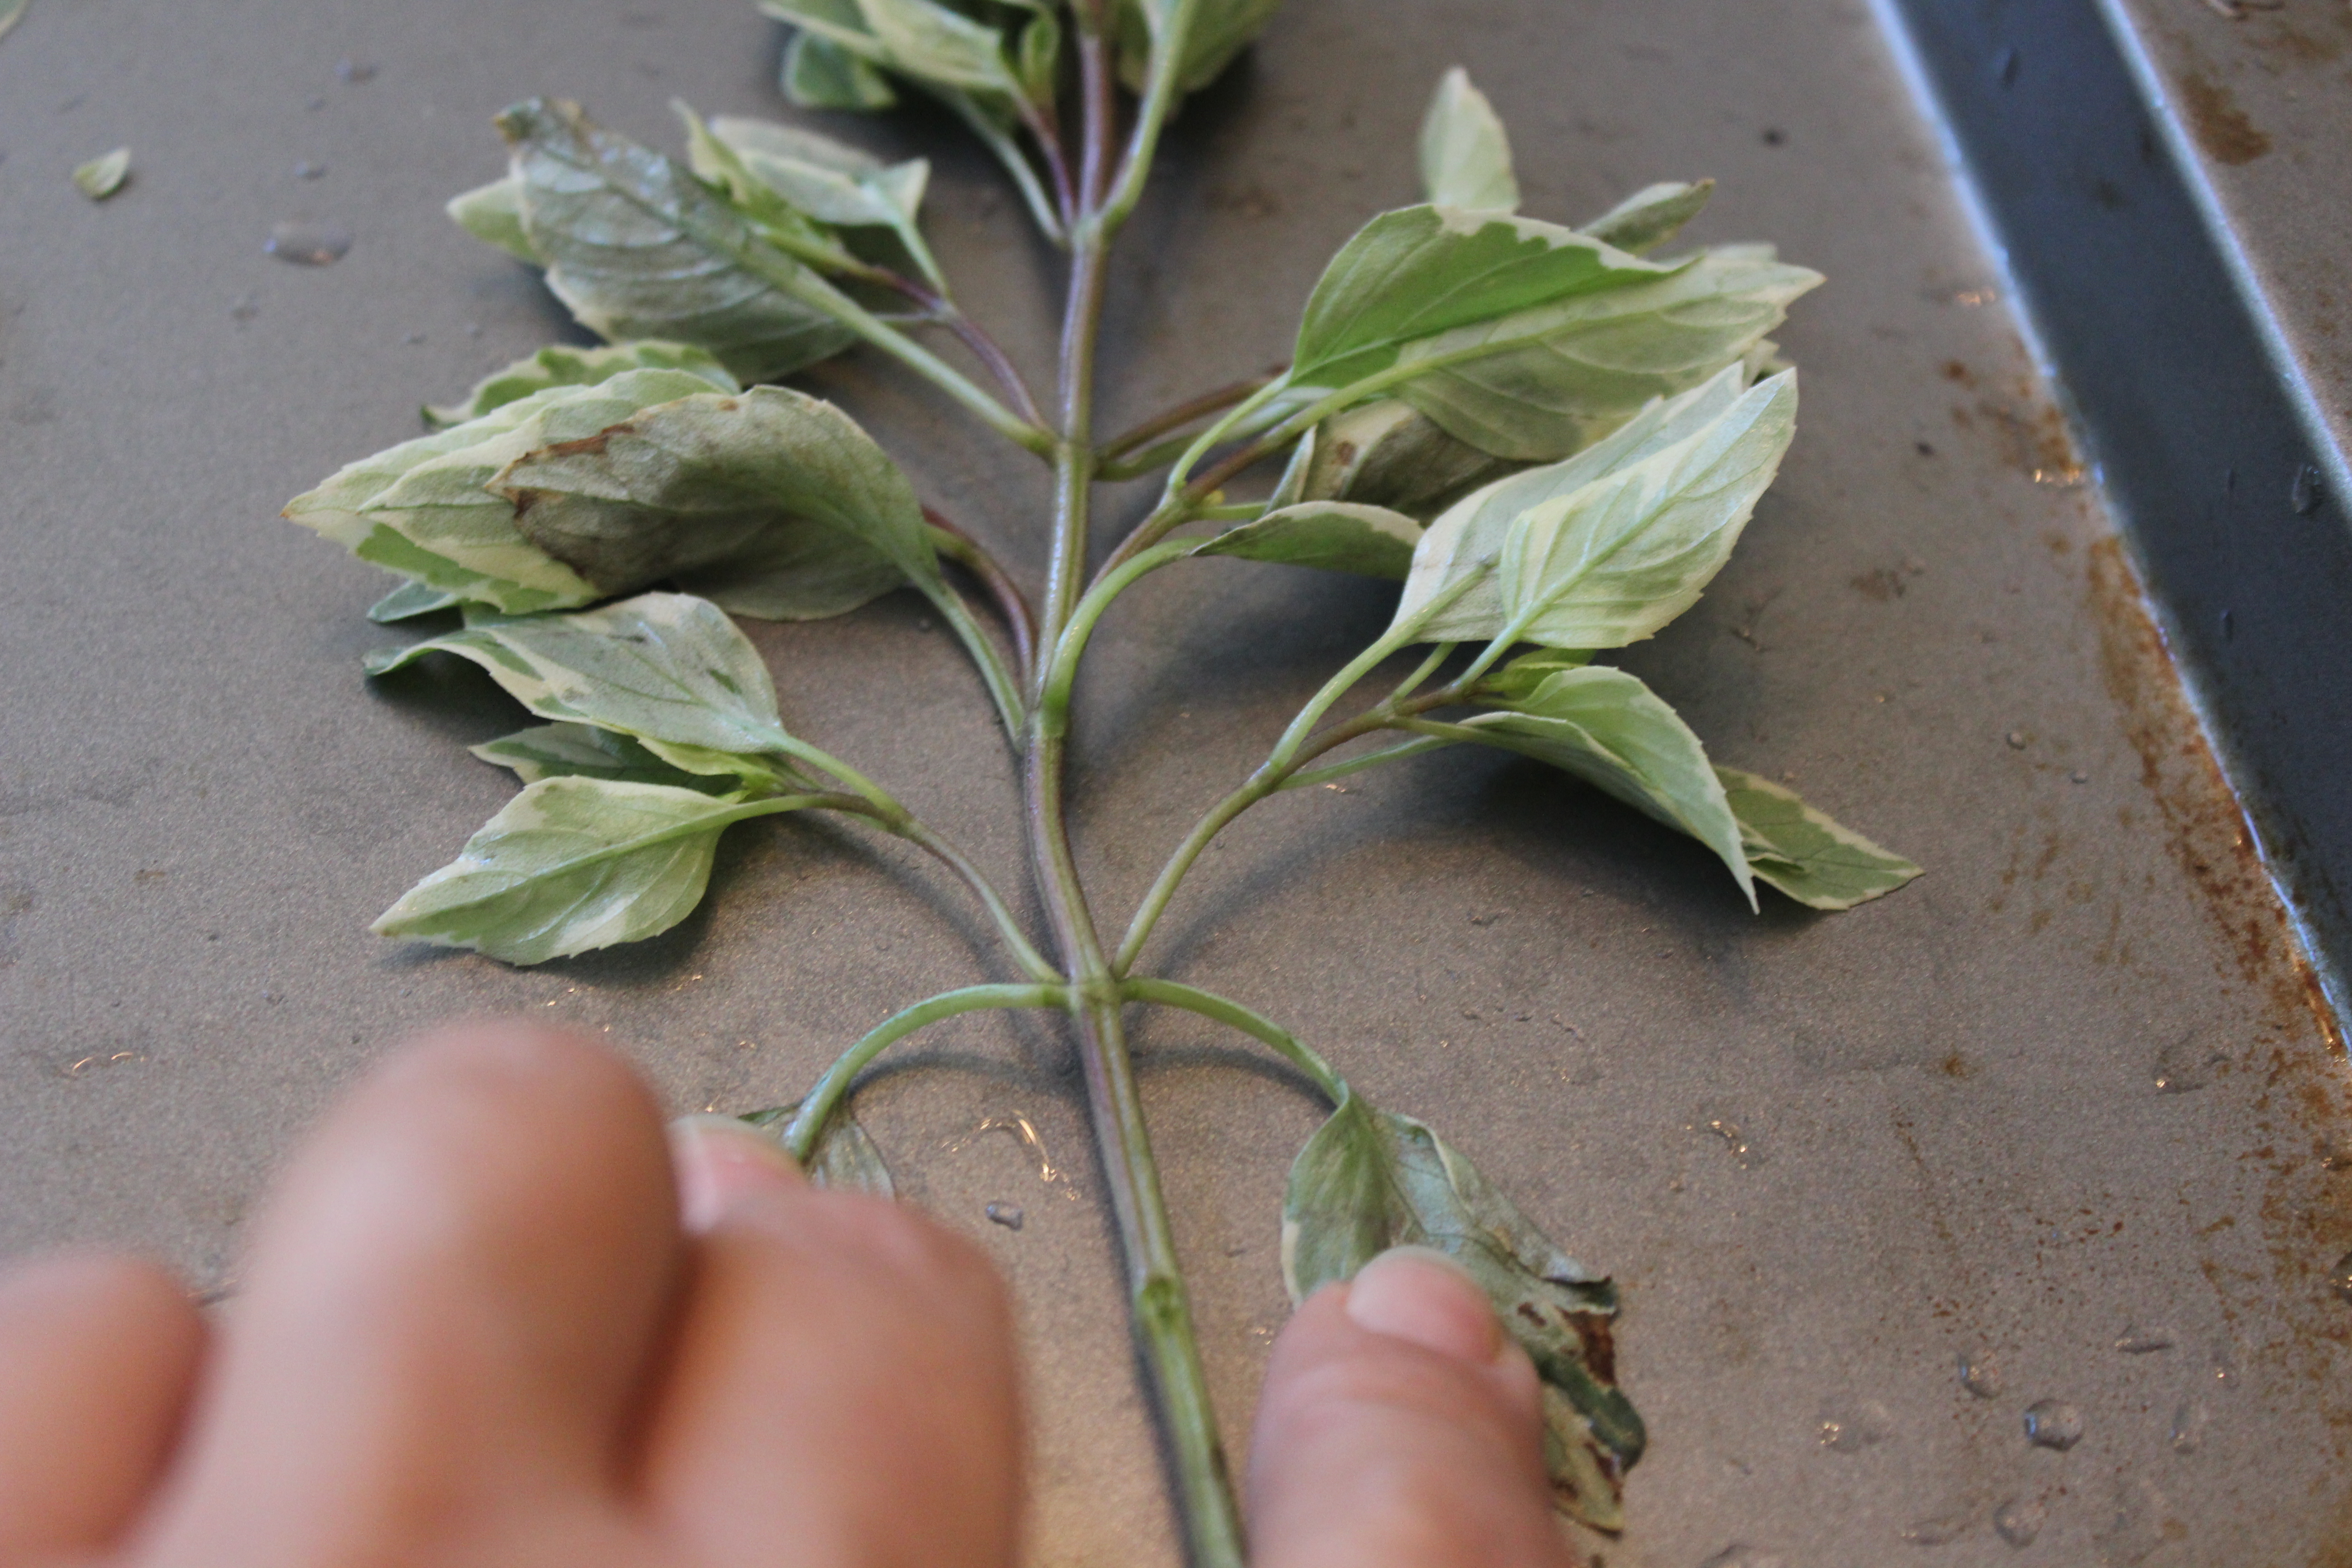
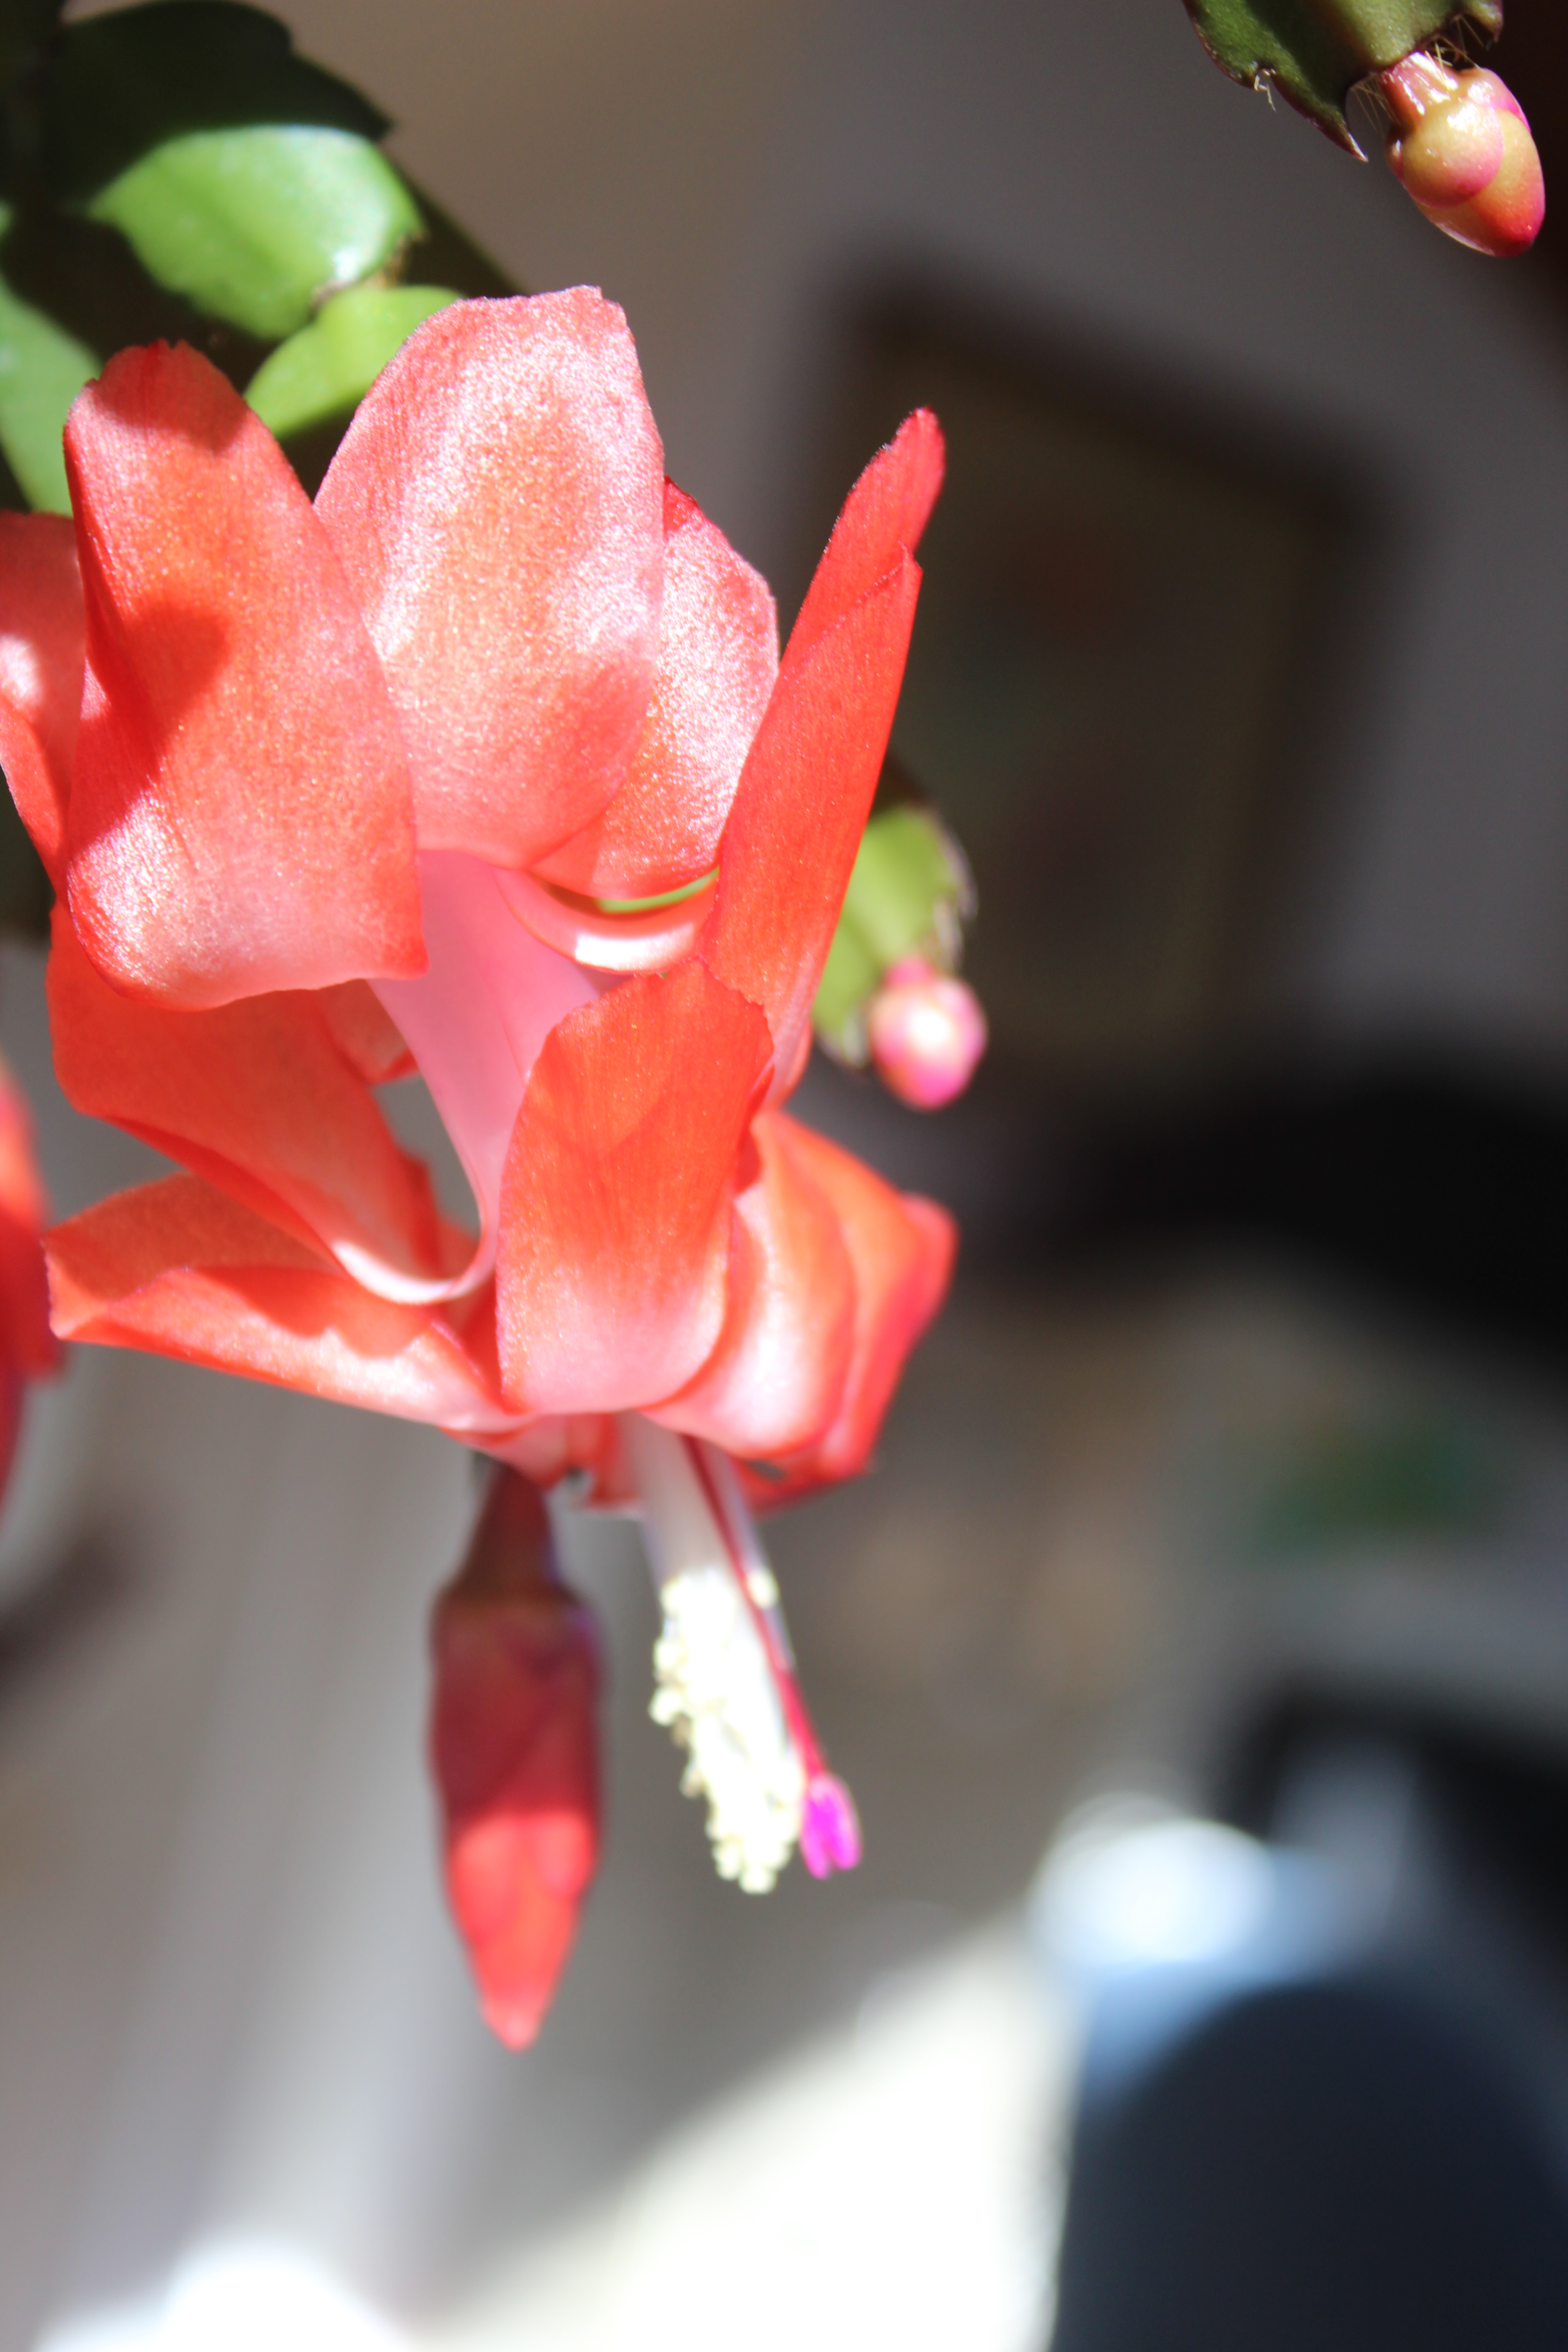
My favorite type of fern is the Autumn Fern, also known as the Japanese Shield Fern.
Autumn Ferns
It is my favorite because it is lovely in fall and winter, when most of my other plants are dead or depressingly dormant. It loves shade and moisture. It needs protection from wind to get this big without damage.
three-foot-long frond
The fronds are bipinnate/twice-cut, which means there are two divisions of leaflets on the frond stem divisions. They are also triangular.
triangular shaped frond
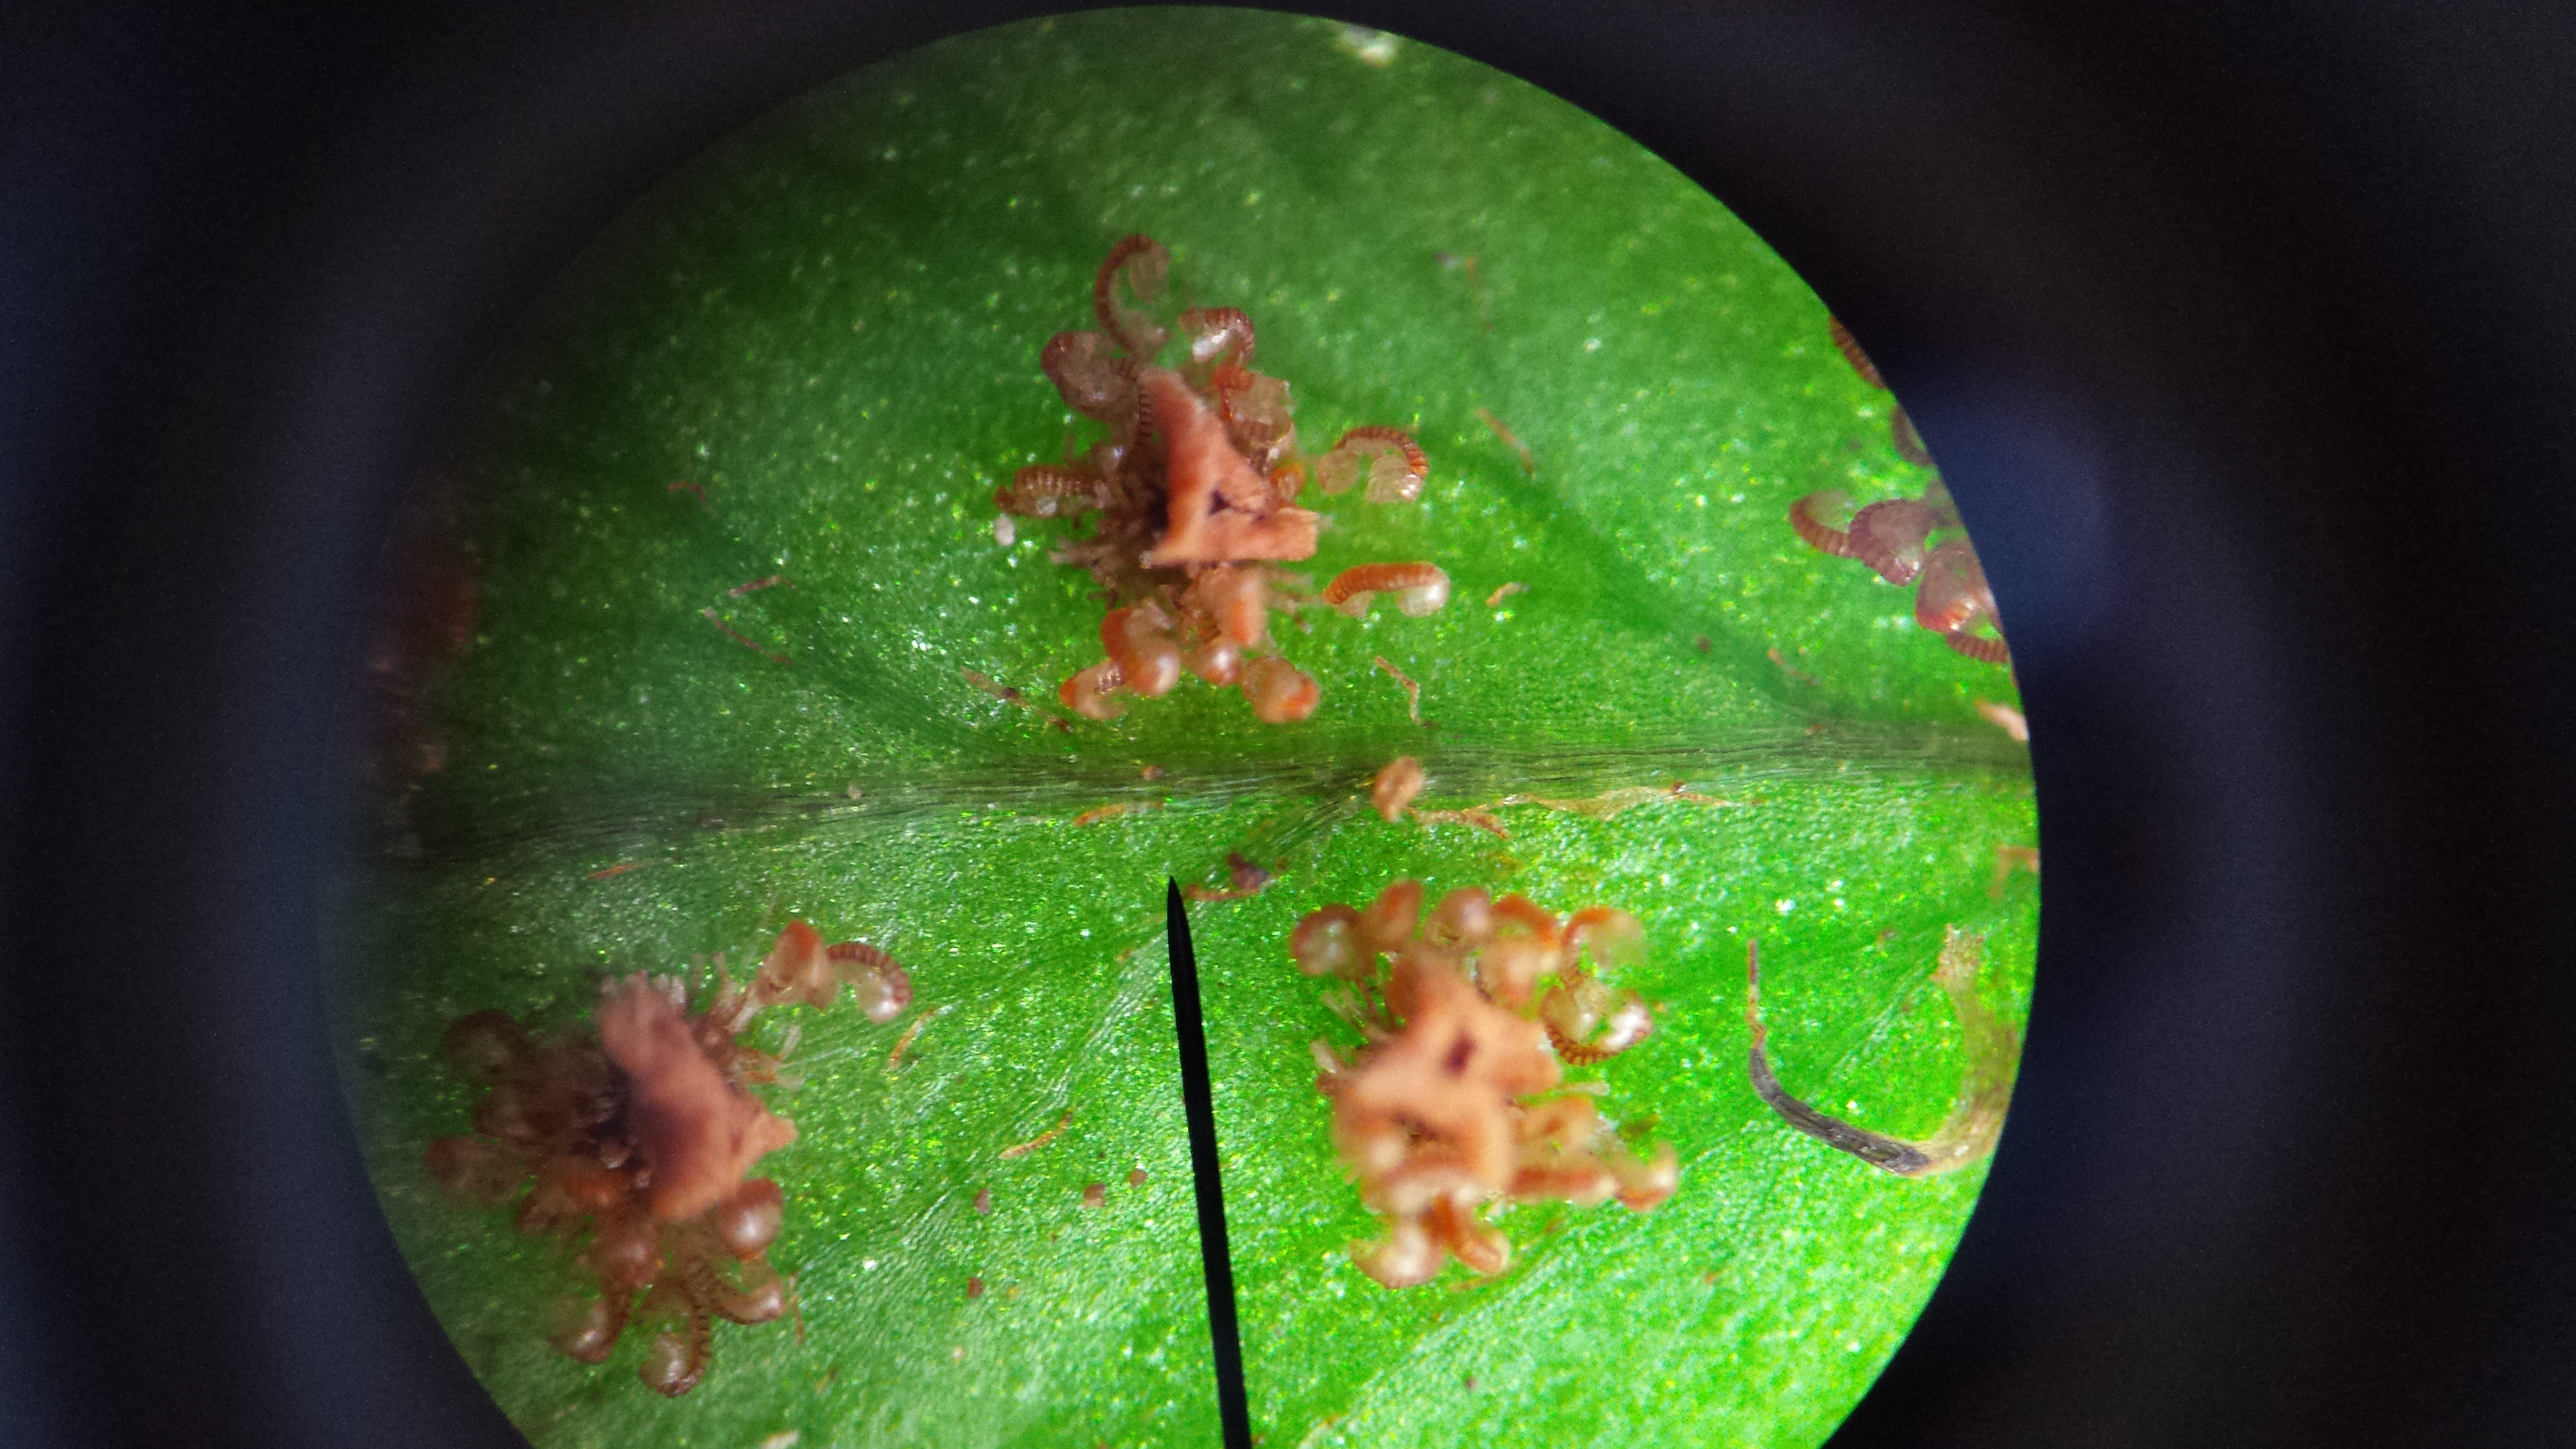
The sori are arranged in neat little rows along underside of the leaflets.
sori in rows
Its species name is Dryopteris erythrosora. In Latin that means tree/fern/red/sorus.
A sorus is a packet of spores that looks like a rust spot this time of year.
Here are three sori under a microscope. Each is a complicated system of catapults. The curled arms unfurl and sling the spores away from the parent plant.
empty sori “catapults”
Fresh sori are light colored or transparent. These still contain spores.
Spores are not seeds. They only have half the genetic material of the fern. These germinate into tiny “boy and girl” gametophytes, which then get together and make the big “baby” sporophytes that we call ferns.
This ancient and strange life cycle is called “alternation of generations.”
I look at my ferns and feel a connection with prehistoric life.
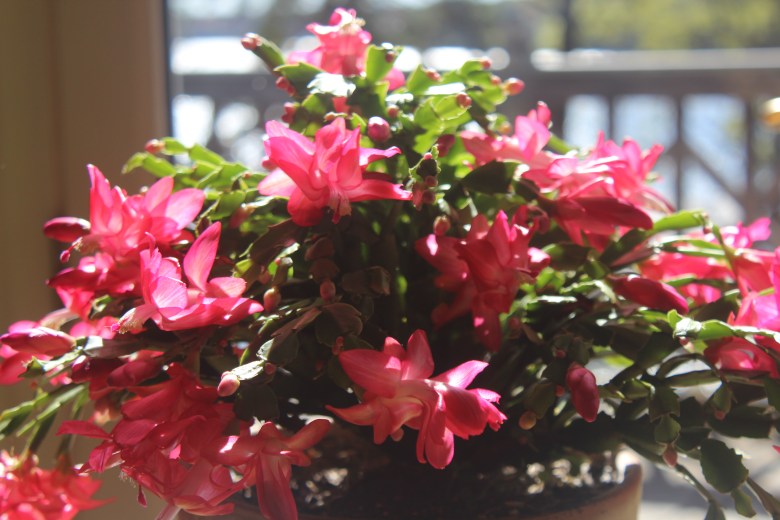
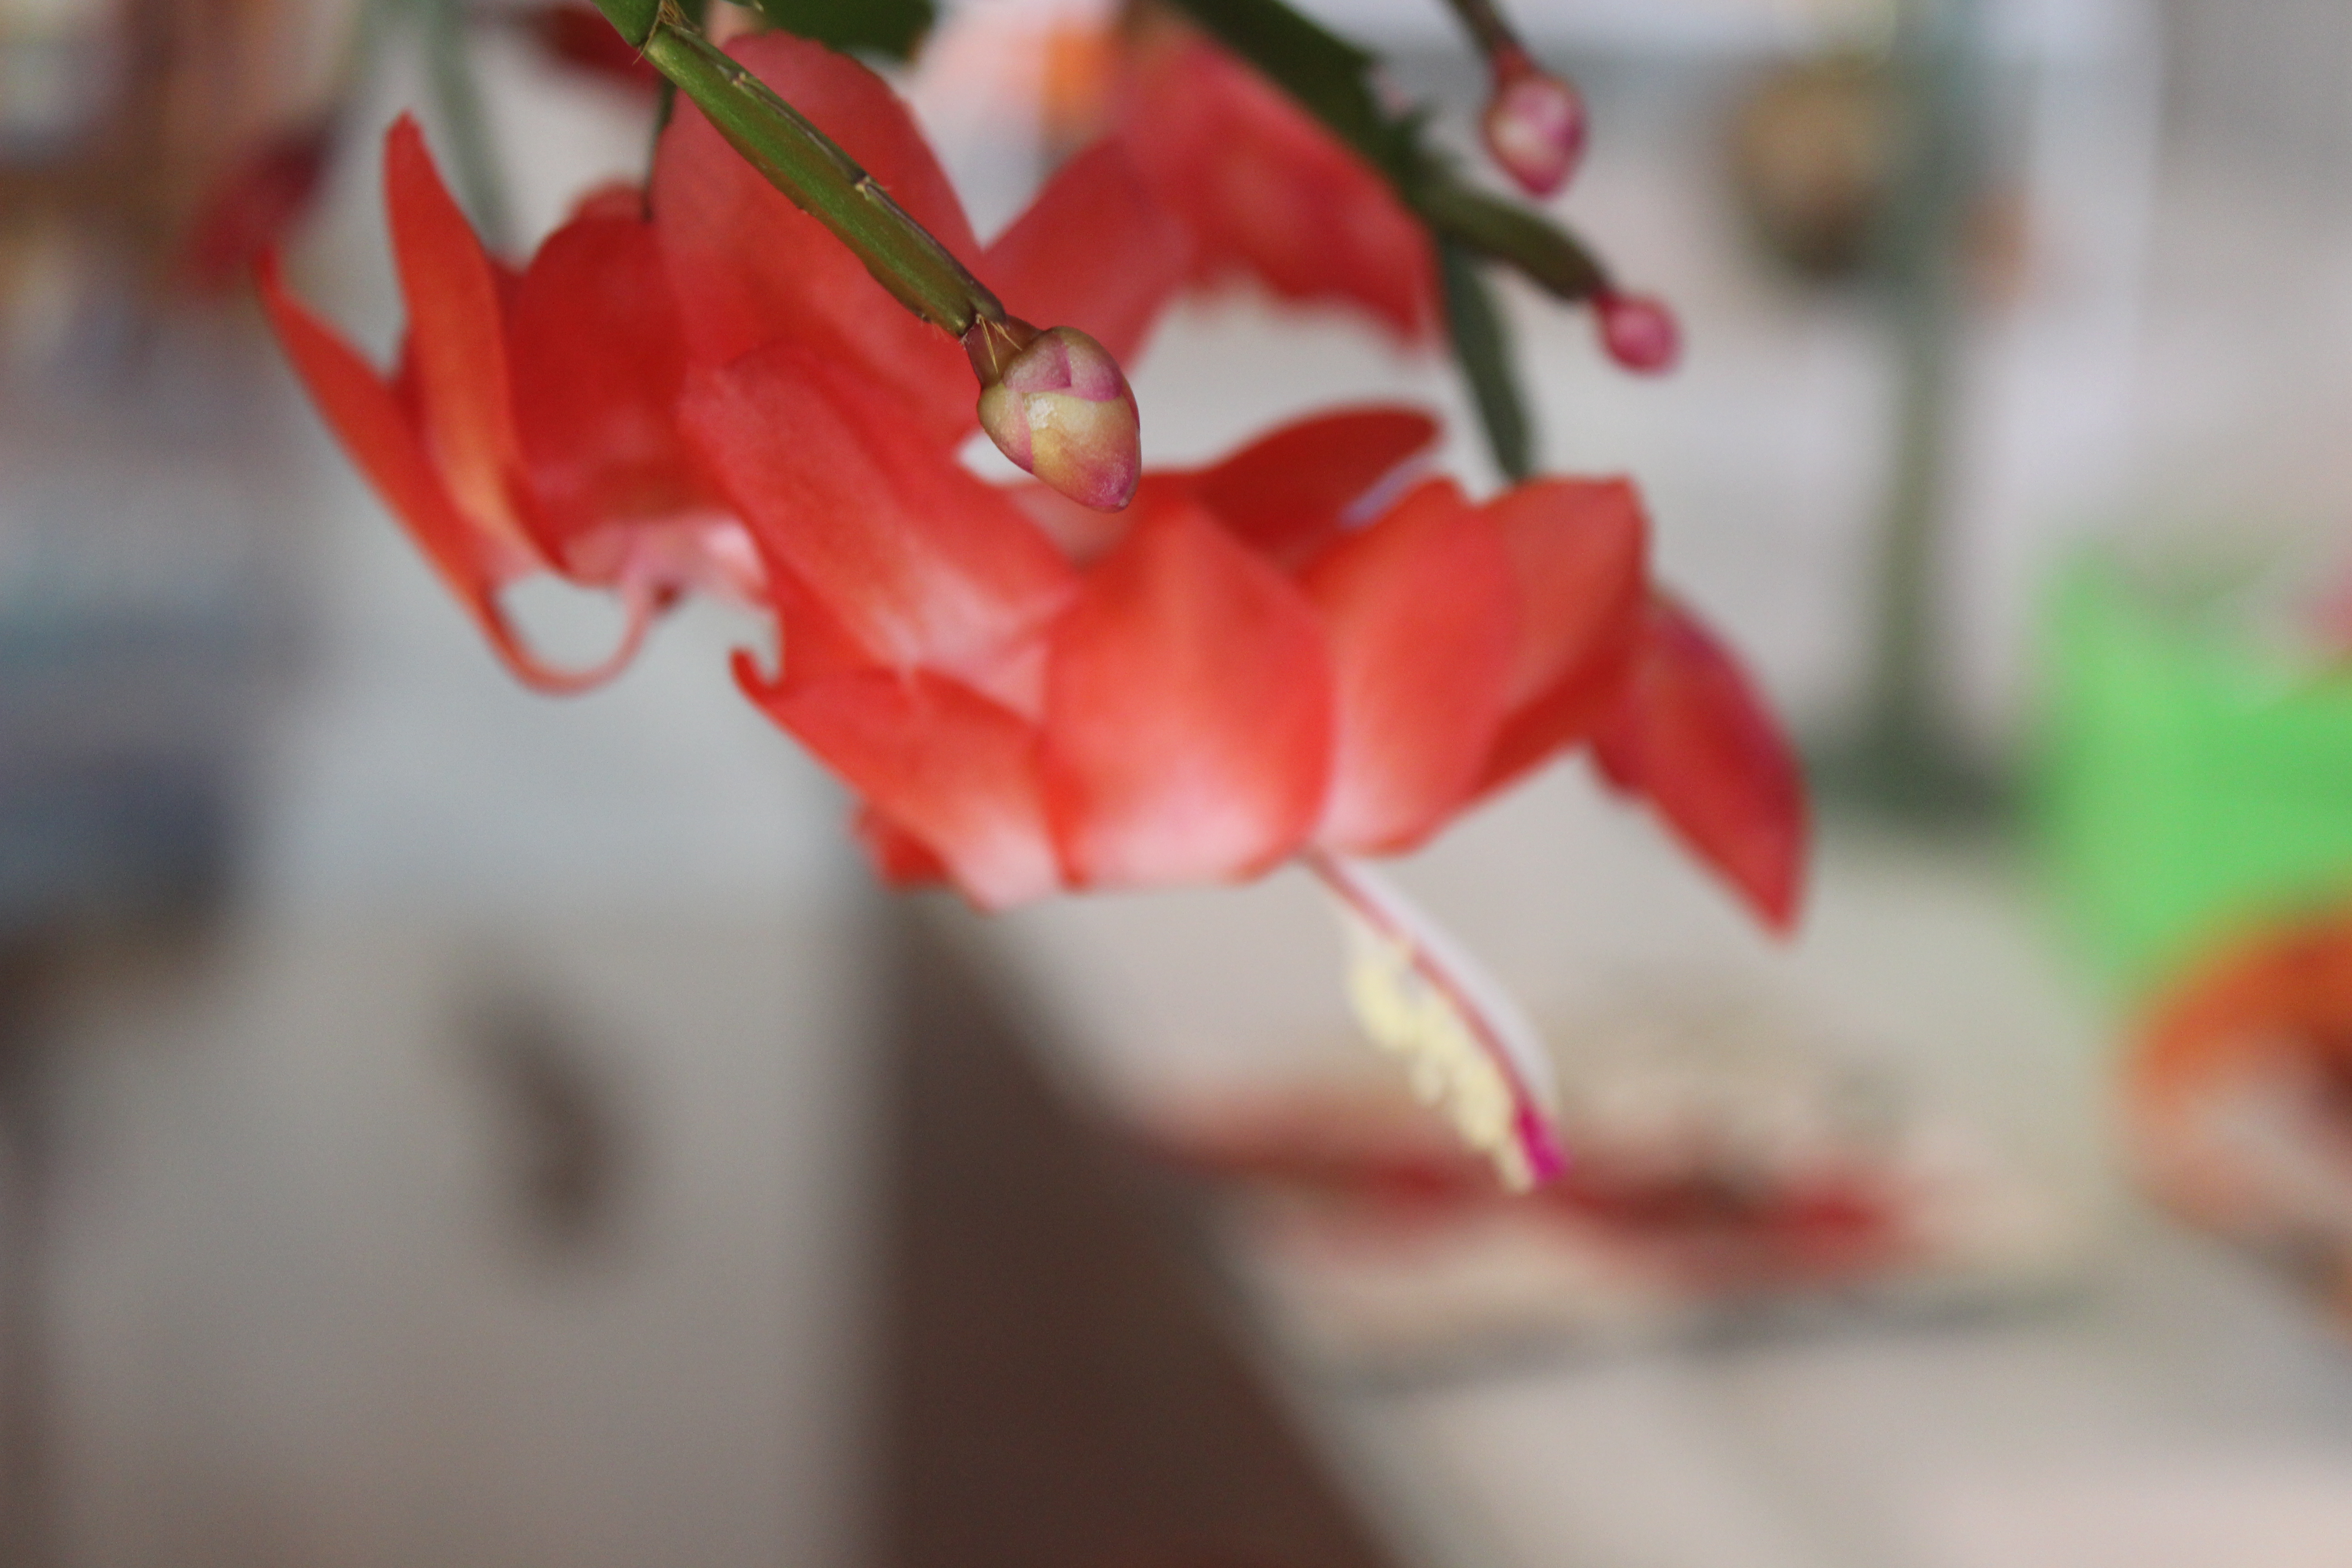
Uncle! Tio! Lo Zio!
You can stop twisting my arm.
I’ll tell you my Schlumbergera secrets.
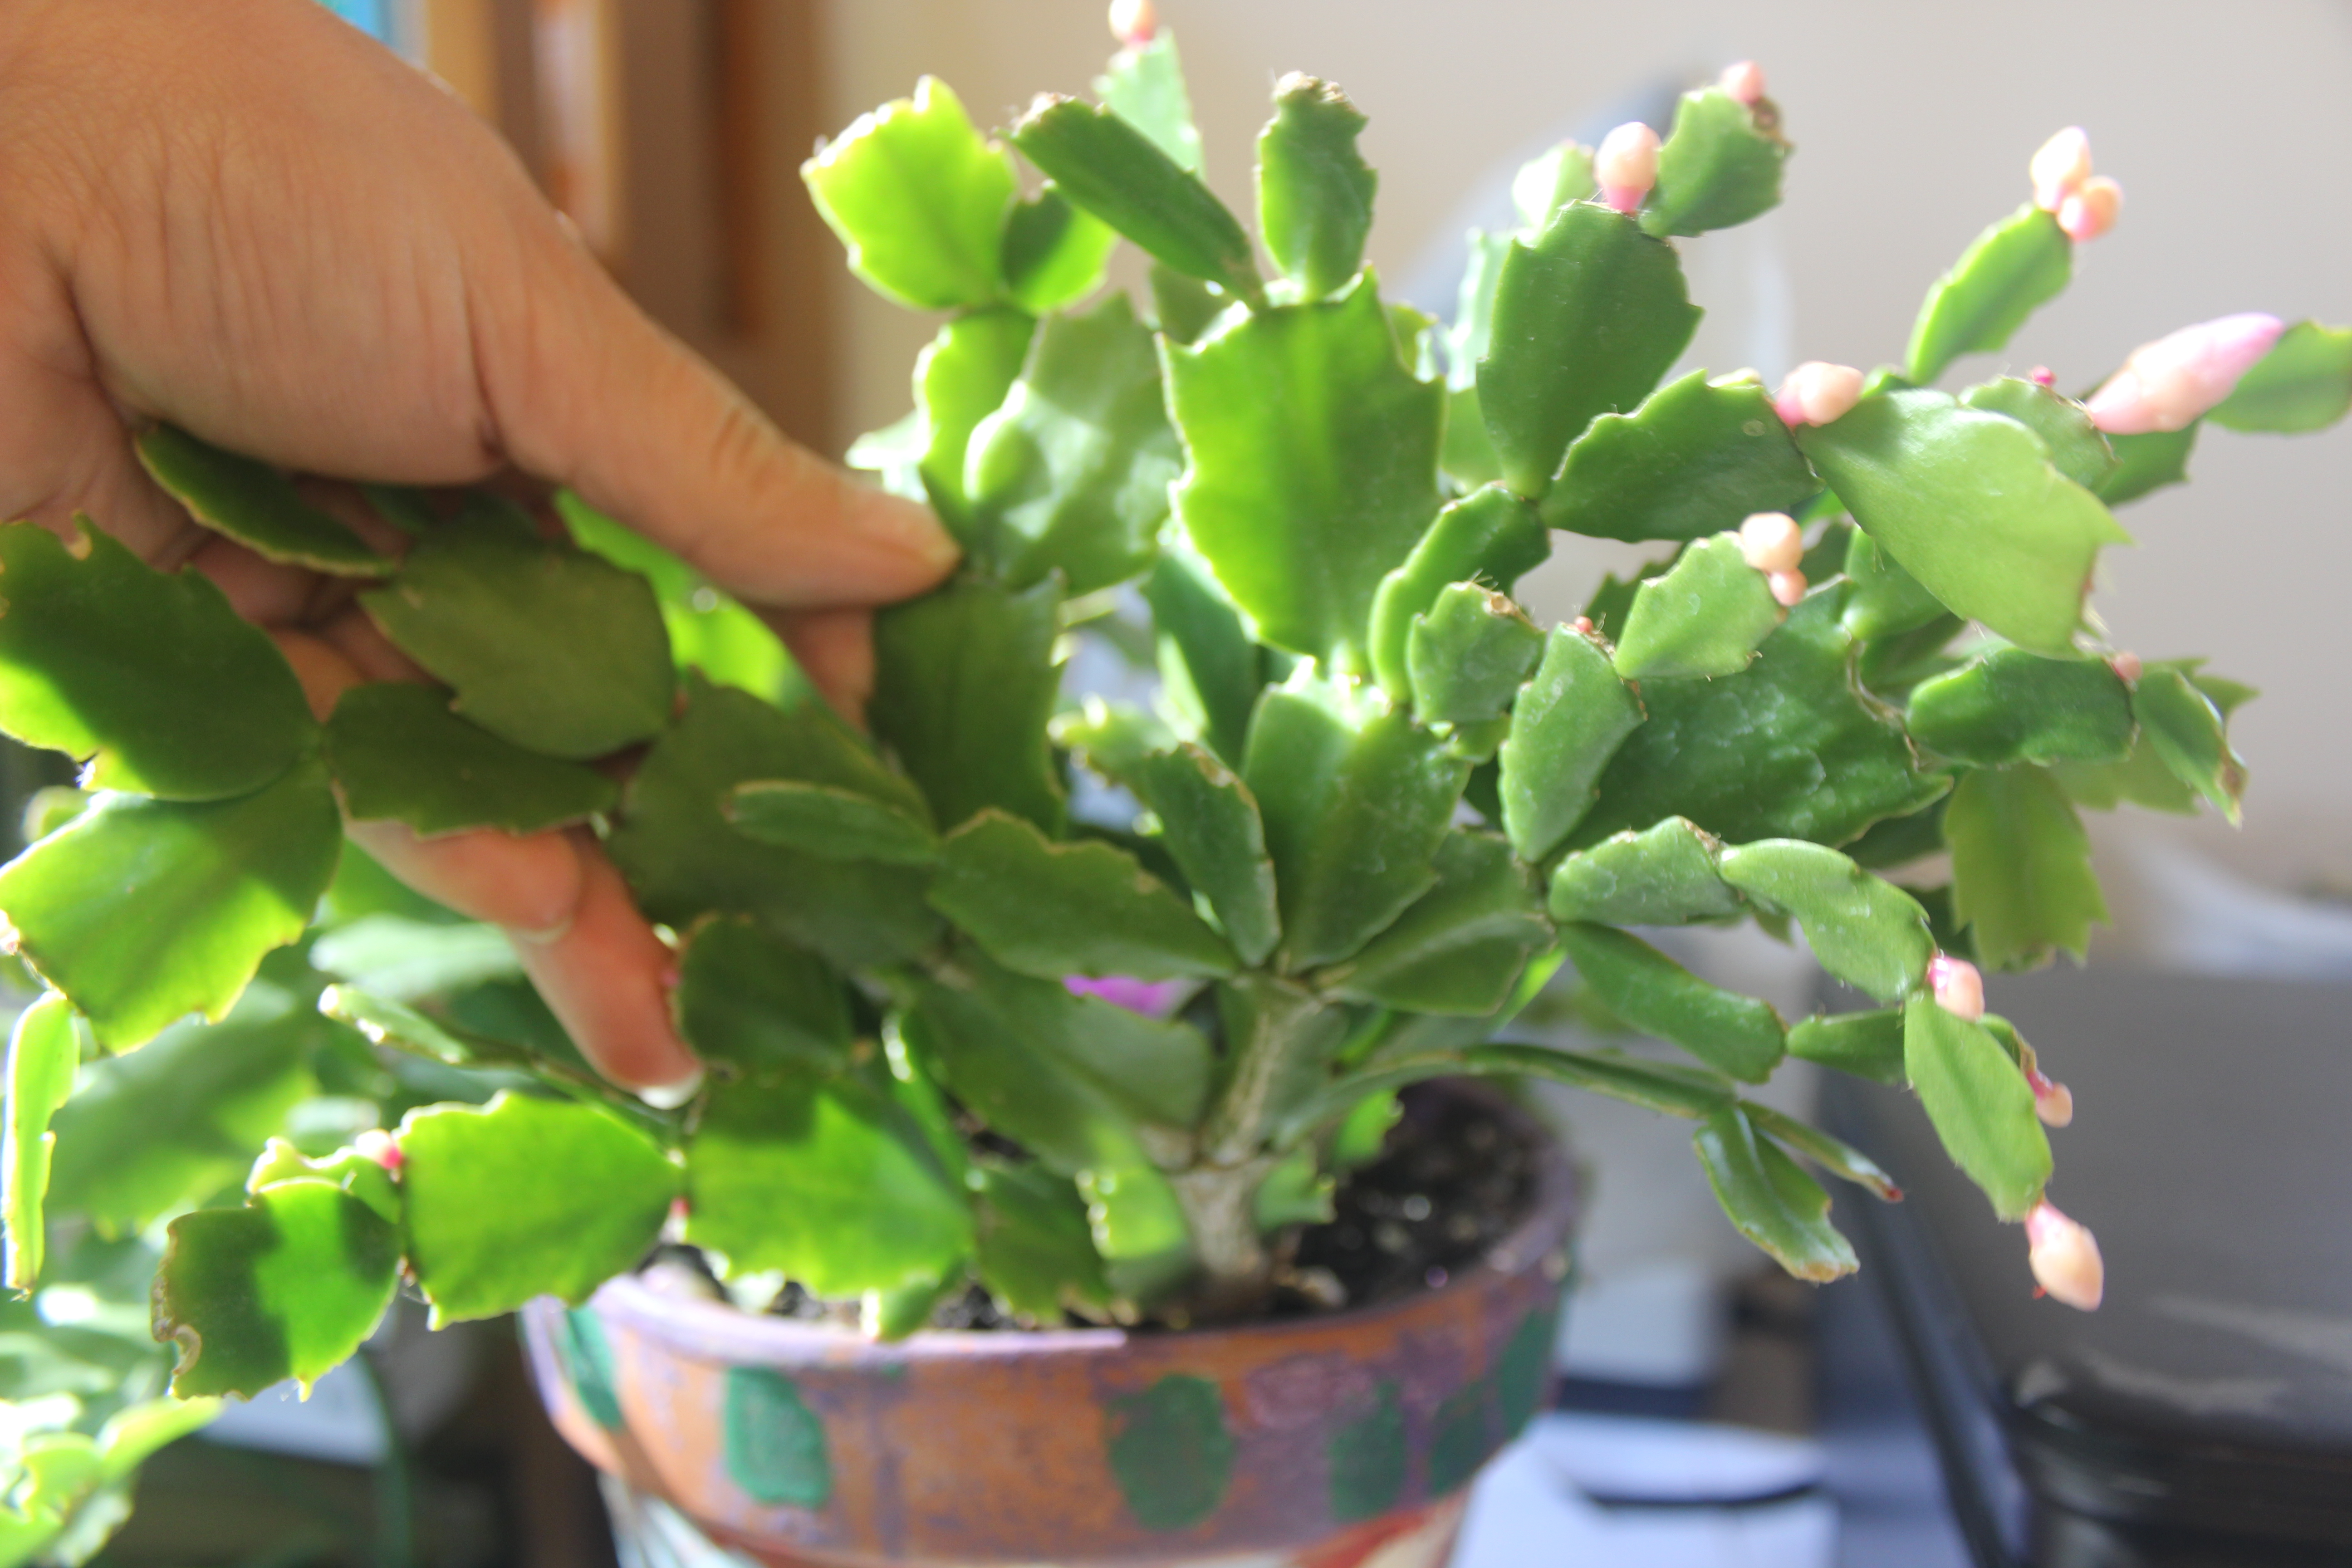
multiple cacti
First secret:
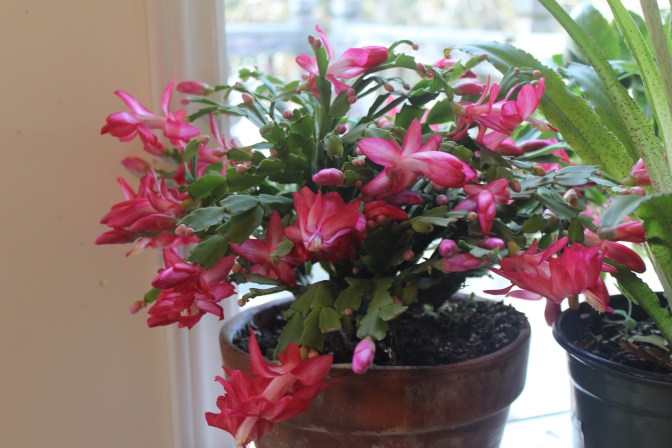
They bloom from the ends. So if you want more blooms…
You need more ends. Three to five divisions off the main branch is best.
This means purging and pruning the leggy limbs.
They will branch out and produce more ends,
which means more blooms.
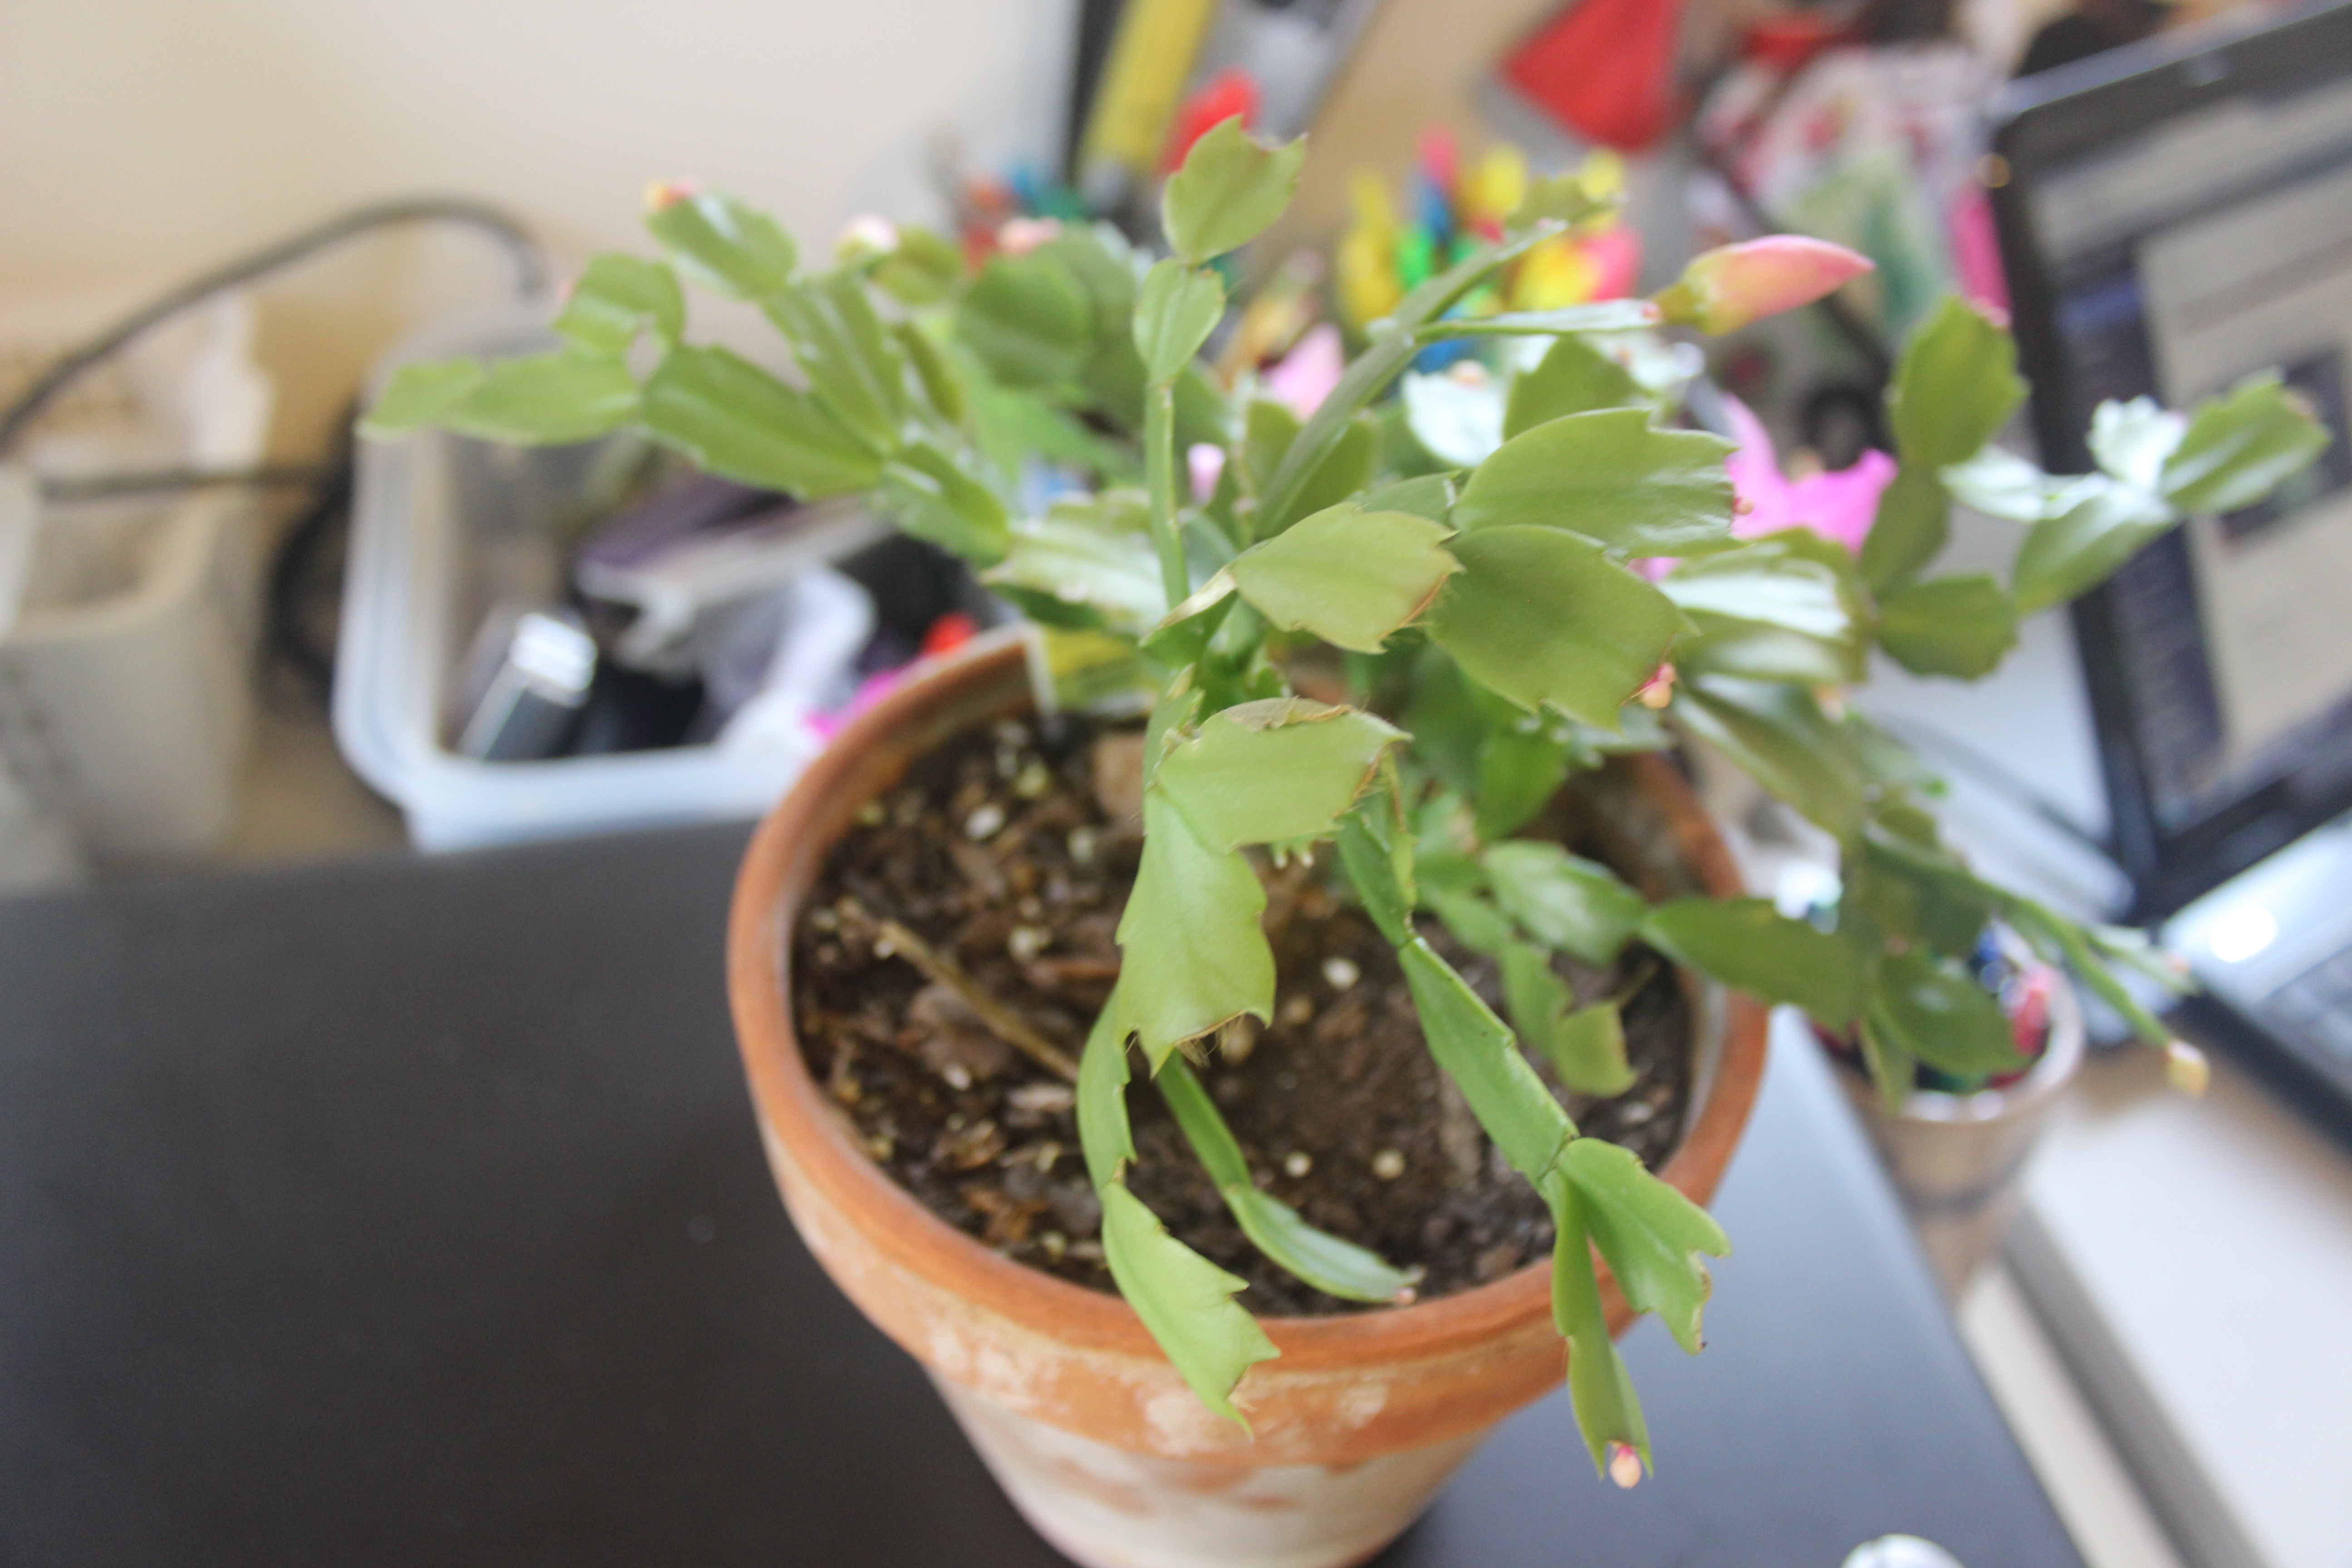
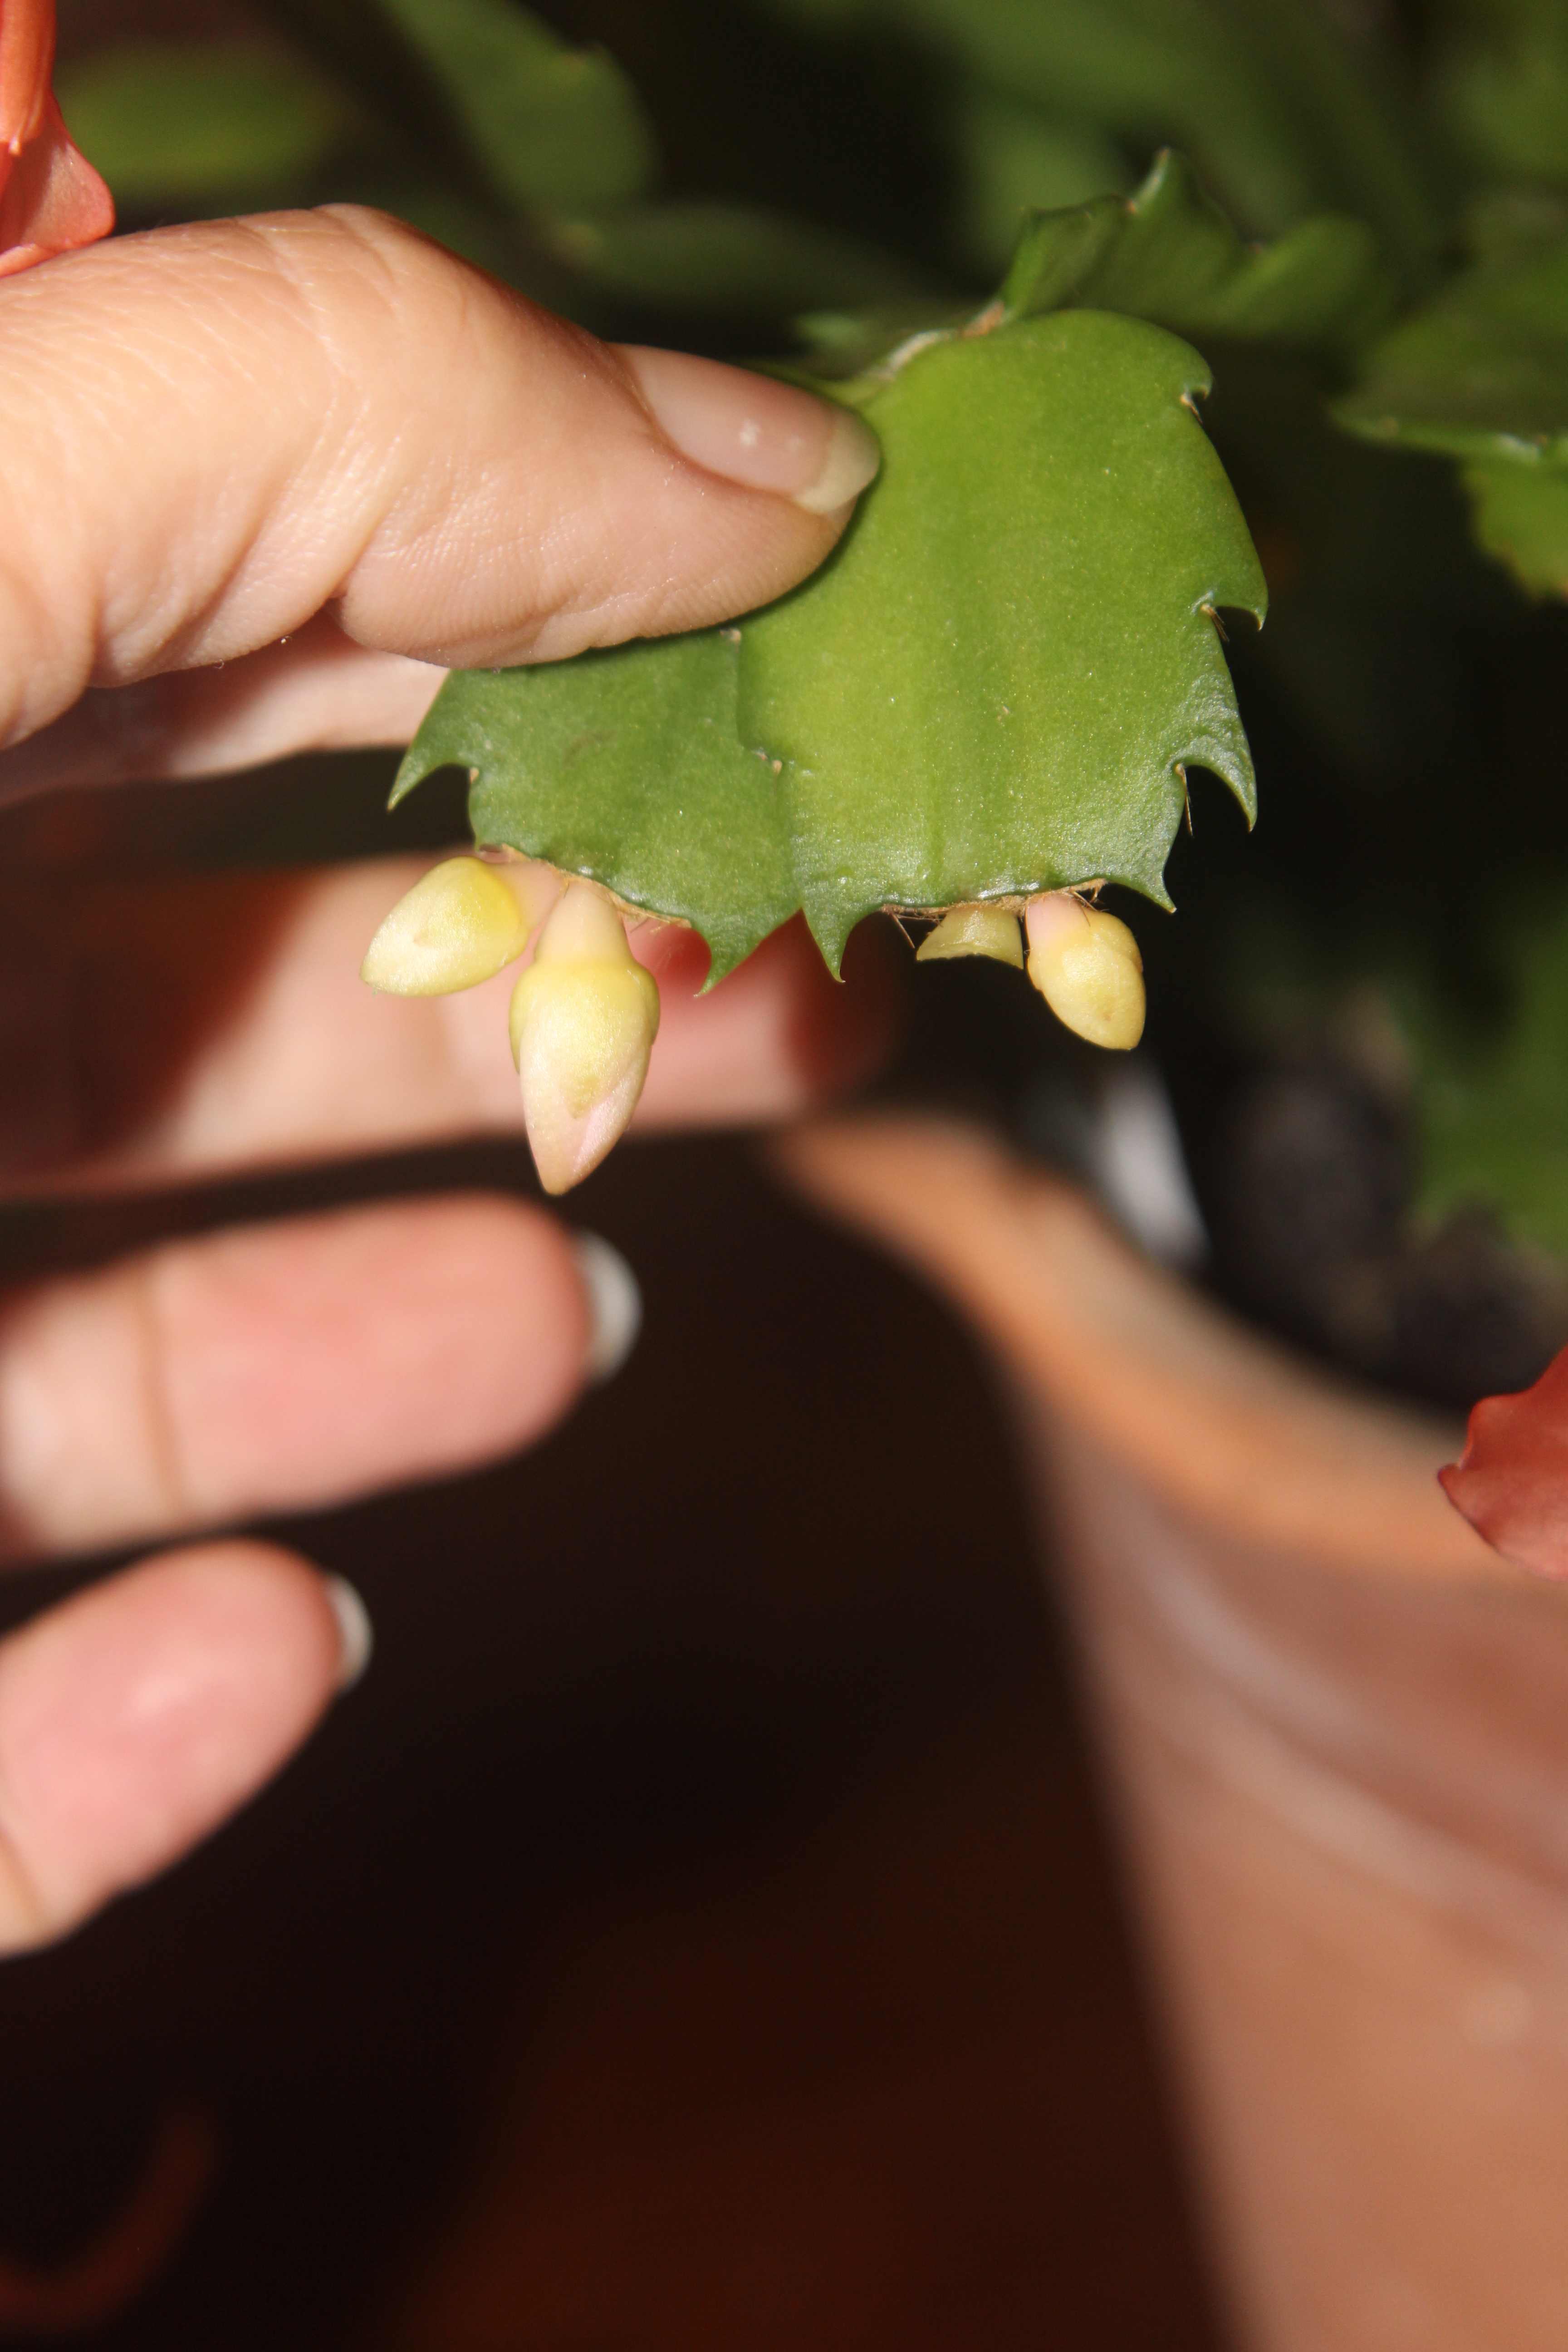
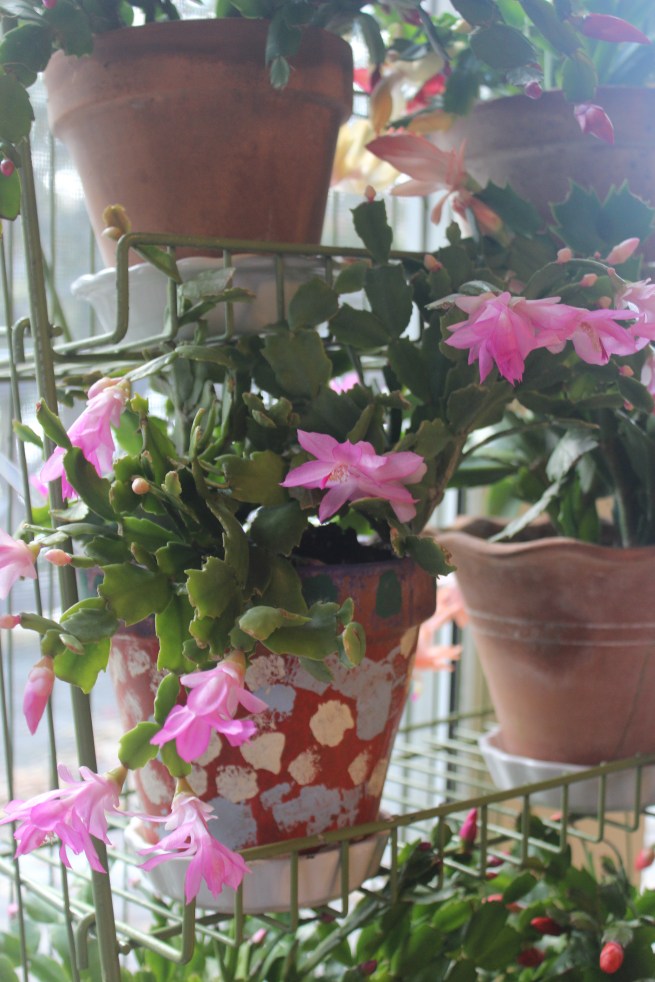
Less is more. Too many branches per stem means some don’t bloom. It’s like having too many children. The poor mama branch can’t give them all what they need to bloom.
Too many branches
I try to limit my branches to from three to five divisions and total branch length to about twelve segments. Leggy is ugly on a Schlumbergera. Think of a long Christmas cactus as a tall elf. That’s just wrong! The branches can’t support the blooms, which hang low and are harder to see.
It’s best to do this after they bloom, but I do it for folks who see it now and want it now.
Twist off the excess pieces at a joint. If this scares you, cut with sharp scissors, but tearing is best.
Twist off at the joint.
Purged segments should be shortened to root. About 3 links long is best. Leave the pieces out to harden off and callus over for several days. Do not put in water. The will rot, not root.
Ready for rooting
Then put the callused pieces in rooting medium. Label these by color/name/ date.
I take requests on facebook and put the future parent’s name on the label.
Second secret:
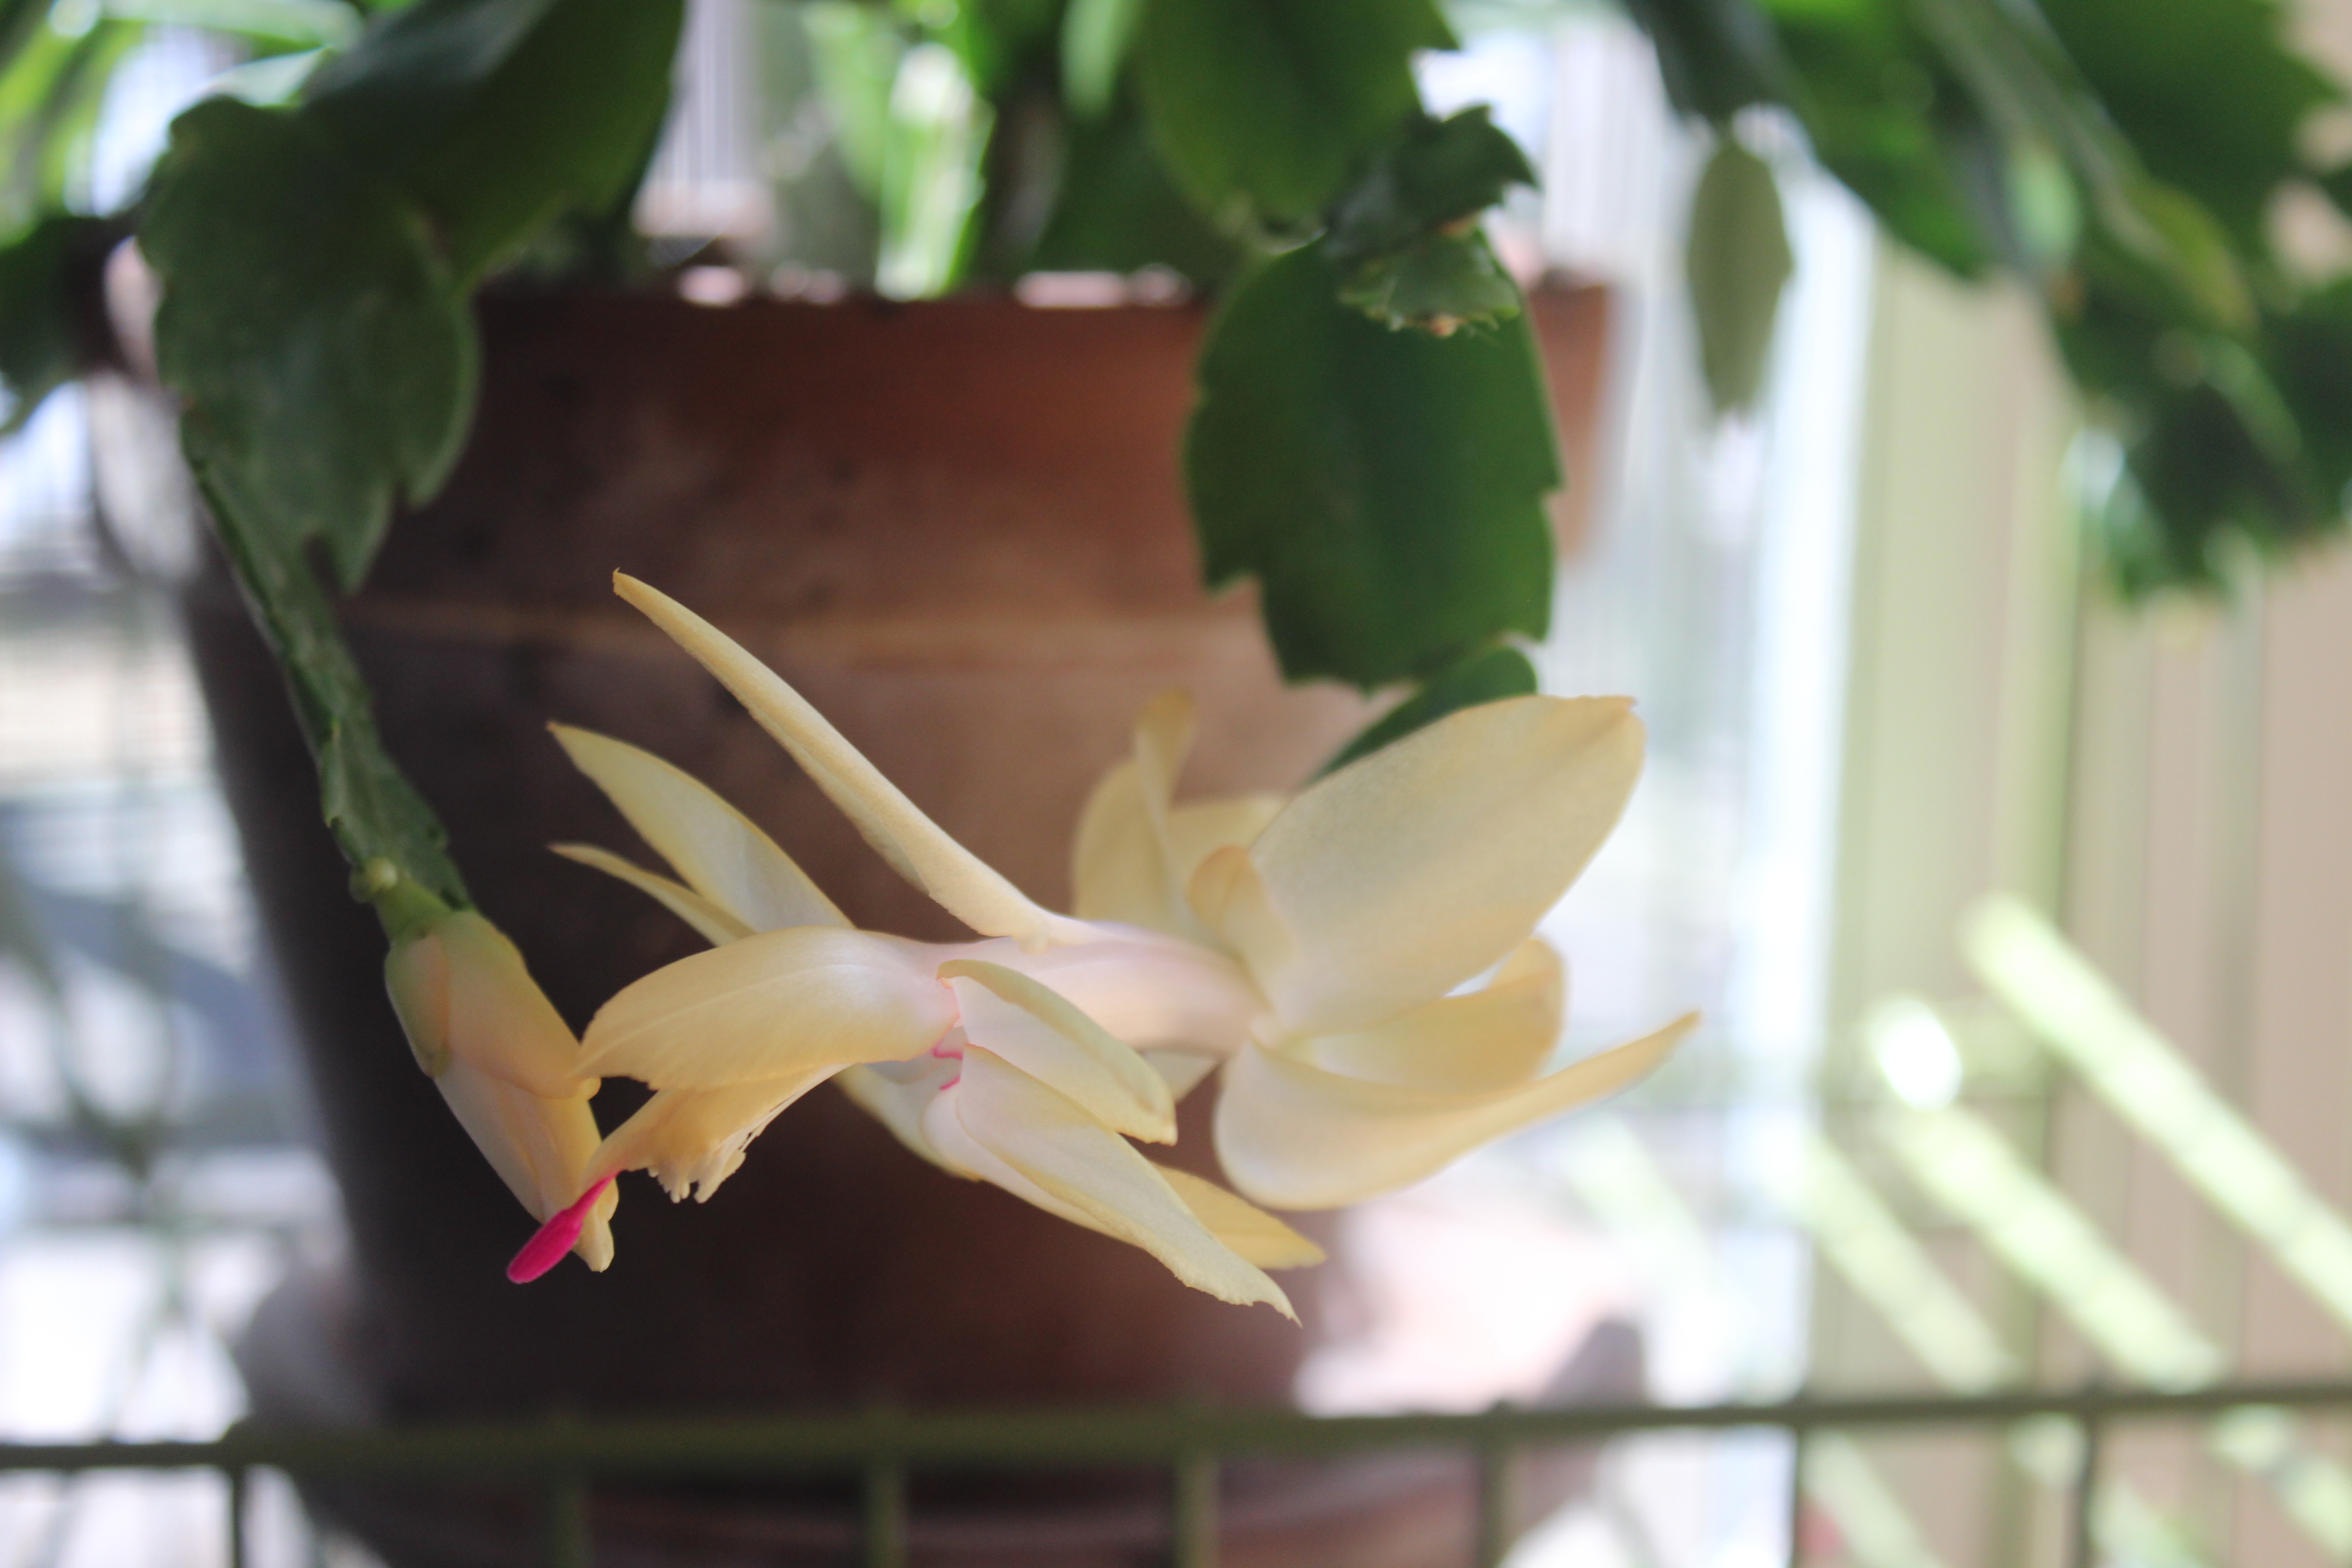
They need to be outside during the summer in indirect sunlight.
I put some in full sun this year.
They let me know this was a mistake by wrinkling up and turning red.
A green, smooth Schlumbergera is a happy Schlumbergera.
Third secret:
Feed them every few weeks with their water.
Do not over-water. They must be dry on top to get a drink.
But remember, this is a tropical plant not a desert plant.
The term “Cacti” is misleading.
That old saying about not watering them while they are blooming is nonsense.
Just don’t get carried away with water while they are blooming,
(Don’t argue. “Old wives tell lies”)
Not watering and feeding a blooming Schlumbergera is like not feeding a pregnant woman because she has gained weight …Don’t try that at home, men.
Fourth secret:
Give them indirect sunshine and warmth while blooming, but no air flow.
The buds and blooms drop off if they are near a vent or doorway.
It’s the shock of temperature changes.
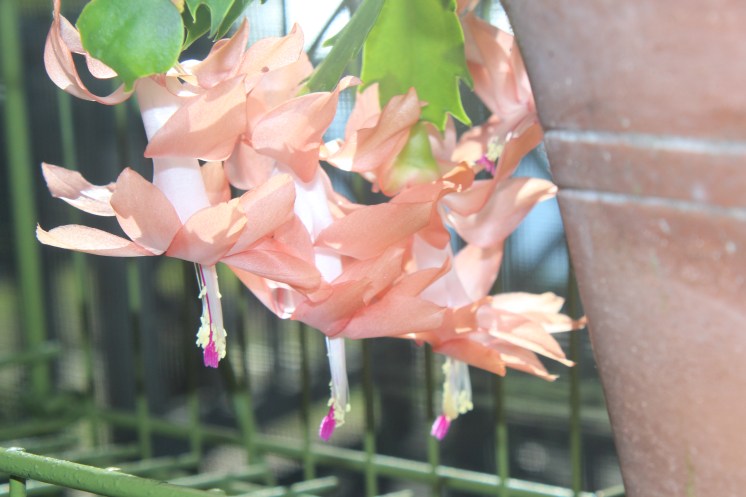
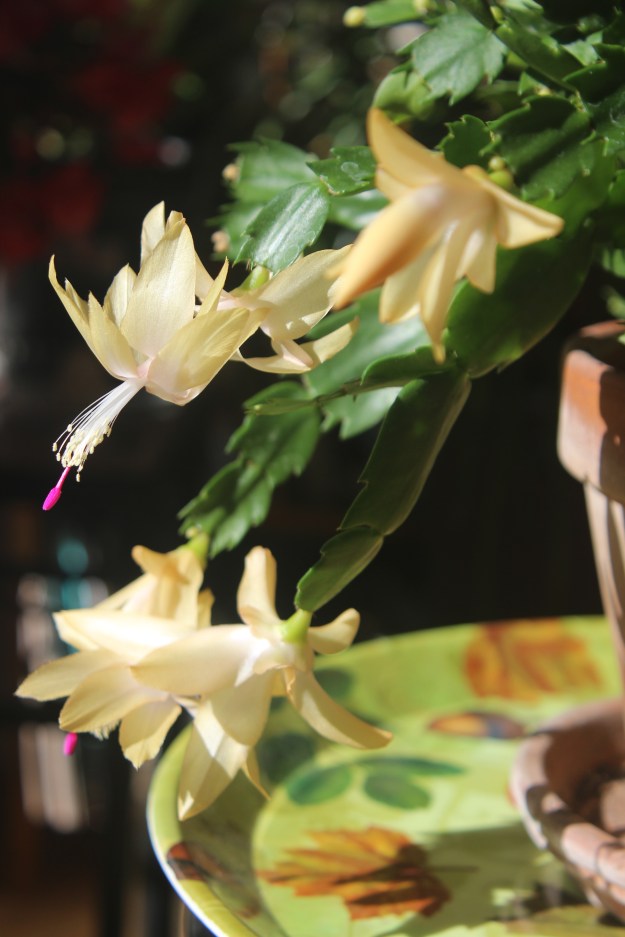
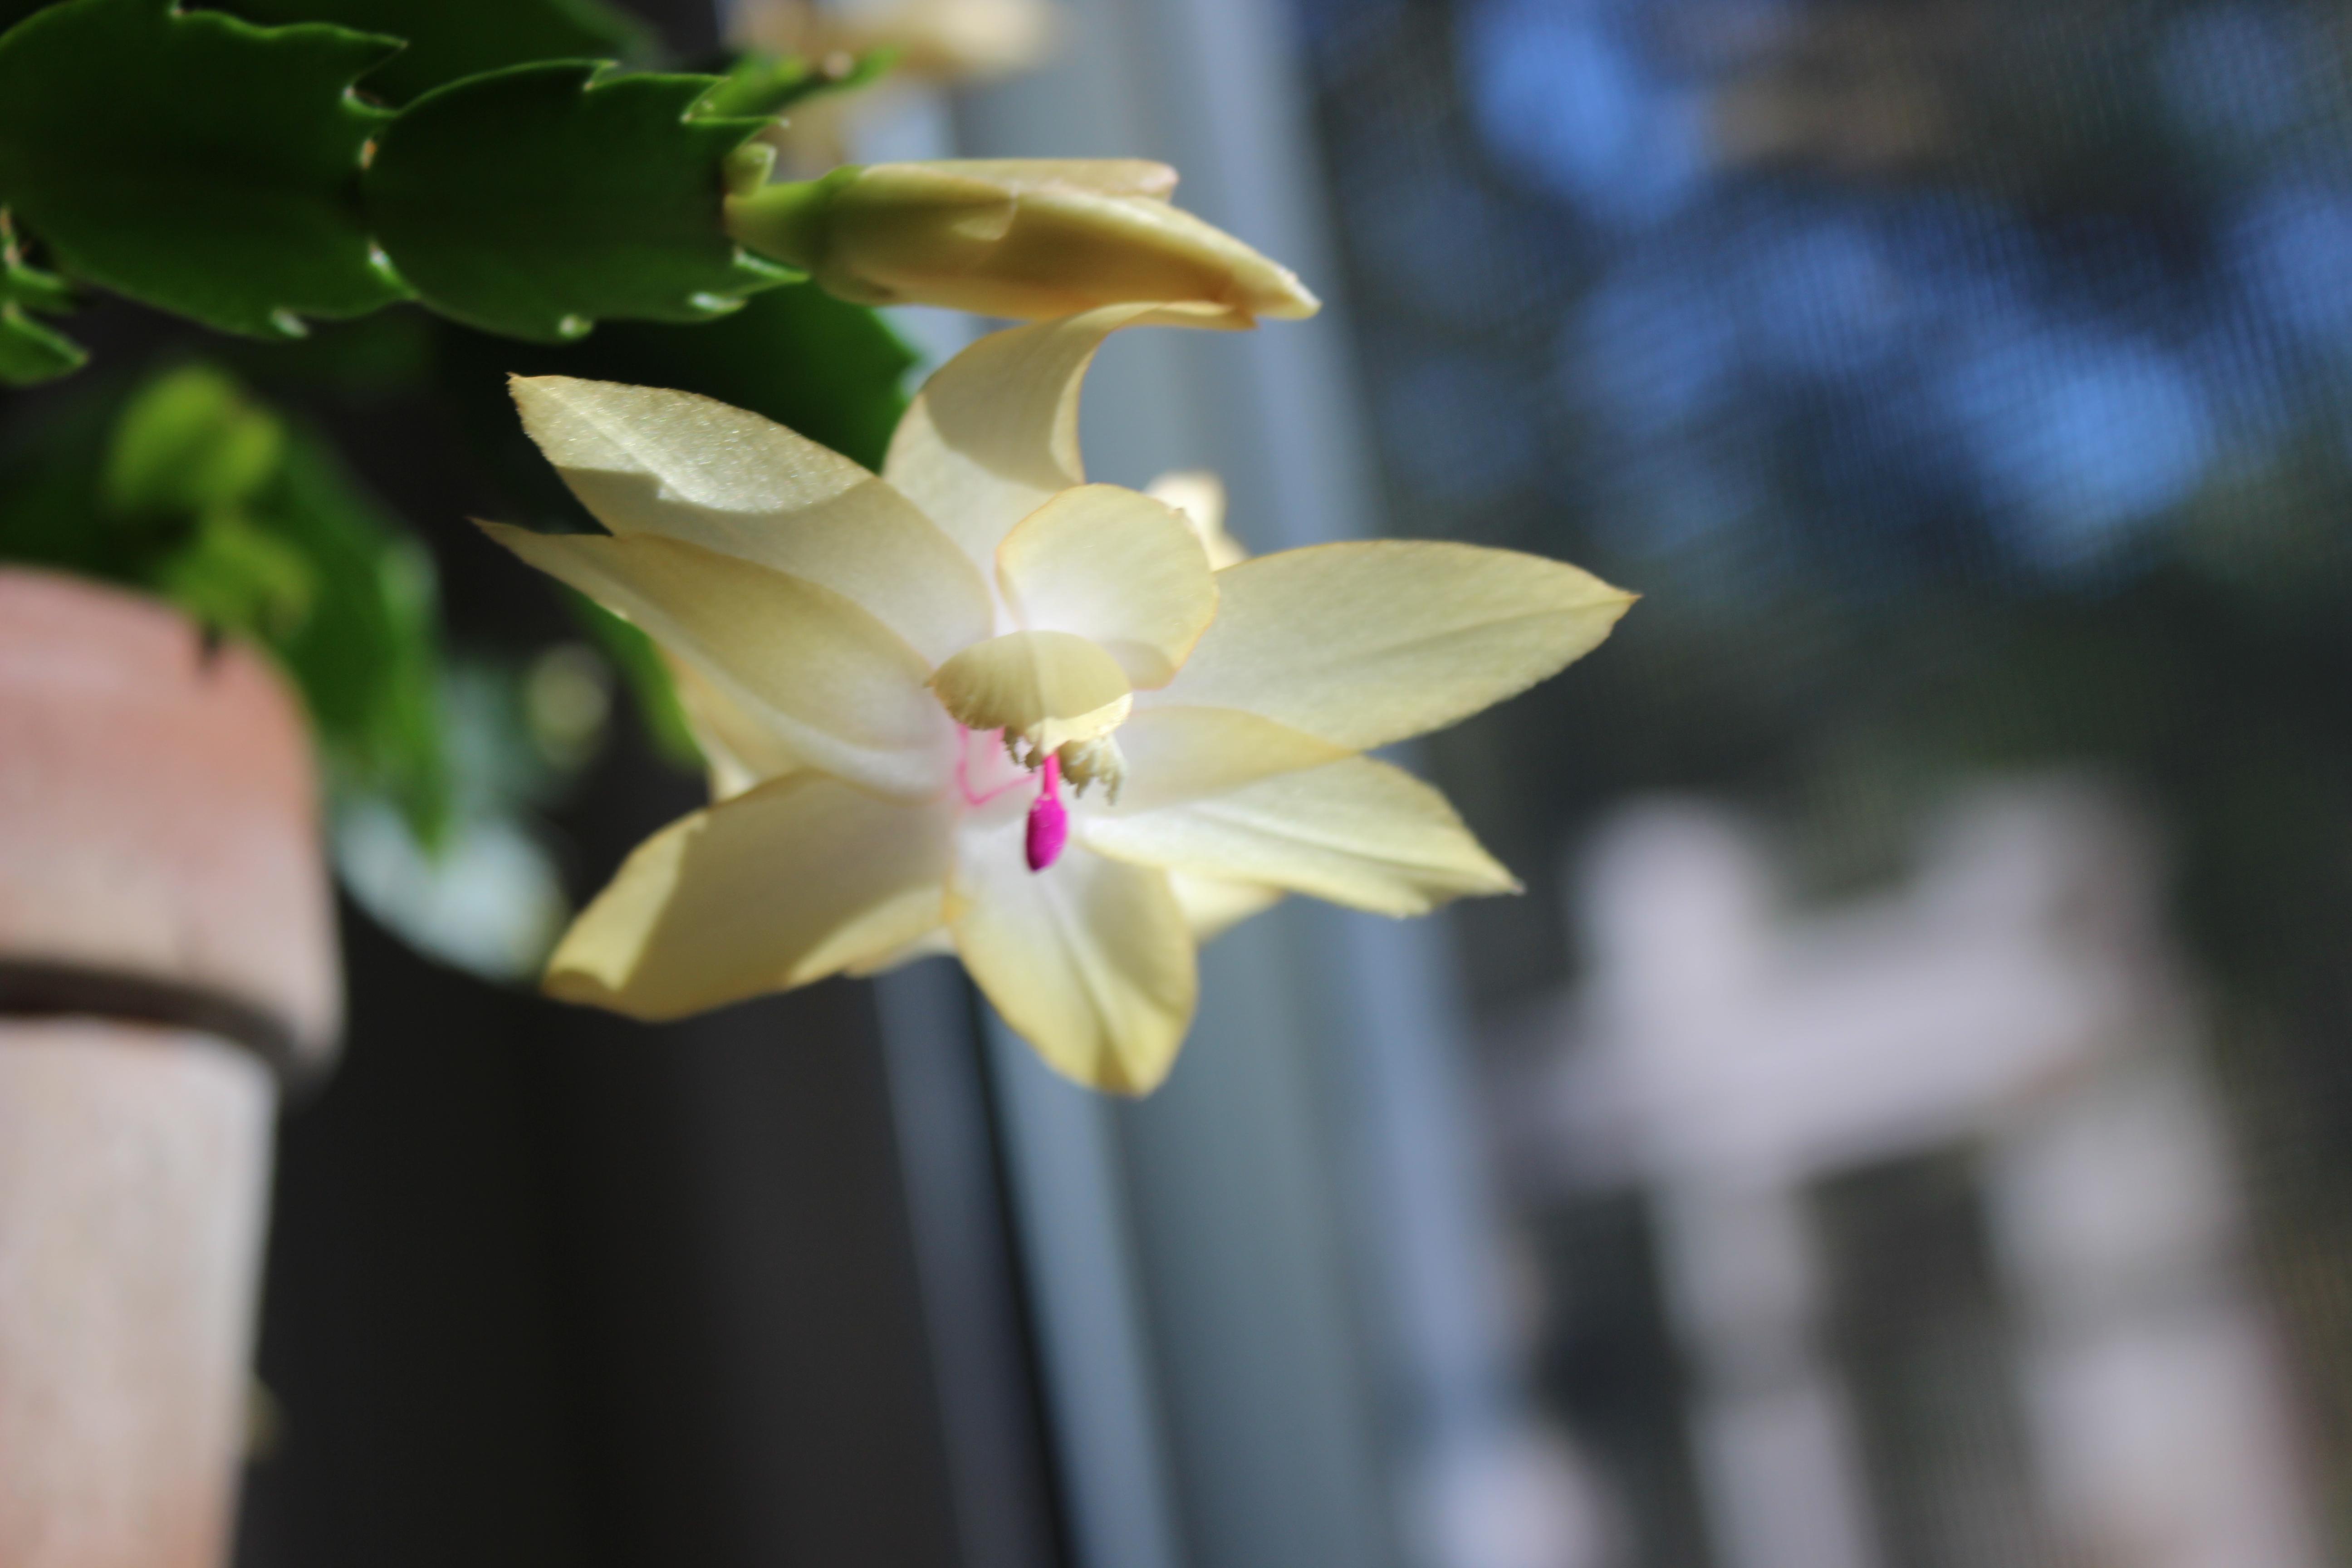
Also, colors vary with temperatures. You may have two identical cacti in different temperatures and get different colors.
Clones of a different color.
Surprise..There may also be two colors on one plant. I have peach and white coming off the same branch.
Two colors on one branch.
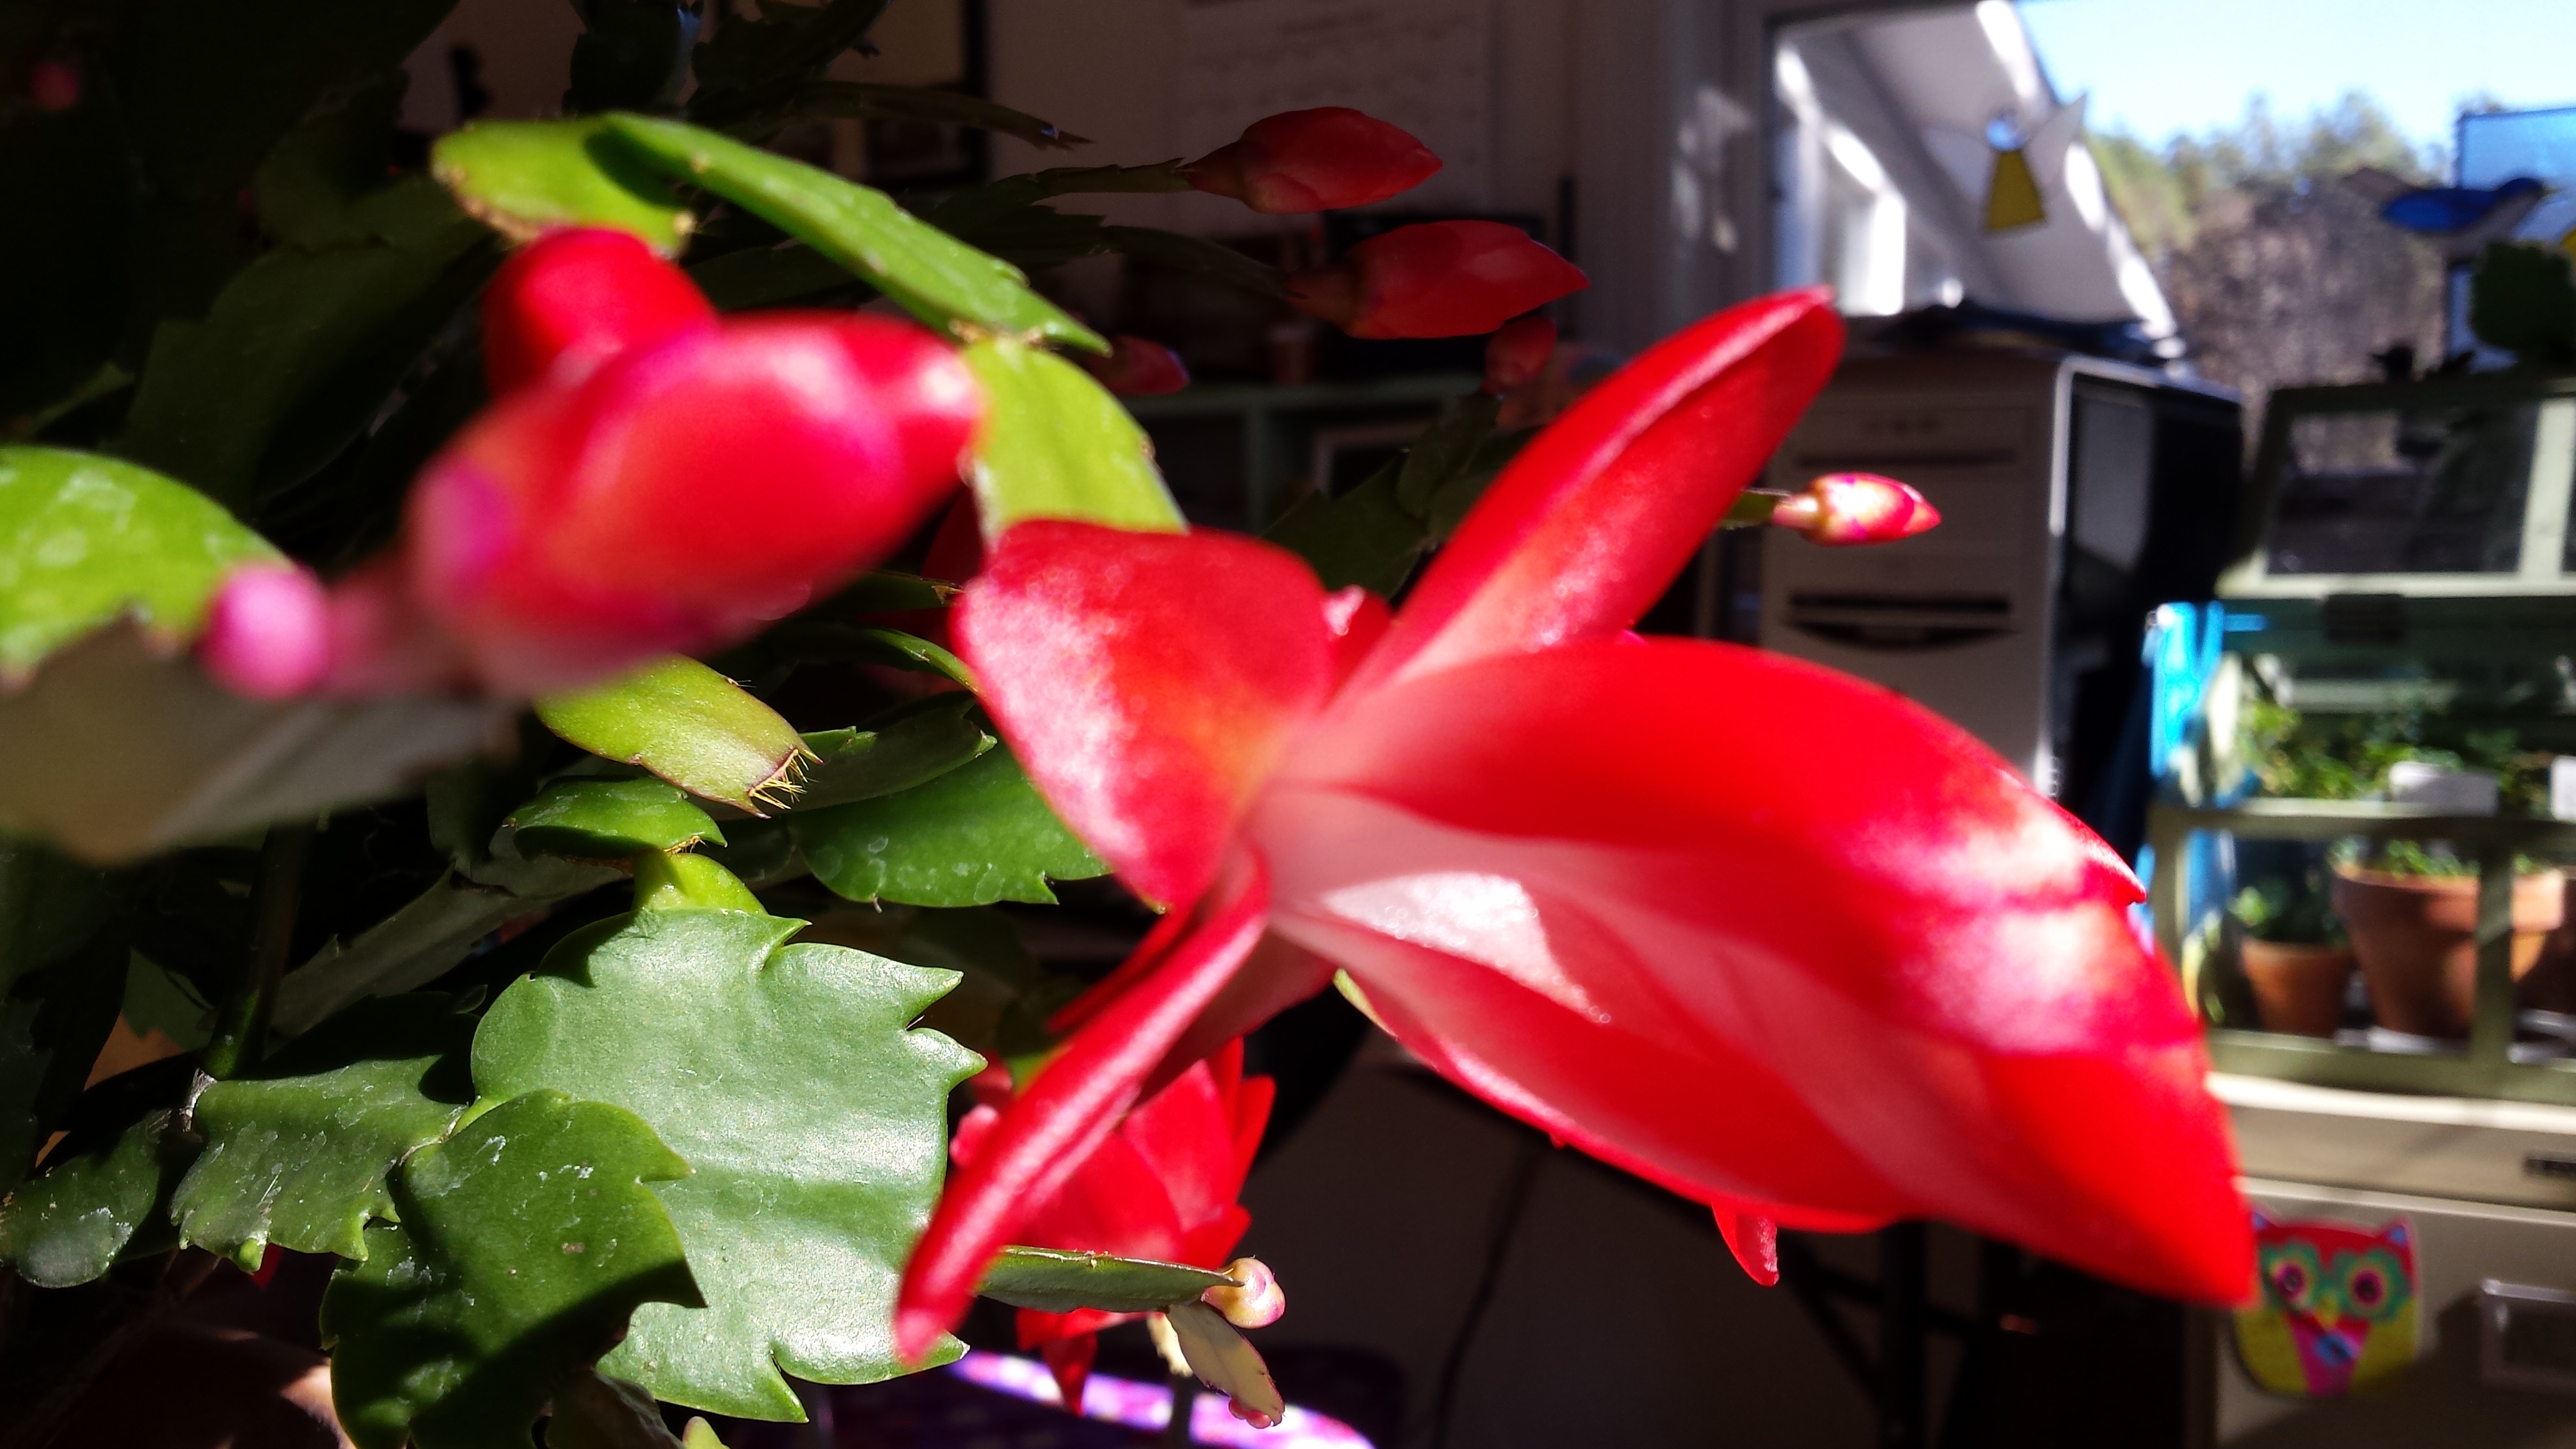
Fifth secret:
Turn, turn, turn…
They get uneven if you leave’um.
Oops! I hate it when that happens.
FINAL secret: Remove blooms as they wither, especially if there is a new bud beside them.
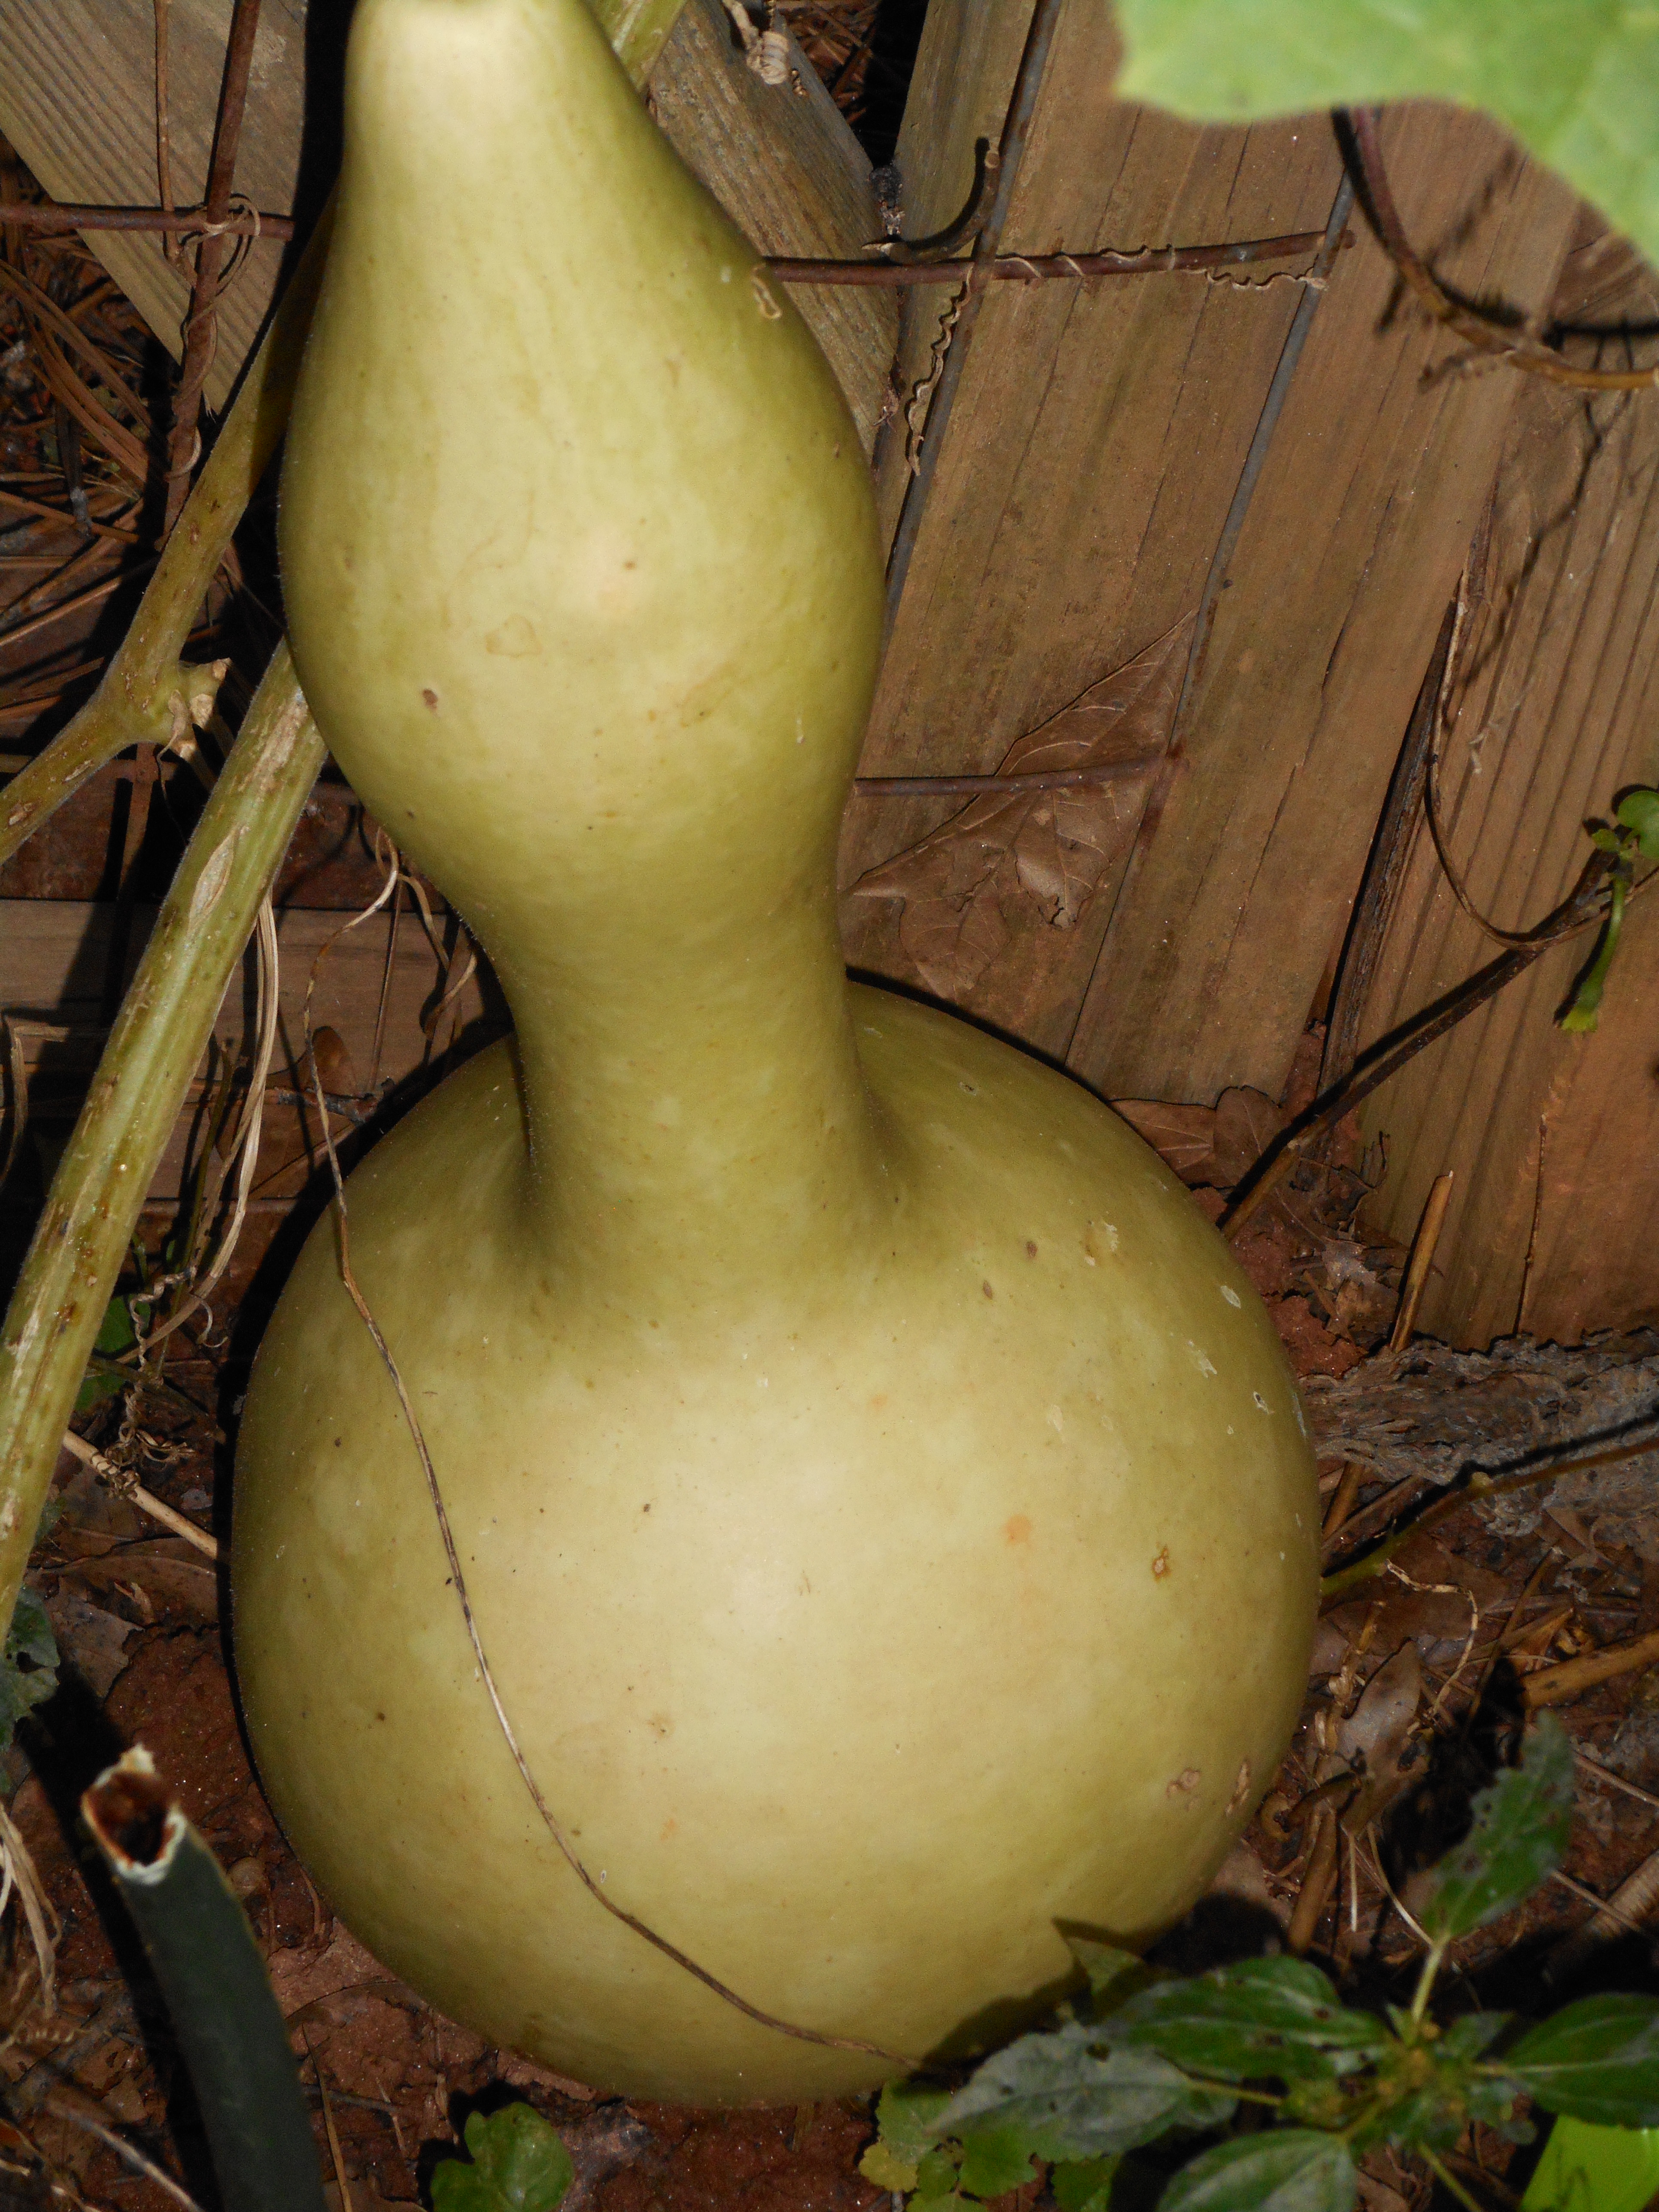
Every few years I grow a new crop of birdhouses. In this post I will show you how to preserve birdhouse gourds and fix them up, so that they can be used for birdhouses. All you have to do is plant some seeds at the beginning and decorate them at the end. I’ll guide you through the middle.
First: DO NOT pick them now. They must stay on the vine through the winter, until they are brown and ugly. They will rot if you pick them while they are pretty and green. This is called seasoning. Mother nature does this part.
Green Gourd. Do not pick.
Second: In the spring, I soak my ugly brown gourds in a giant tub that looks like a witch’s cauldron. That makes this messy part more fun. I mix in about one part bleach to about ten parts water. The bleach kills and mold and bacteria on them. They float, so you have to put a big board on top with of the cauldron with some weight on it to keep them submerged. I let them soak all day and then scrub them with a fiber-bristle brush to remove the skin and debris.
DO NOT let them soak more than twenty-four hours. They will turn to mush. Let them dry several days to harden again.
Ho, Ho, Ho, Yes Sirree; little brown gourd how I love thee.
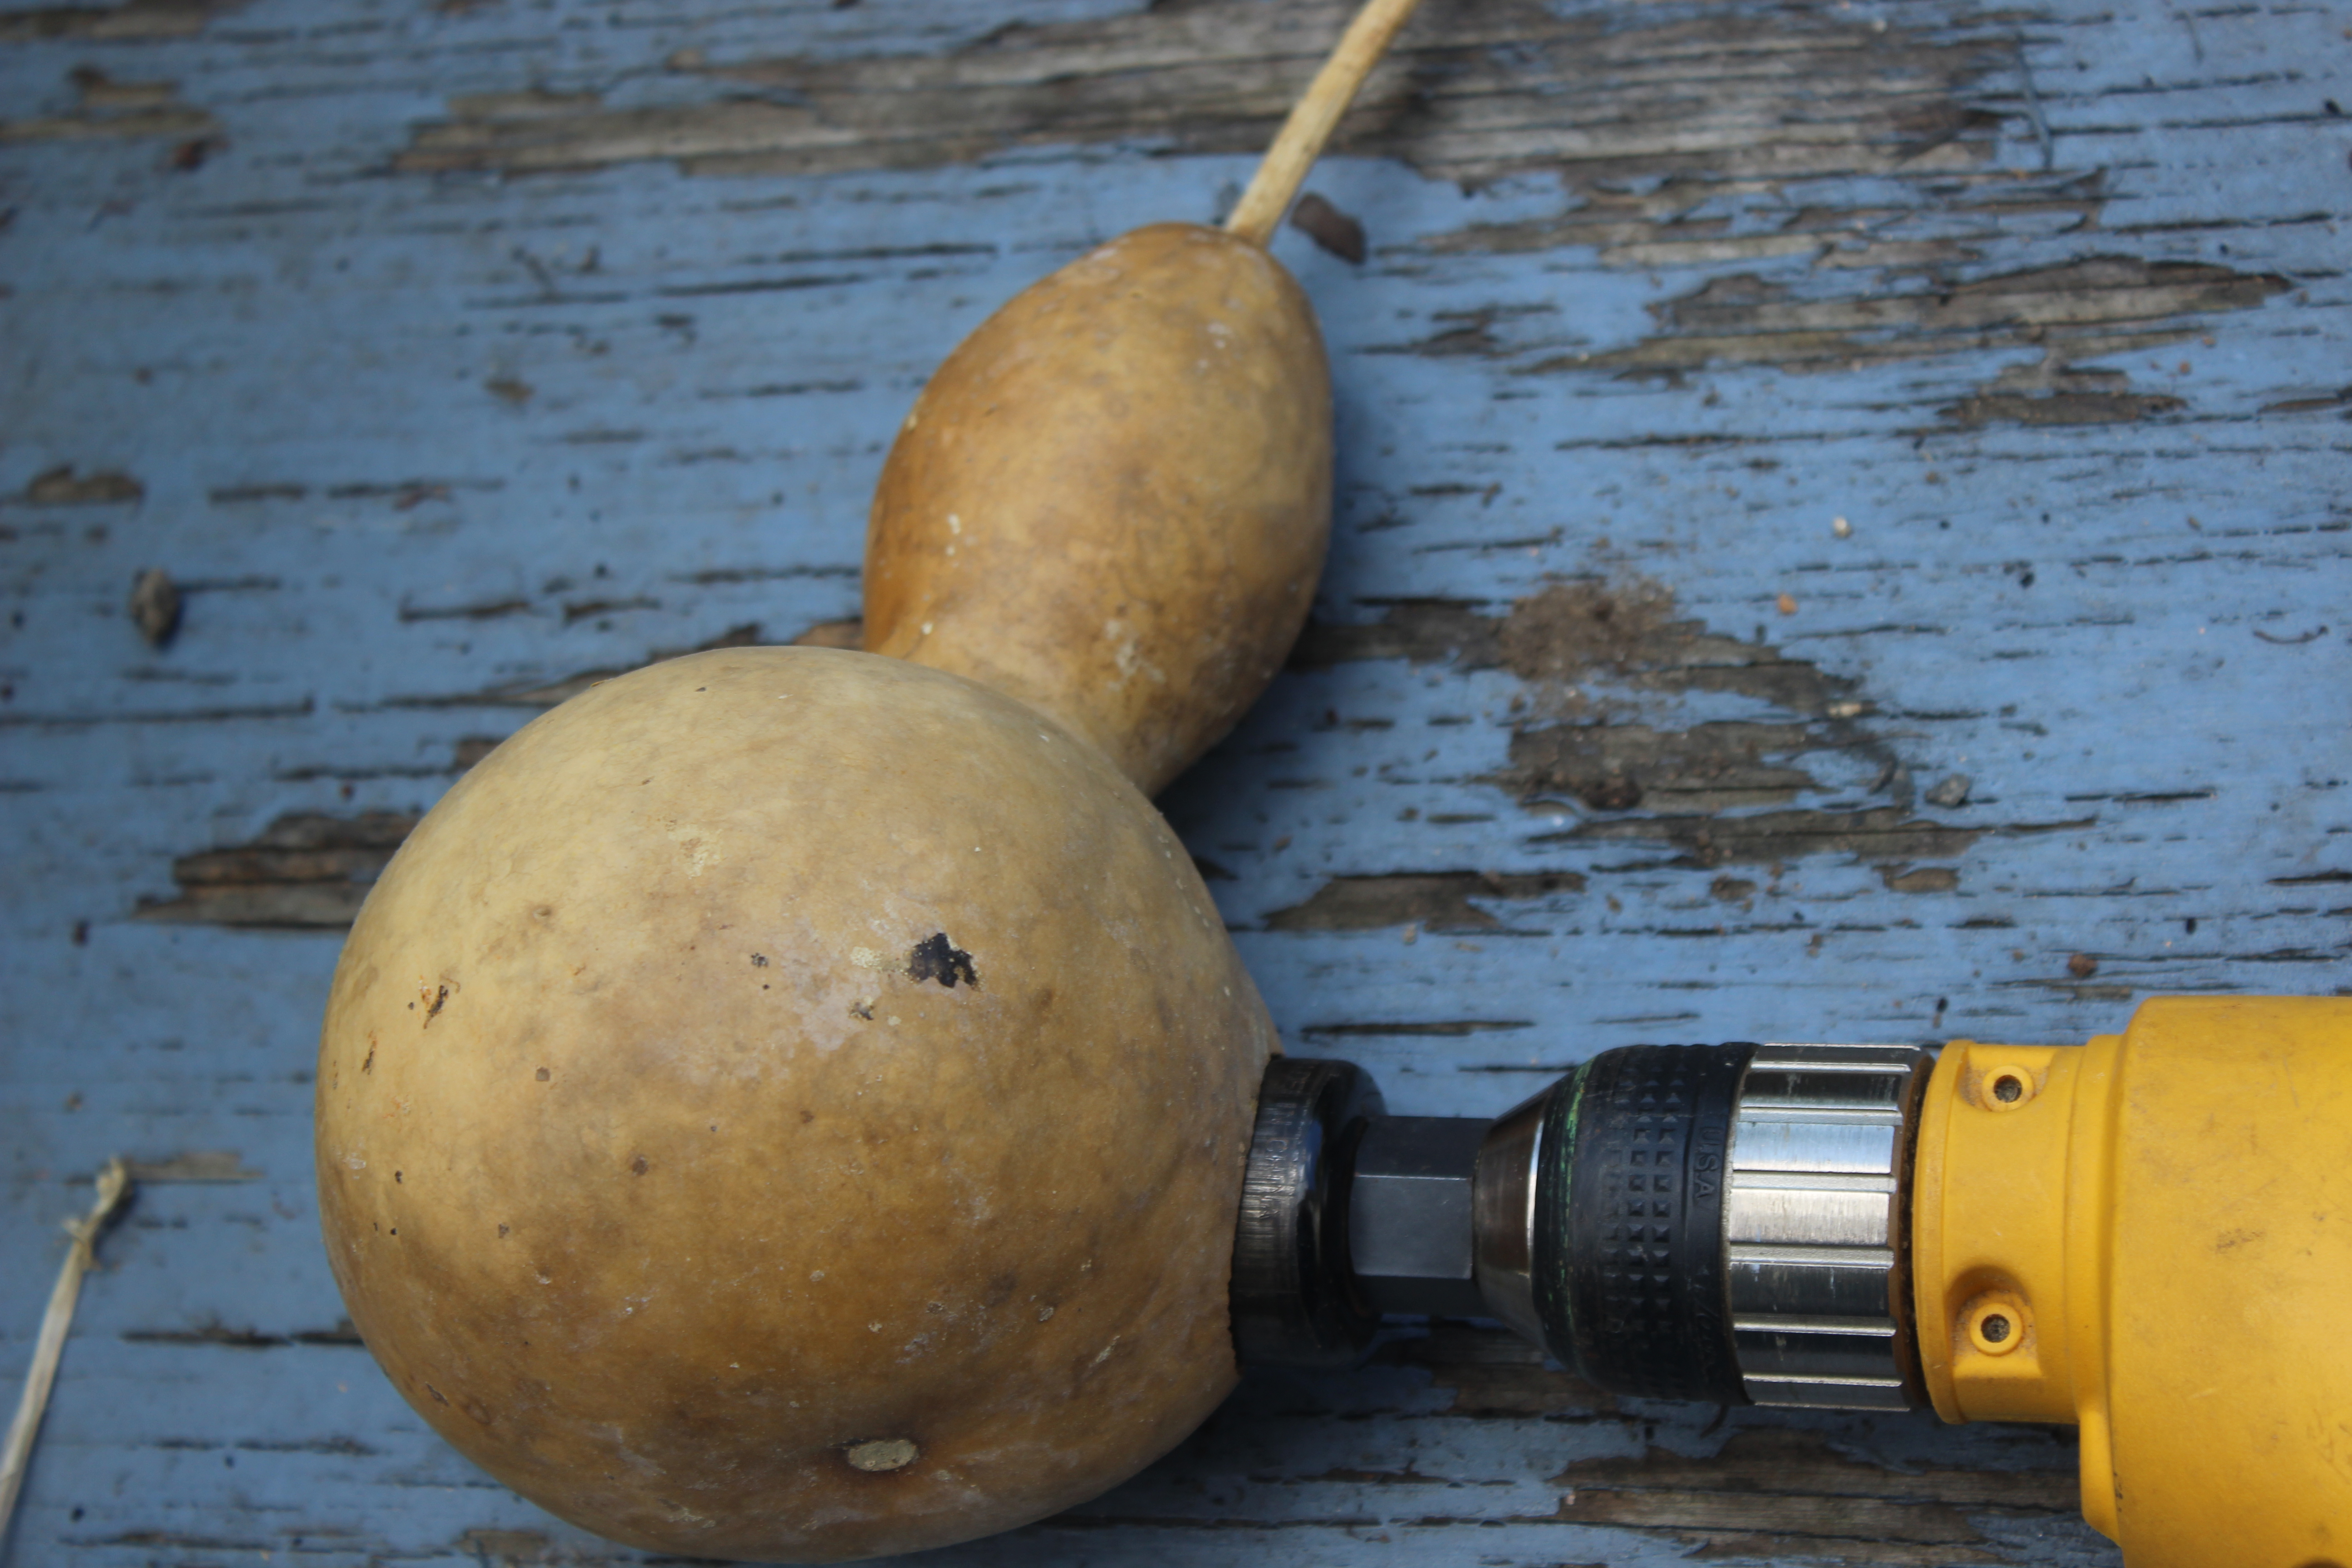
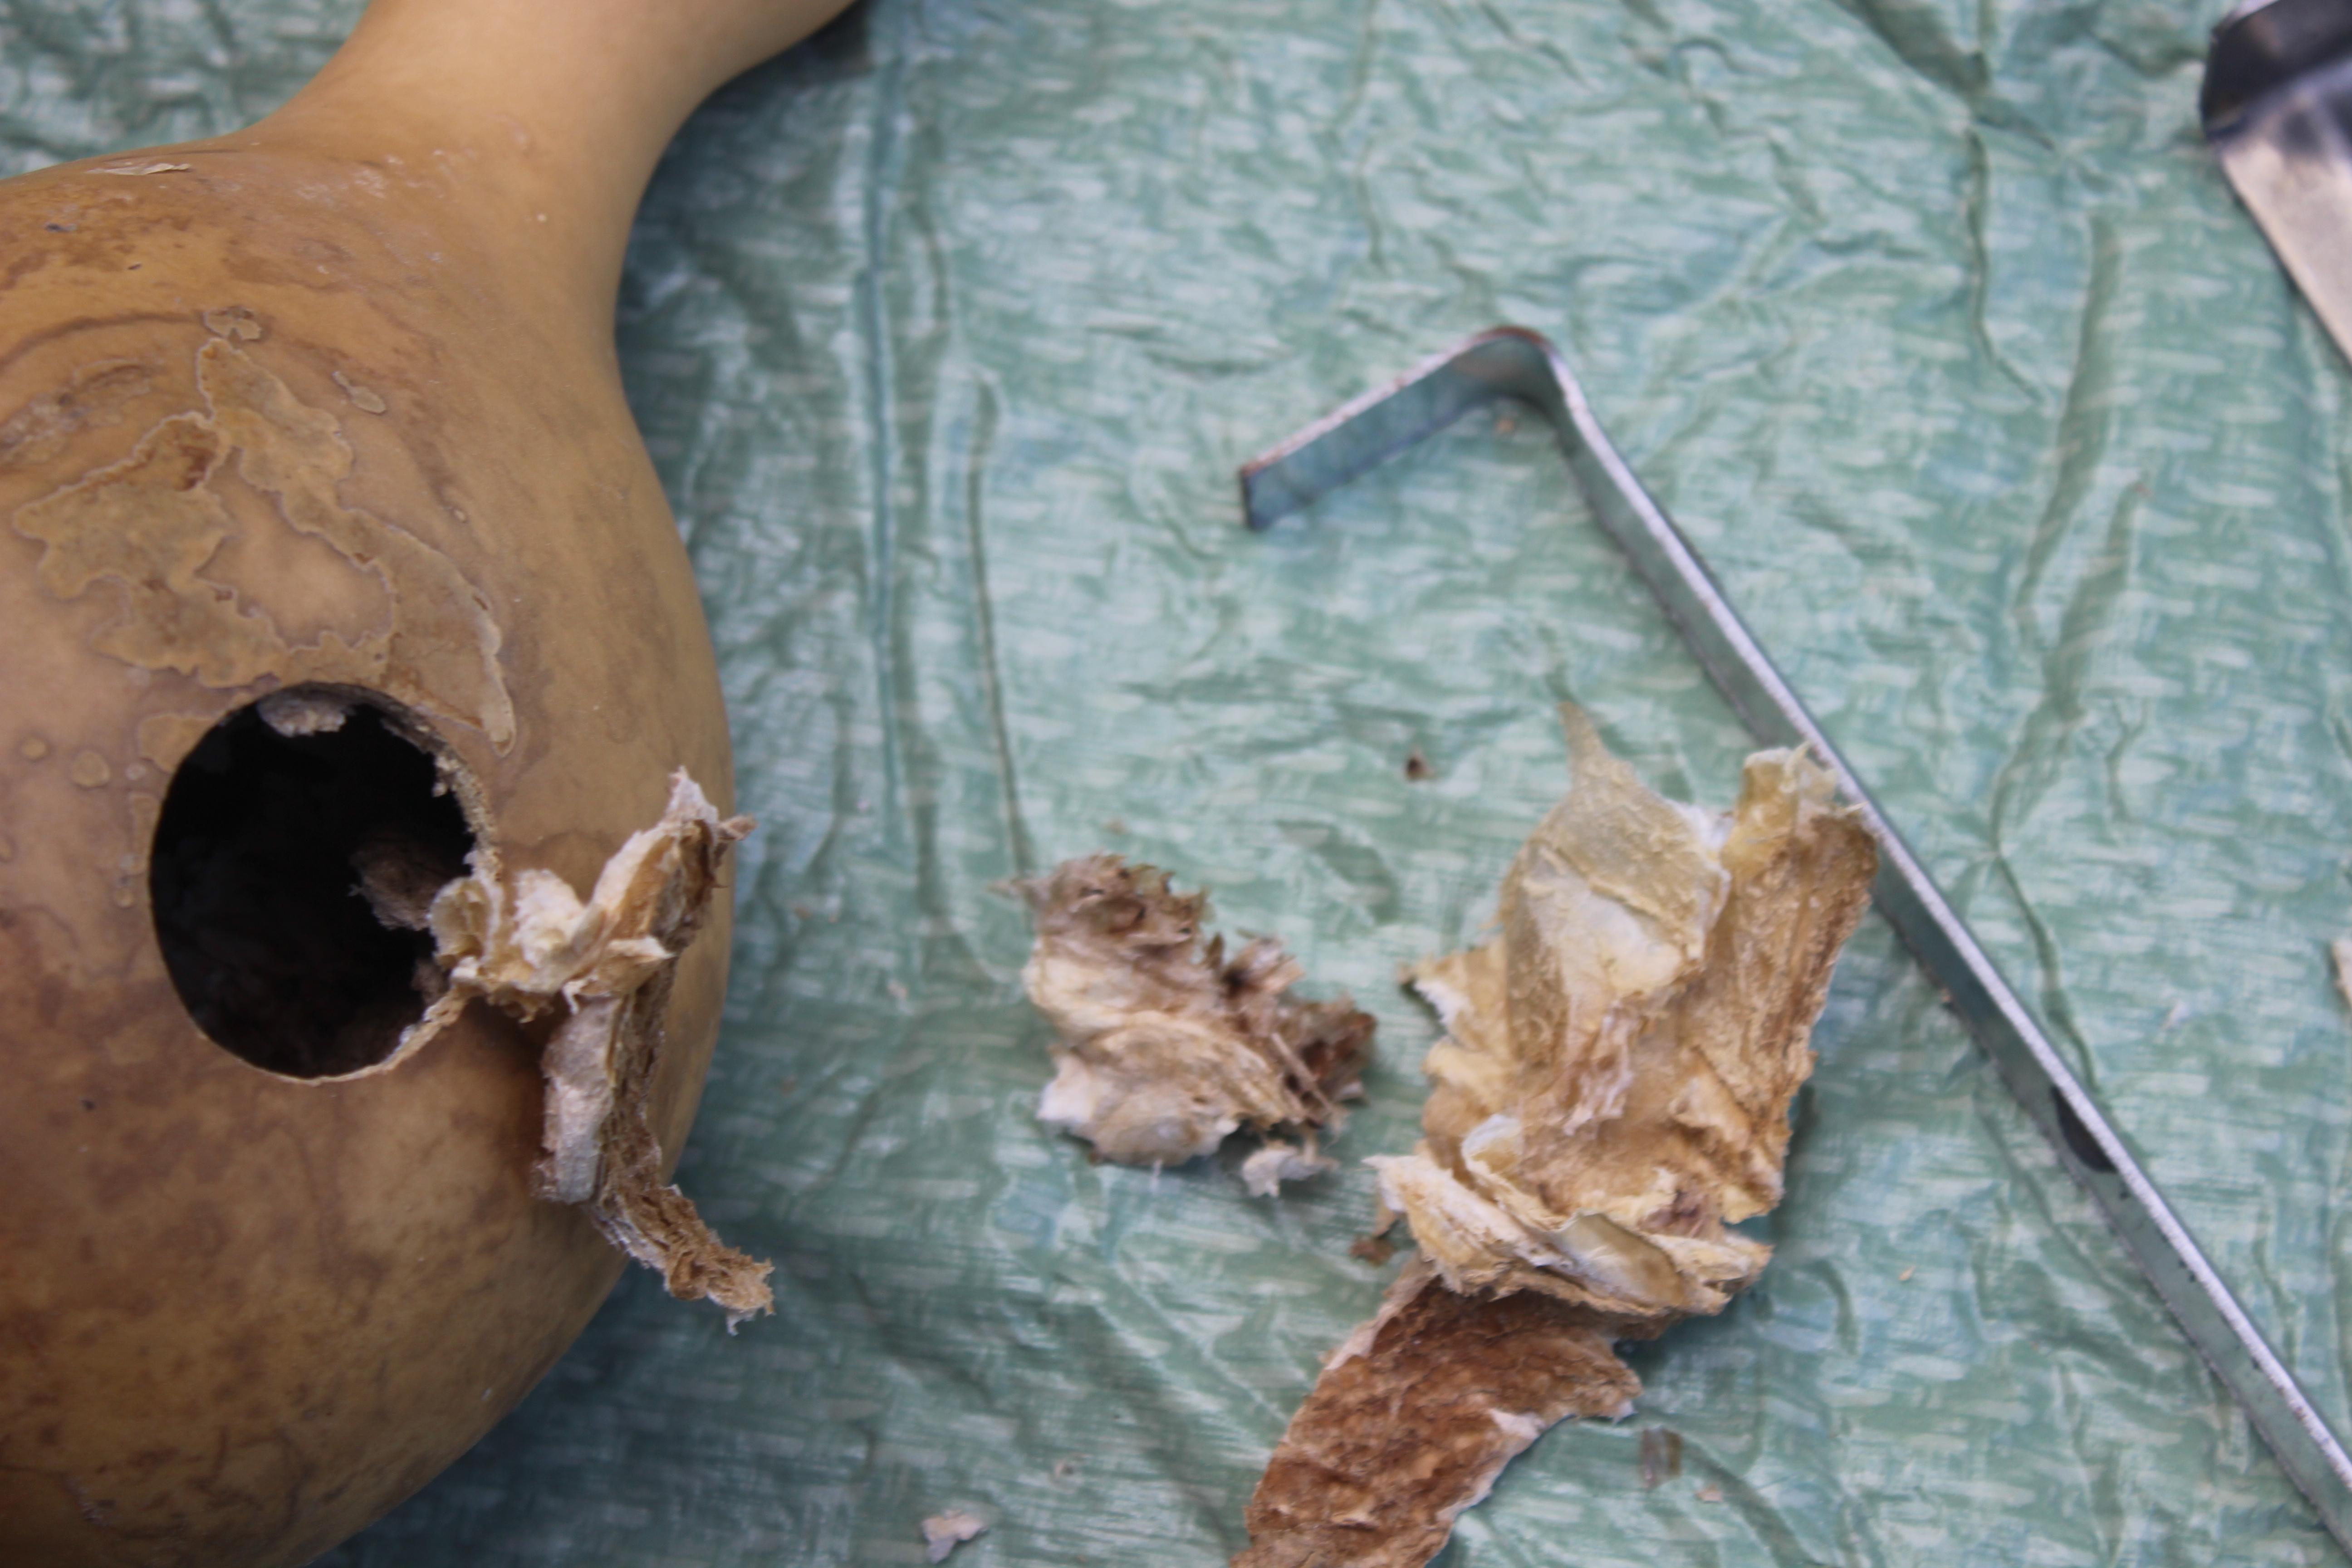
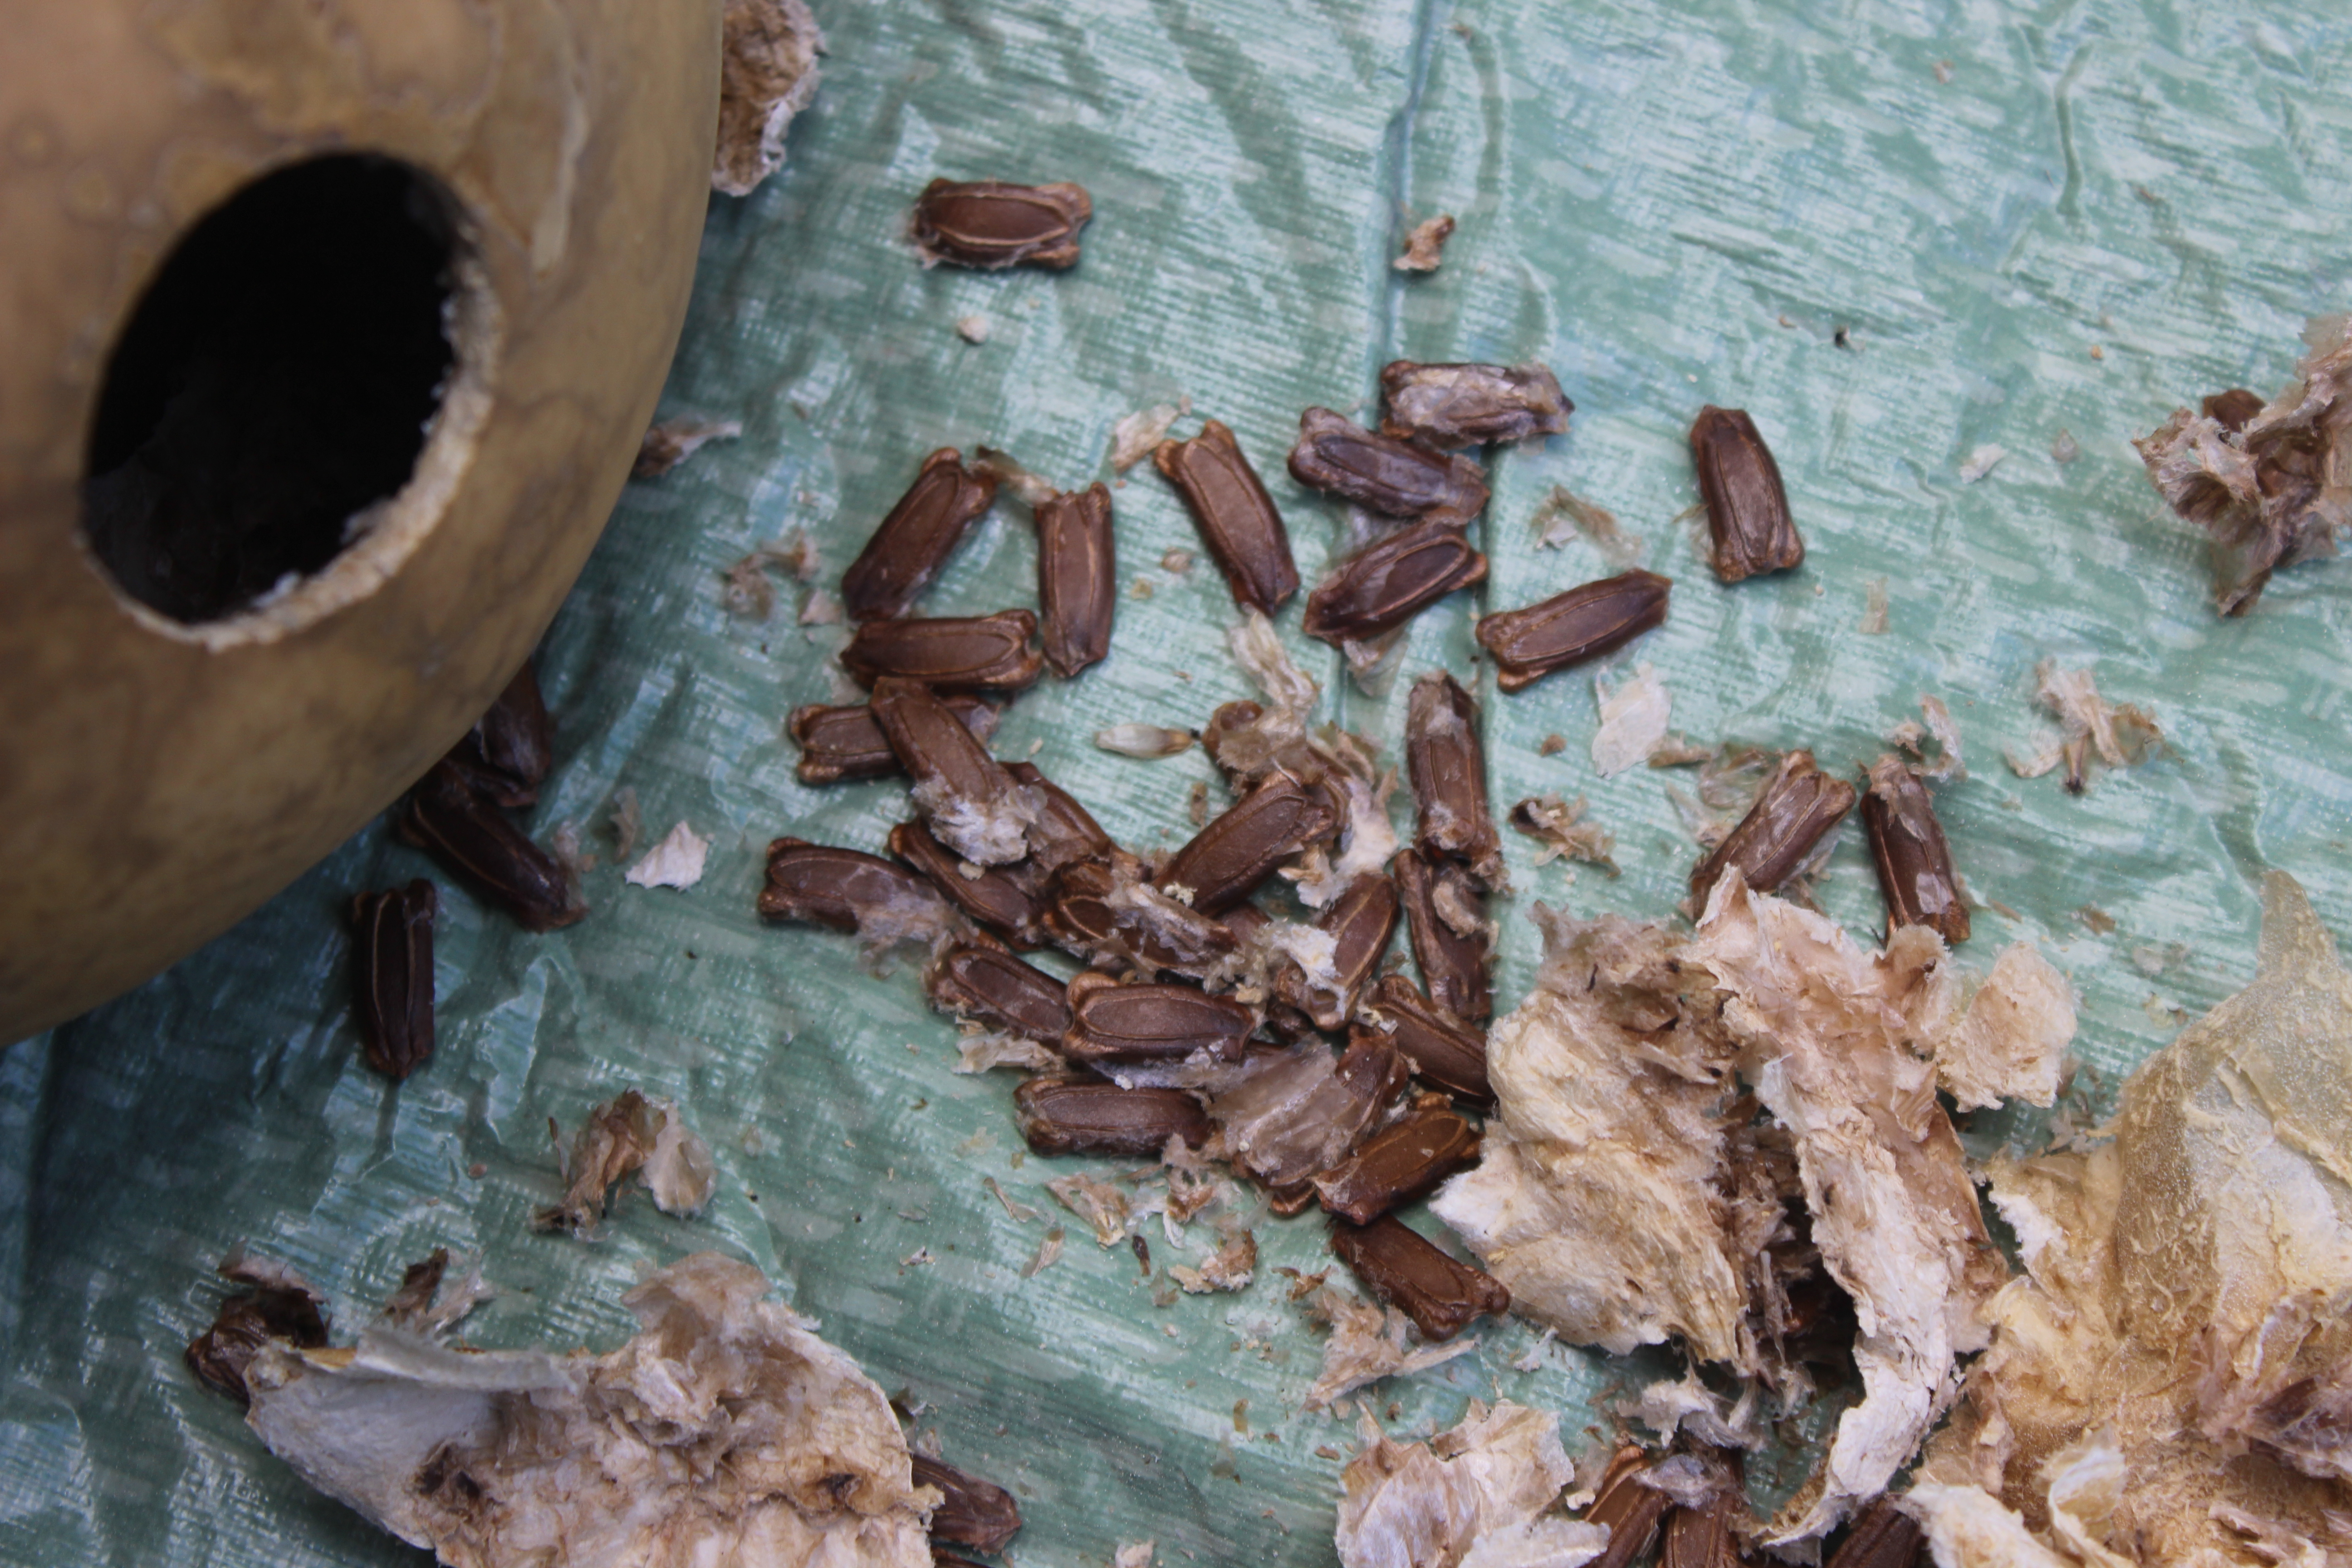
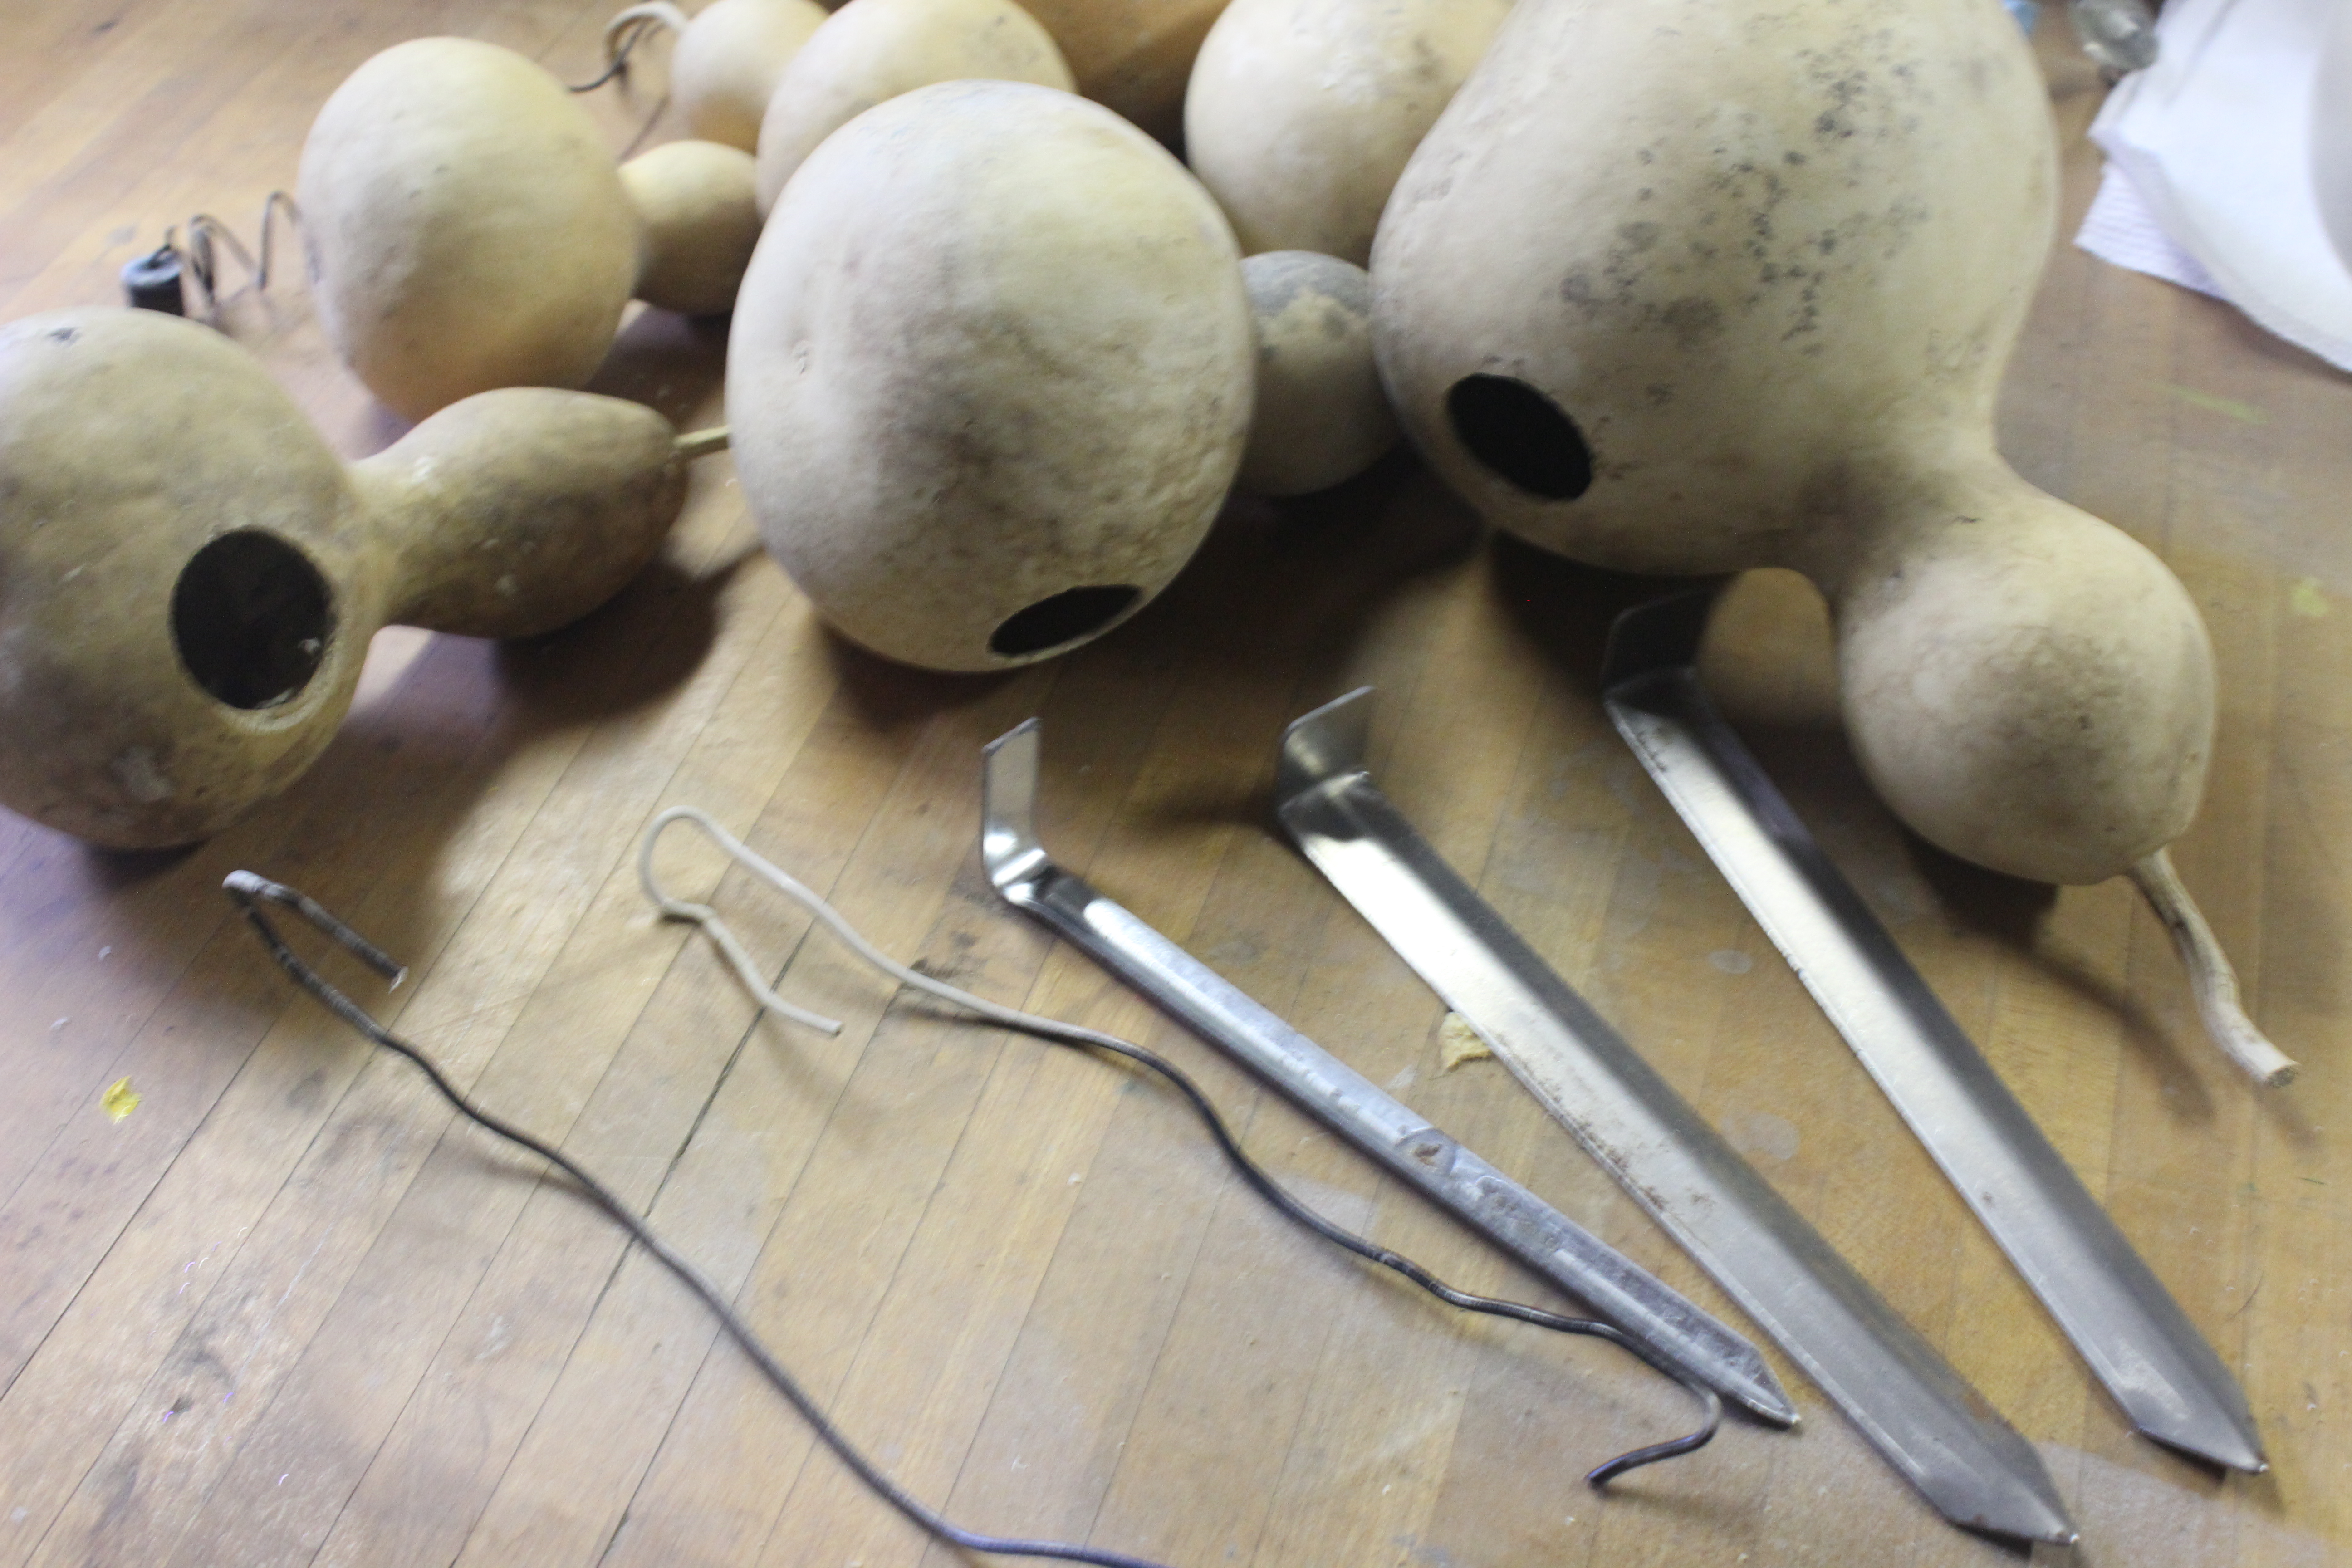
Third: Remove the seeds. I use my 1-and-1/4 inch drill bit to drill the door for the bird. I pull the seeds out this same hole. I keep a hooked piece of strong wire for pulling out seeds and for pulling the hanger wire through later. I also find landscaping stakes handy for scraping out the seeds and tissue within the gourd.
Scrapers and stakes and snaked hooks
Years ago I made the mistake of dumping out all my seeds after doing this. The smart little squirrels remembered those tasty seeds the next year and ate my gourds. So, do not share the seeds with your local, furry friends.
I have put mesh bags(like for lemons or onions) around the gourds to discourage the squirrels. One year I did not have enough bags, so I tried pantyhose. What a mess! Don’t try that at home.
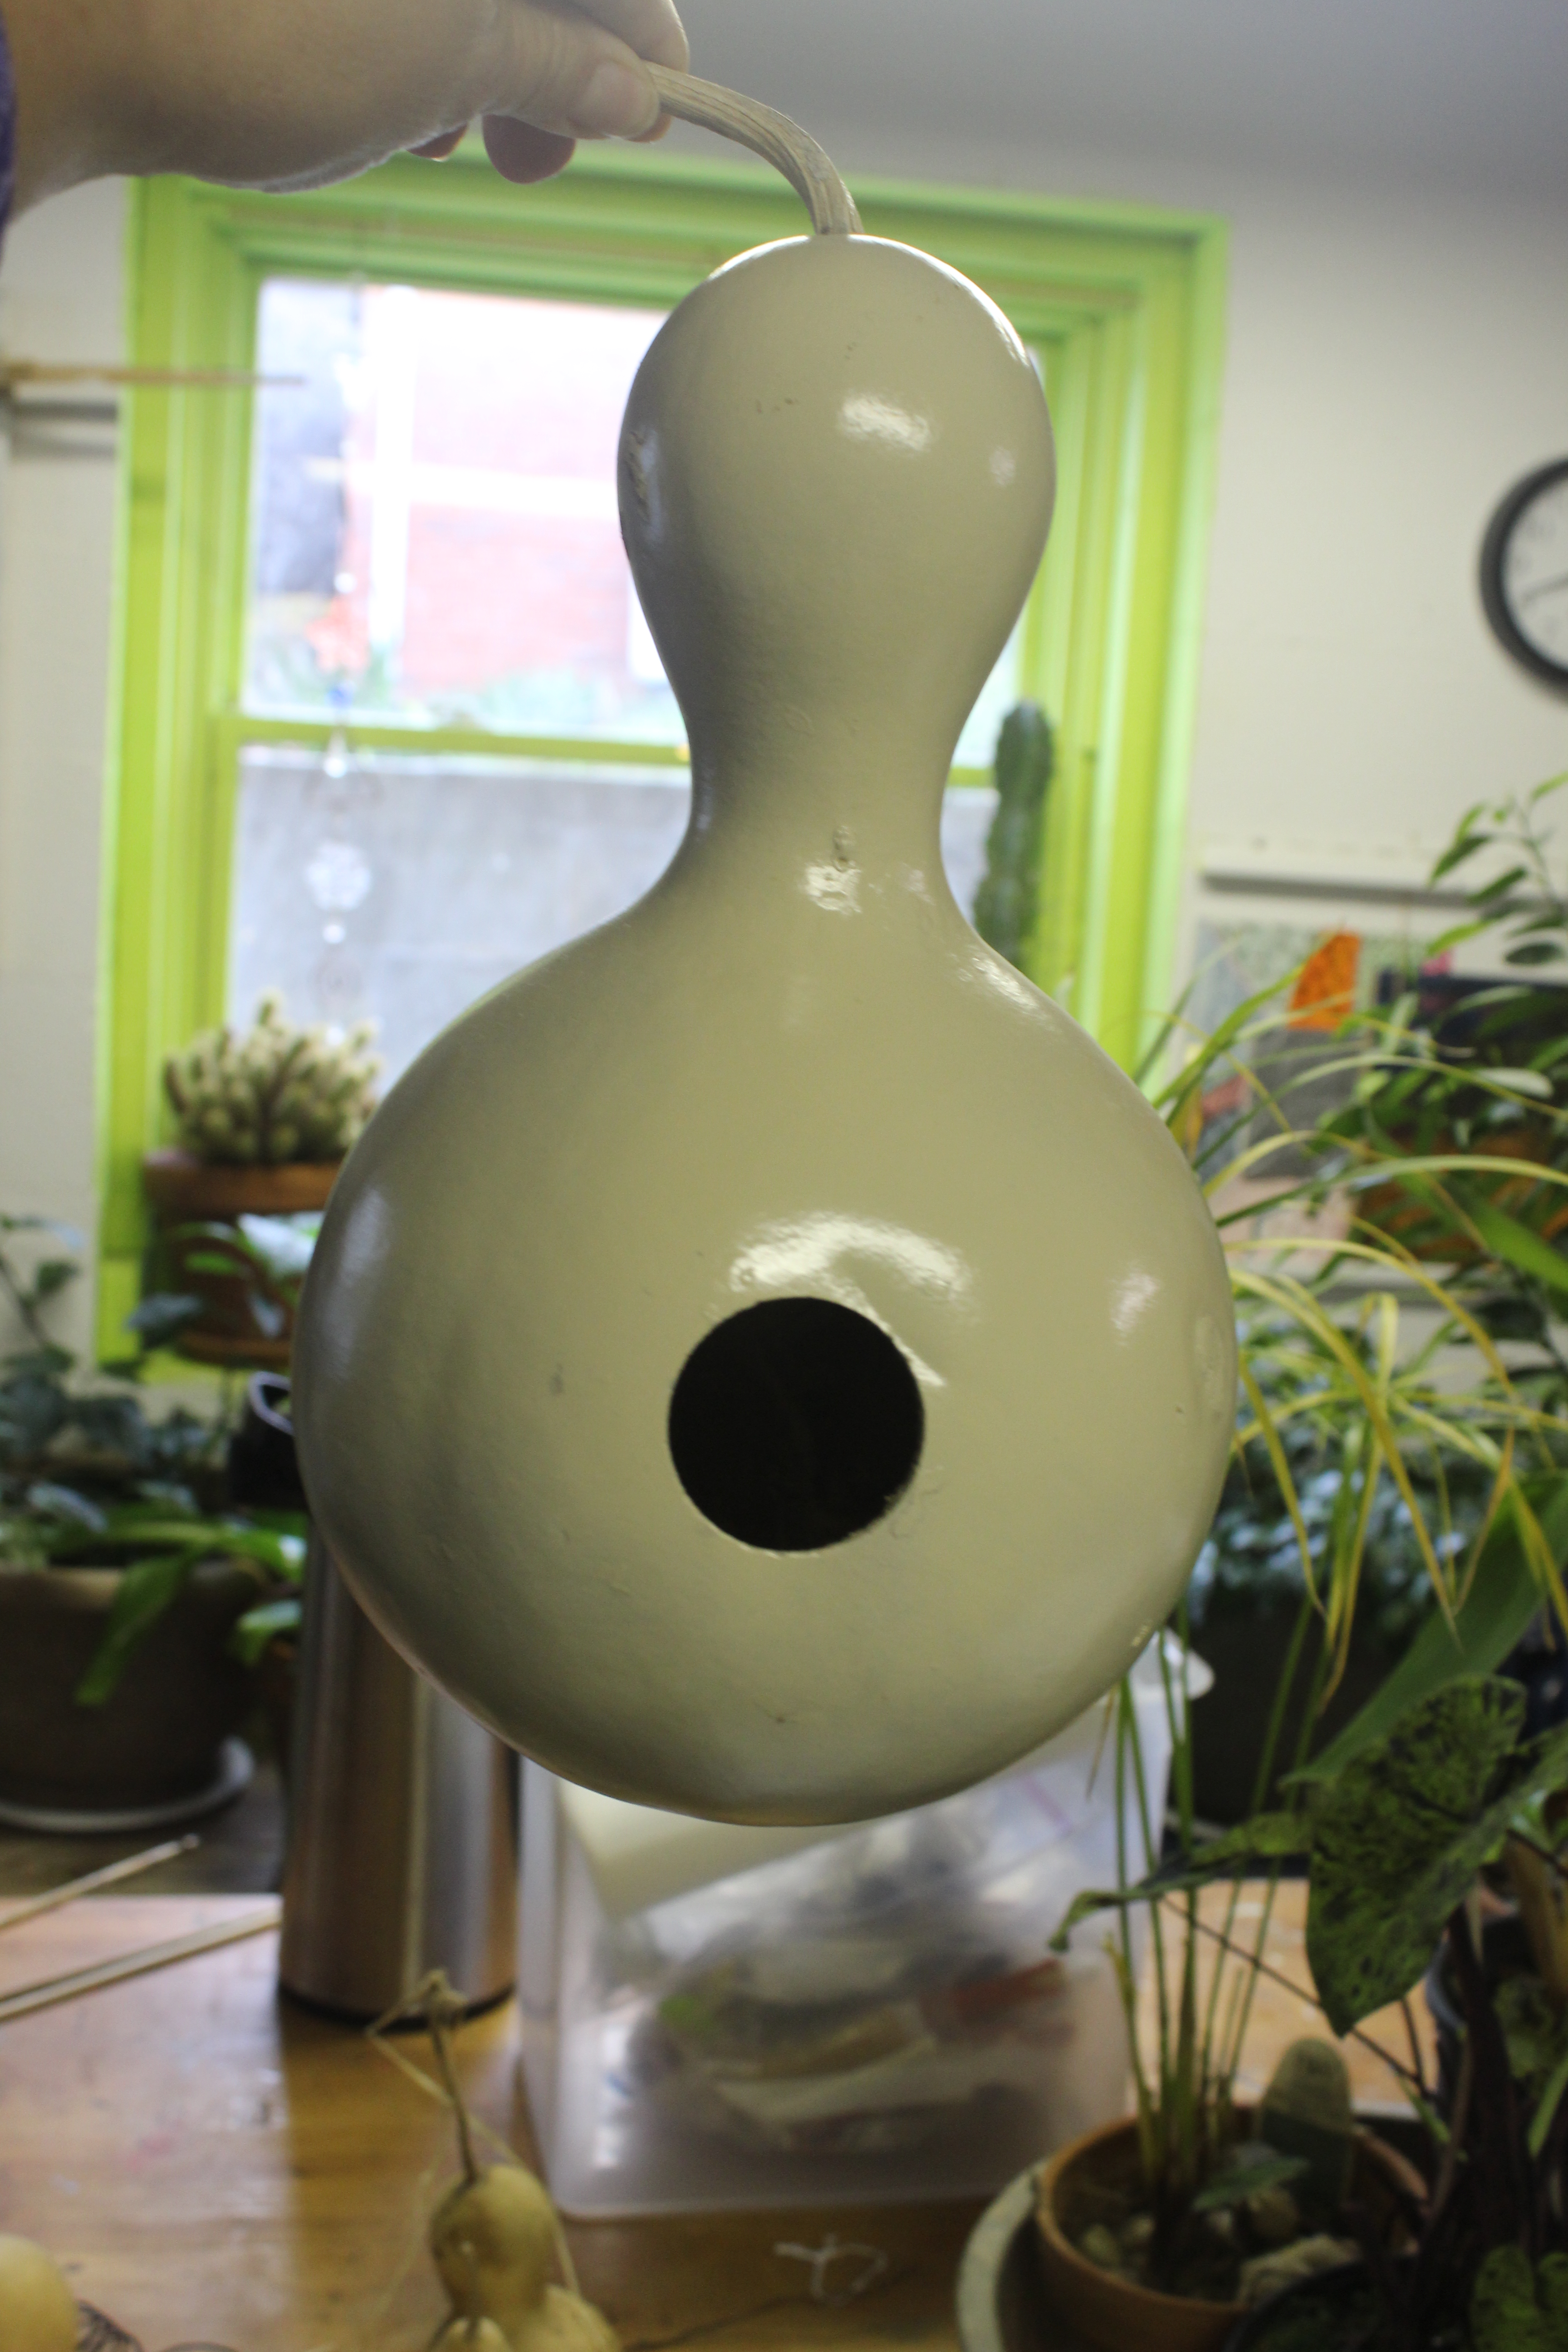
Fourth: Drill one small hole at the top of the neck near the stalk for your hanging wire. Also, drill four or five small holes through the bottom for ventilation or in case water happens to get in. Baby song birds cannot swim, you know.
Fifth: Take a sturdy wire about two and a half feet long and push it down through the top hole until you can see it by looking through the door. Then use that same hooked piece of wire that you used to remove seeds to pull the end of the long wire out through the hole. Bend the end of the wire to make a loop and then pull the loop back into the gourd using the top of the wire.
Pull firmly but carefully to get the loop back in the gourd and up into the neck of the gourd. If you pull the wire too hard and break off the neck, you can make a nice bowl with the gourd you just mutilated. This wire is how you hang up the birdhouse. We swirl our wire around a one-inch dowel rod to make it look like a tendril.
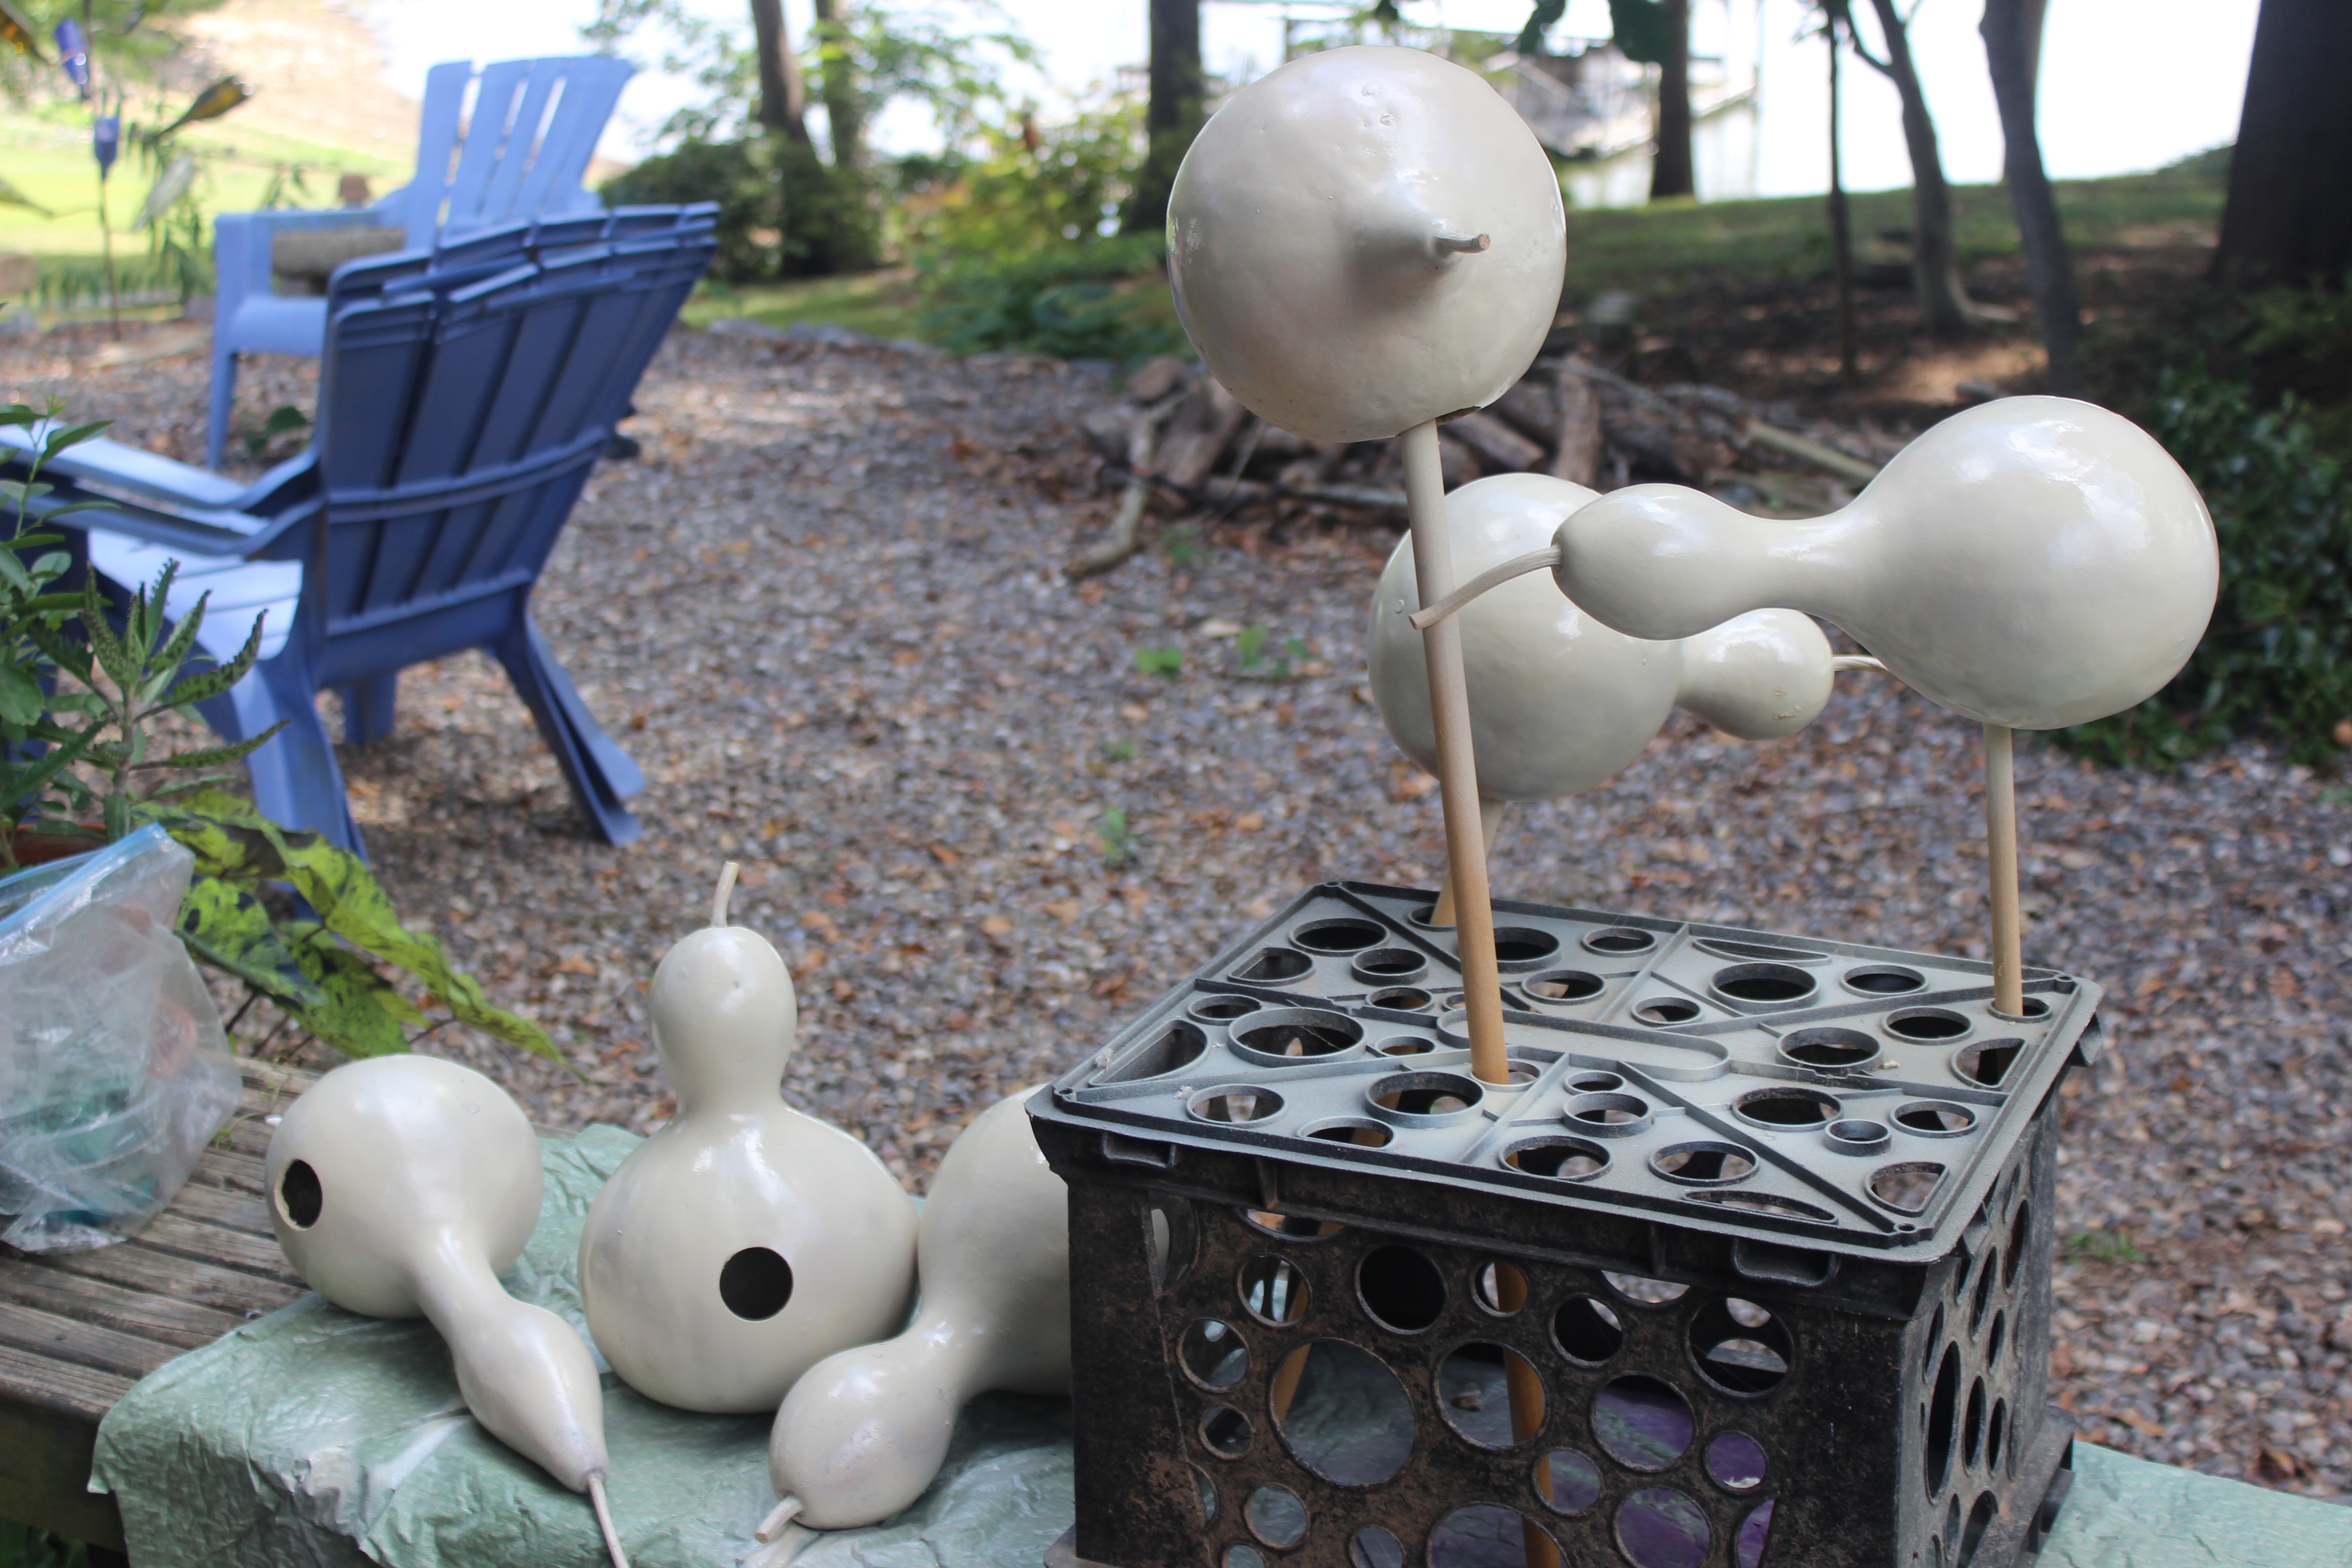
Finish: I prime mine with a neutral color. Then paint them with exterior paint. We stick large sticks or dowel rods through an upside down crate for painting and drying. Hang the gourd by putting the “door” over the rod.
Gourd on a stick.Primed and ready for fun.
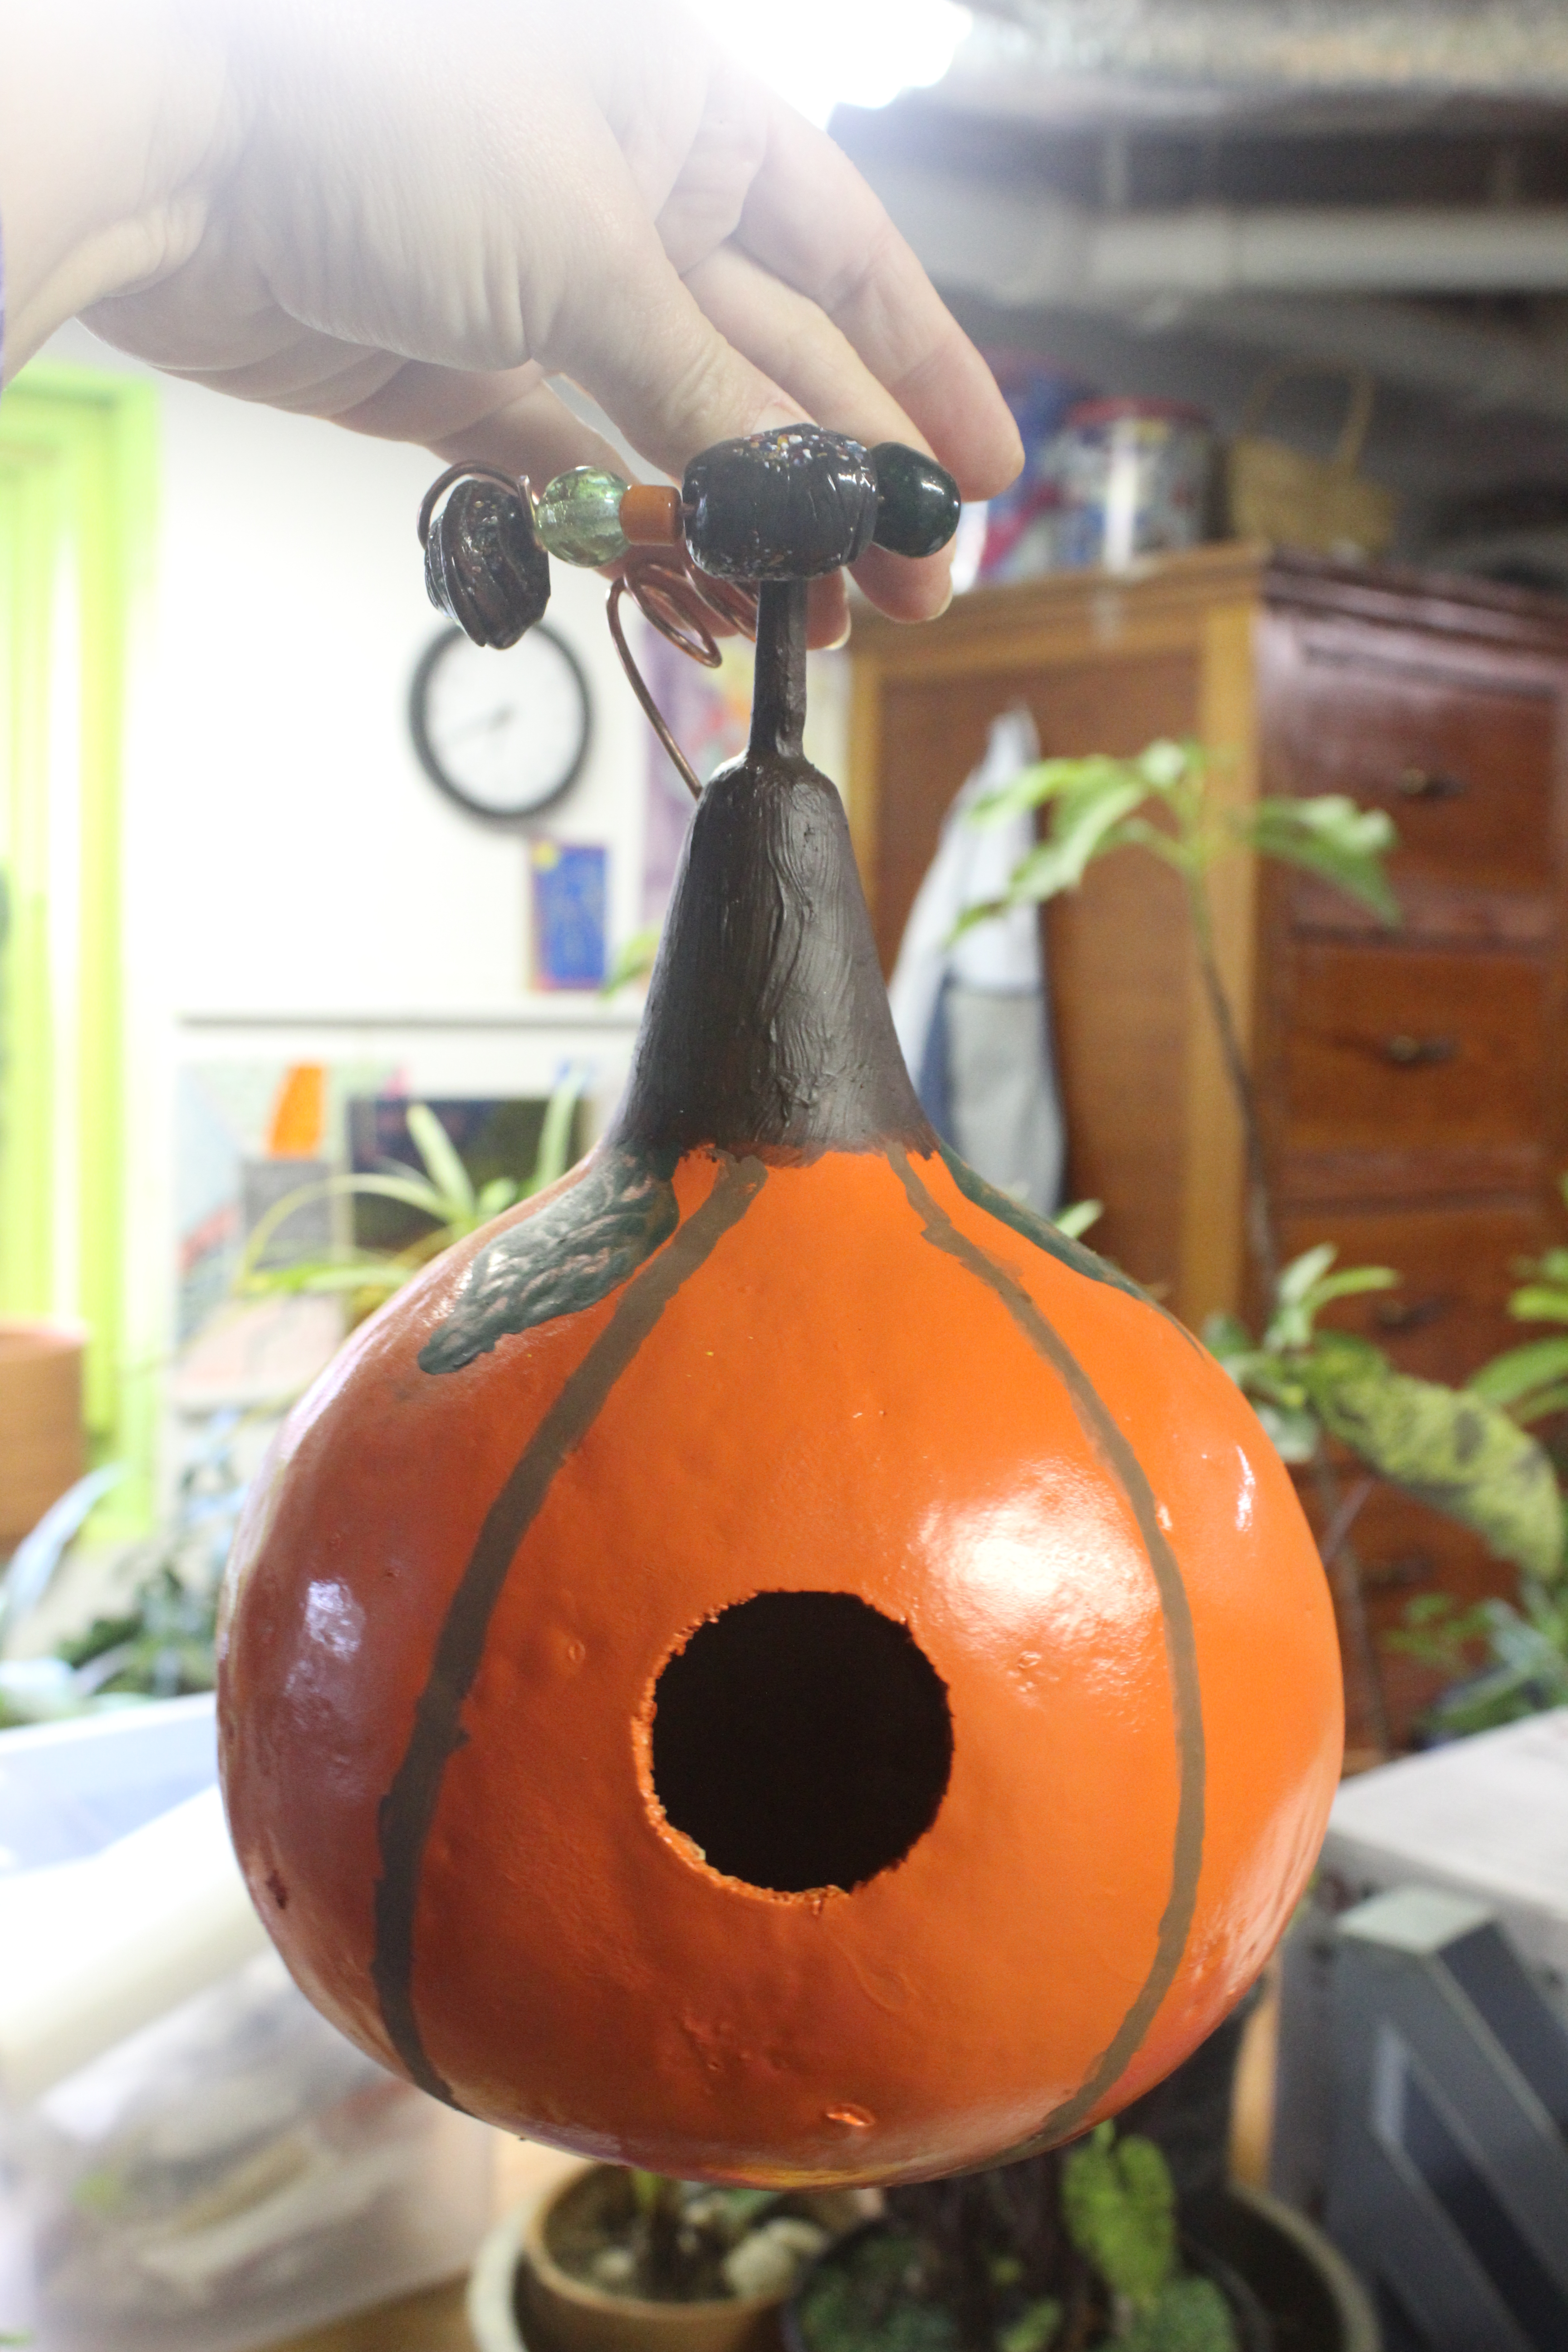
Then use your imagination to decorate your birdhouse. Let the gourd speak to you. The shapes will vary, so each one will have its own personality.
They will last longer if you also spray them with clear acrylic. We also jazz them up by adding beads onto the hanging wire.
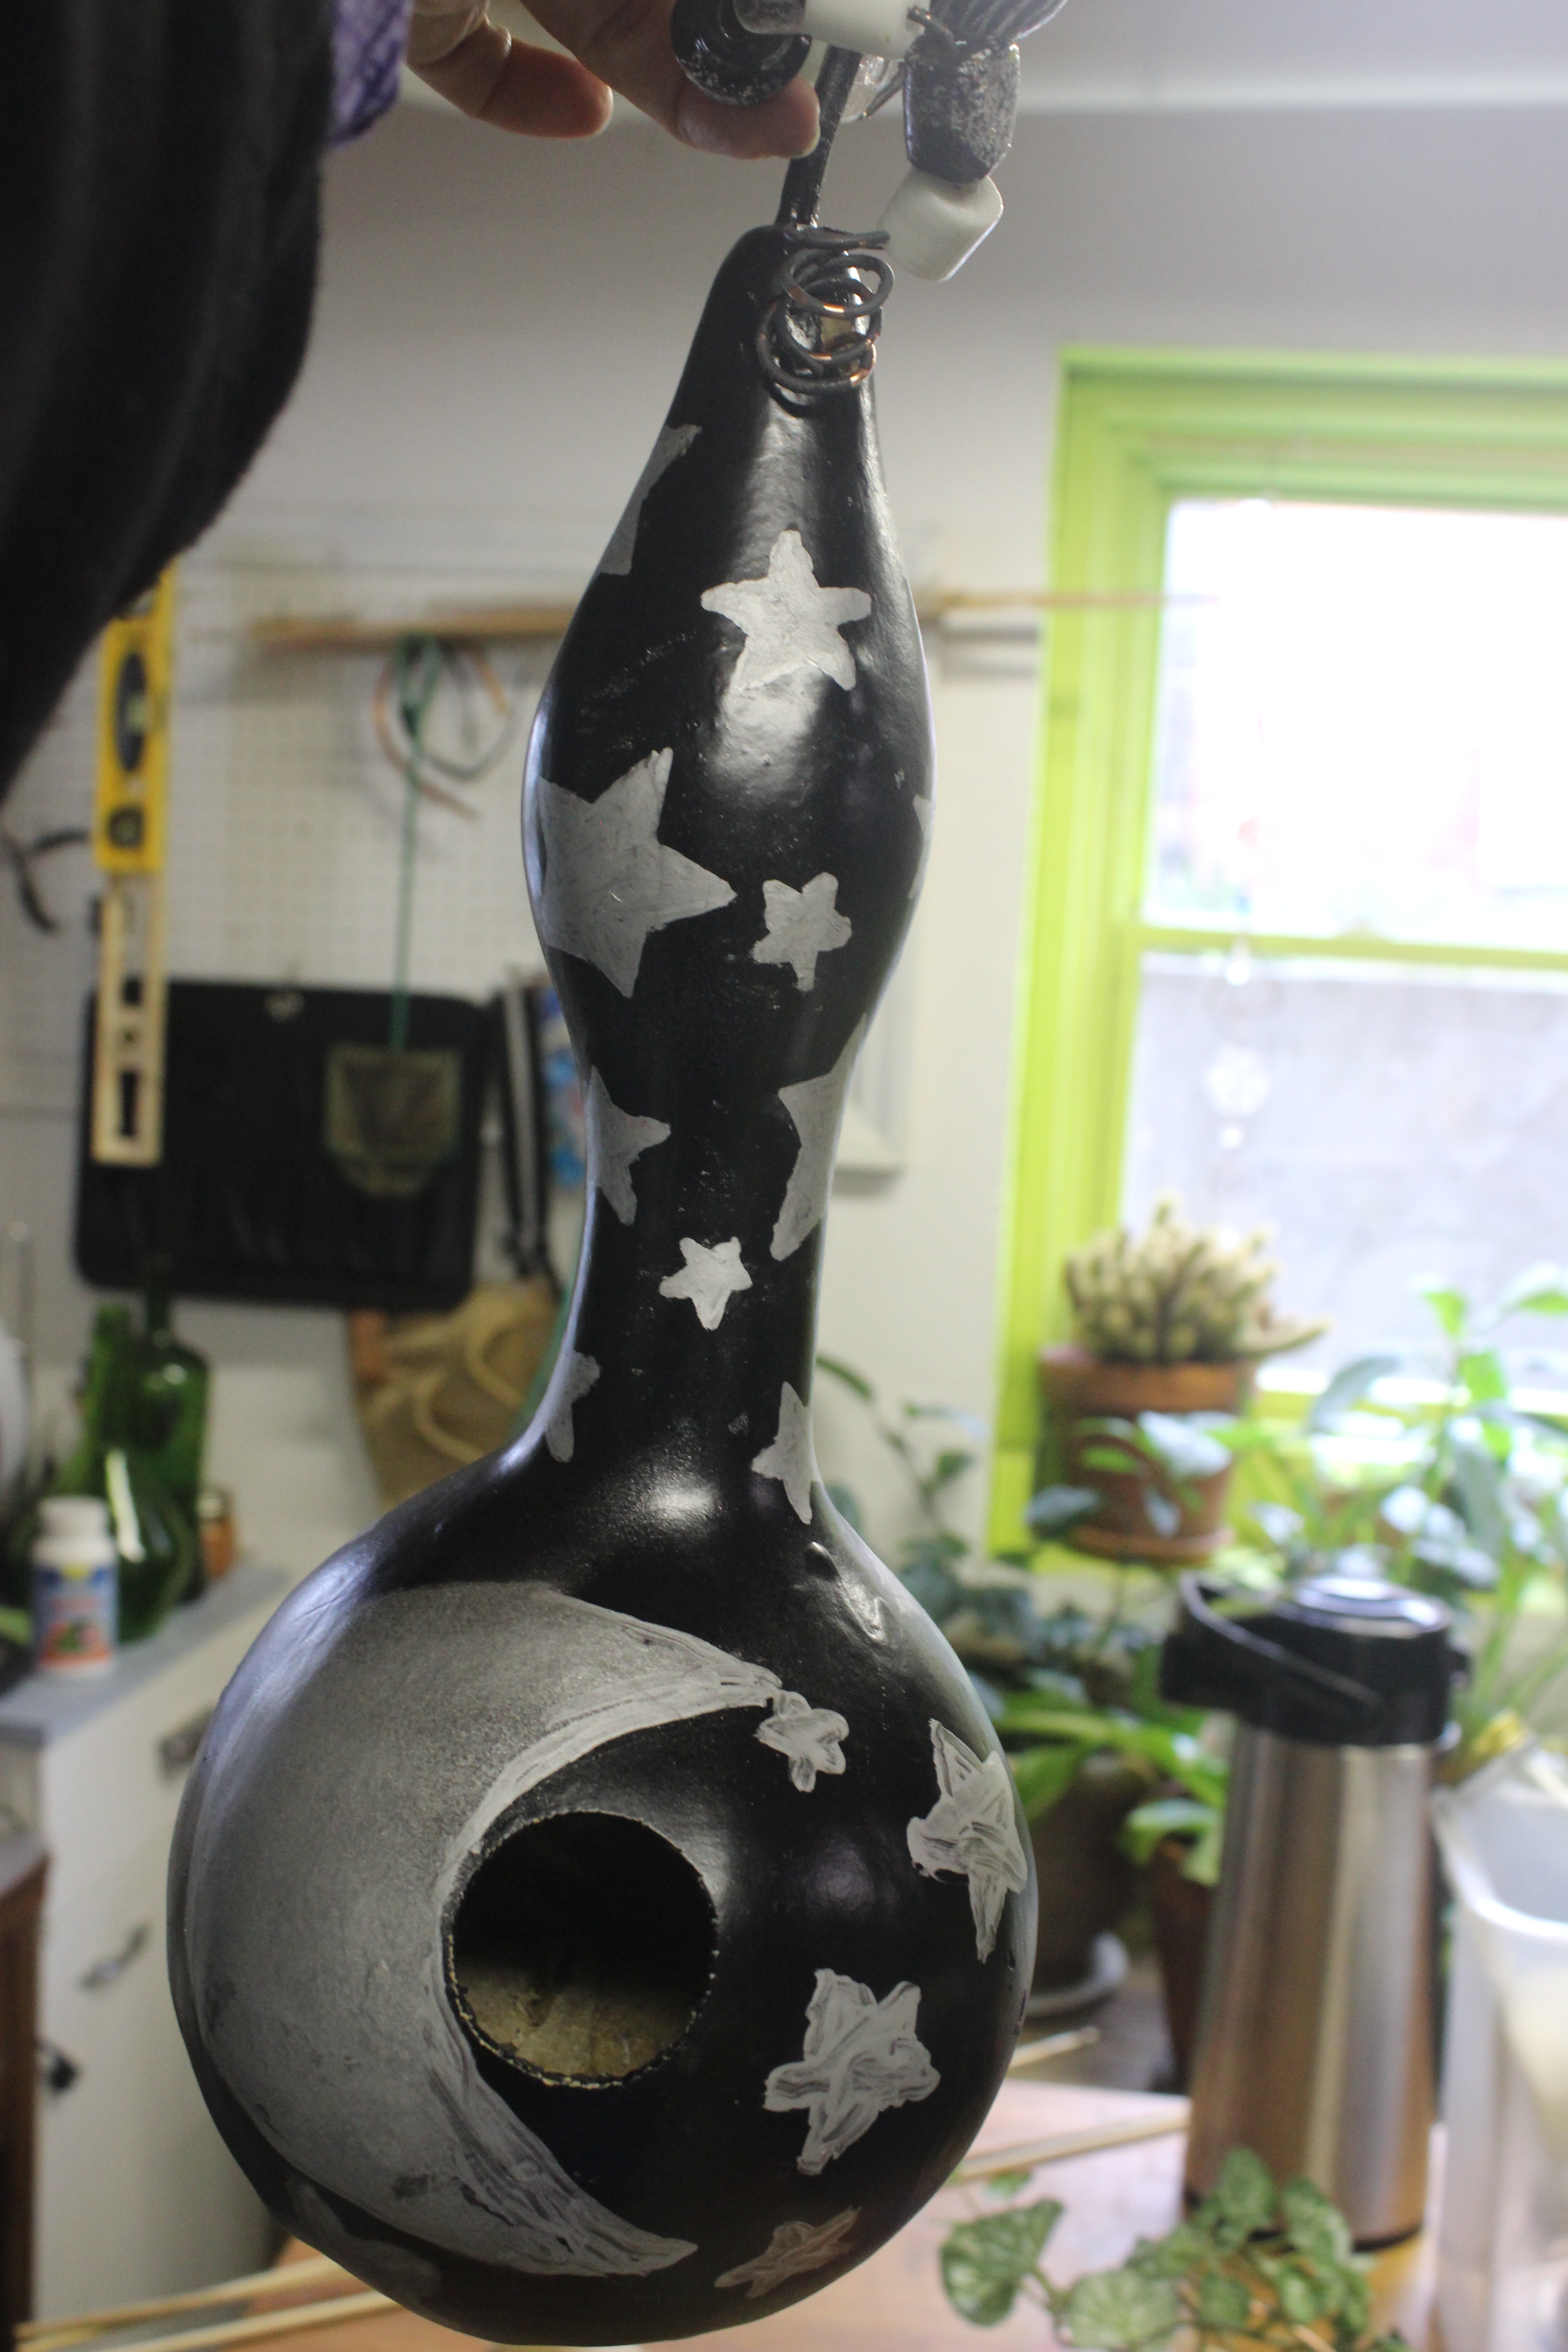
Moon and Stars GourdFiesta Gourd
My daughter paints these and adds the beads. She likes to name them.
Last month my family spent three days down in South Carolina desperately searching for a nice place for my son to live.
Although I was intently hunting down a suitable dwelling, I did manage to stumble upon the vine of my dreams and snag some seeds.
I have been known to return from trips with acorns in my pockets and seeds in my wallet, but I did get permission this time.
The lovely vine was in that charming little town, Cheraw. When I mention this town’s name to my North Carolina neighbors they recall passing through there on the way to the beach. You may recognize this building at the main square.
You folks need to stop in this town to stretch your legs from now on. It is a southern delight of lovely flowers, tasty food and nice people. We felt like old friends everywhere we went. I am a happy mama that my son is surrounded by good folks.
I took a picture of the vine of my dreams with my phone and rushed to the nearest open business, which happened to be the aforementioned, “Charmed by Cheraw” Chamber of Commerce. This is where we found all the help we all needed.
The nice woman there handled my vine emergency while the nice man assisted my son with his housing emergency. She picked up the phone and called the garden club that plants the planters around town.
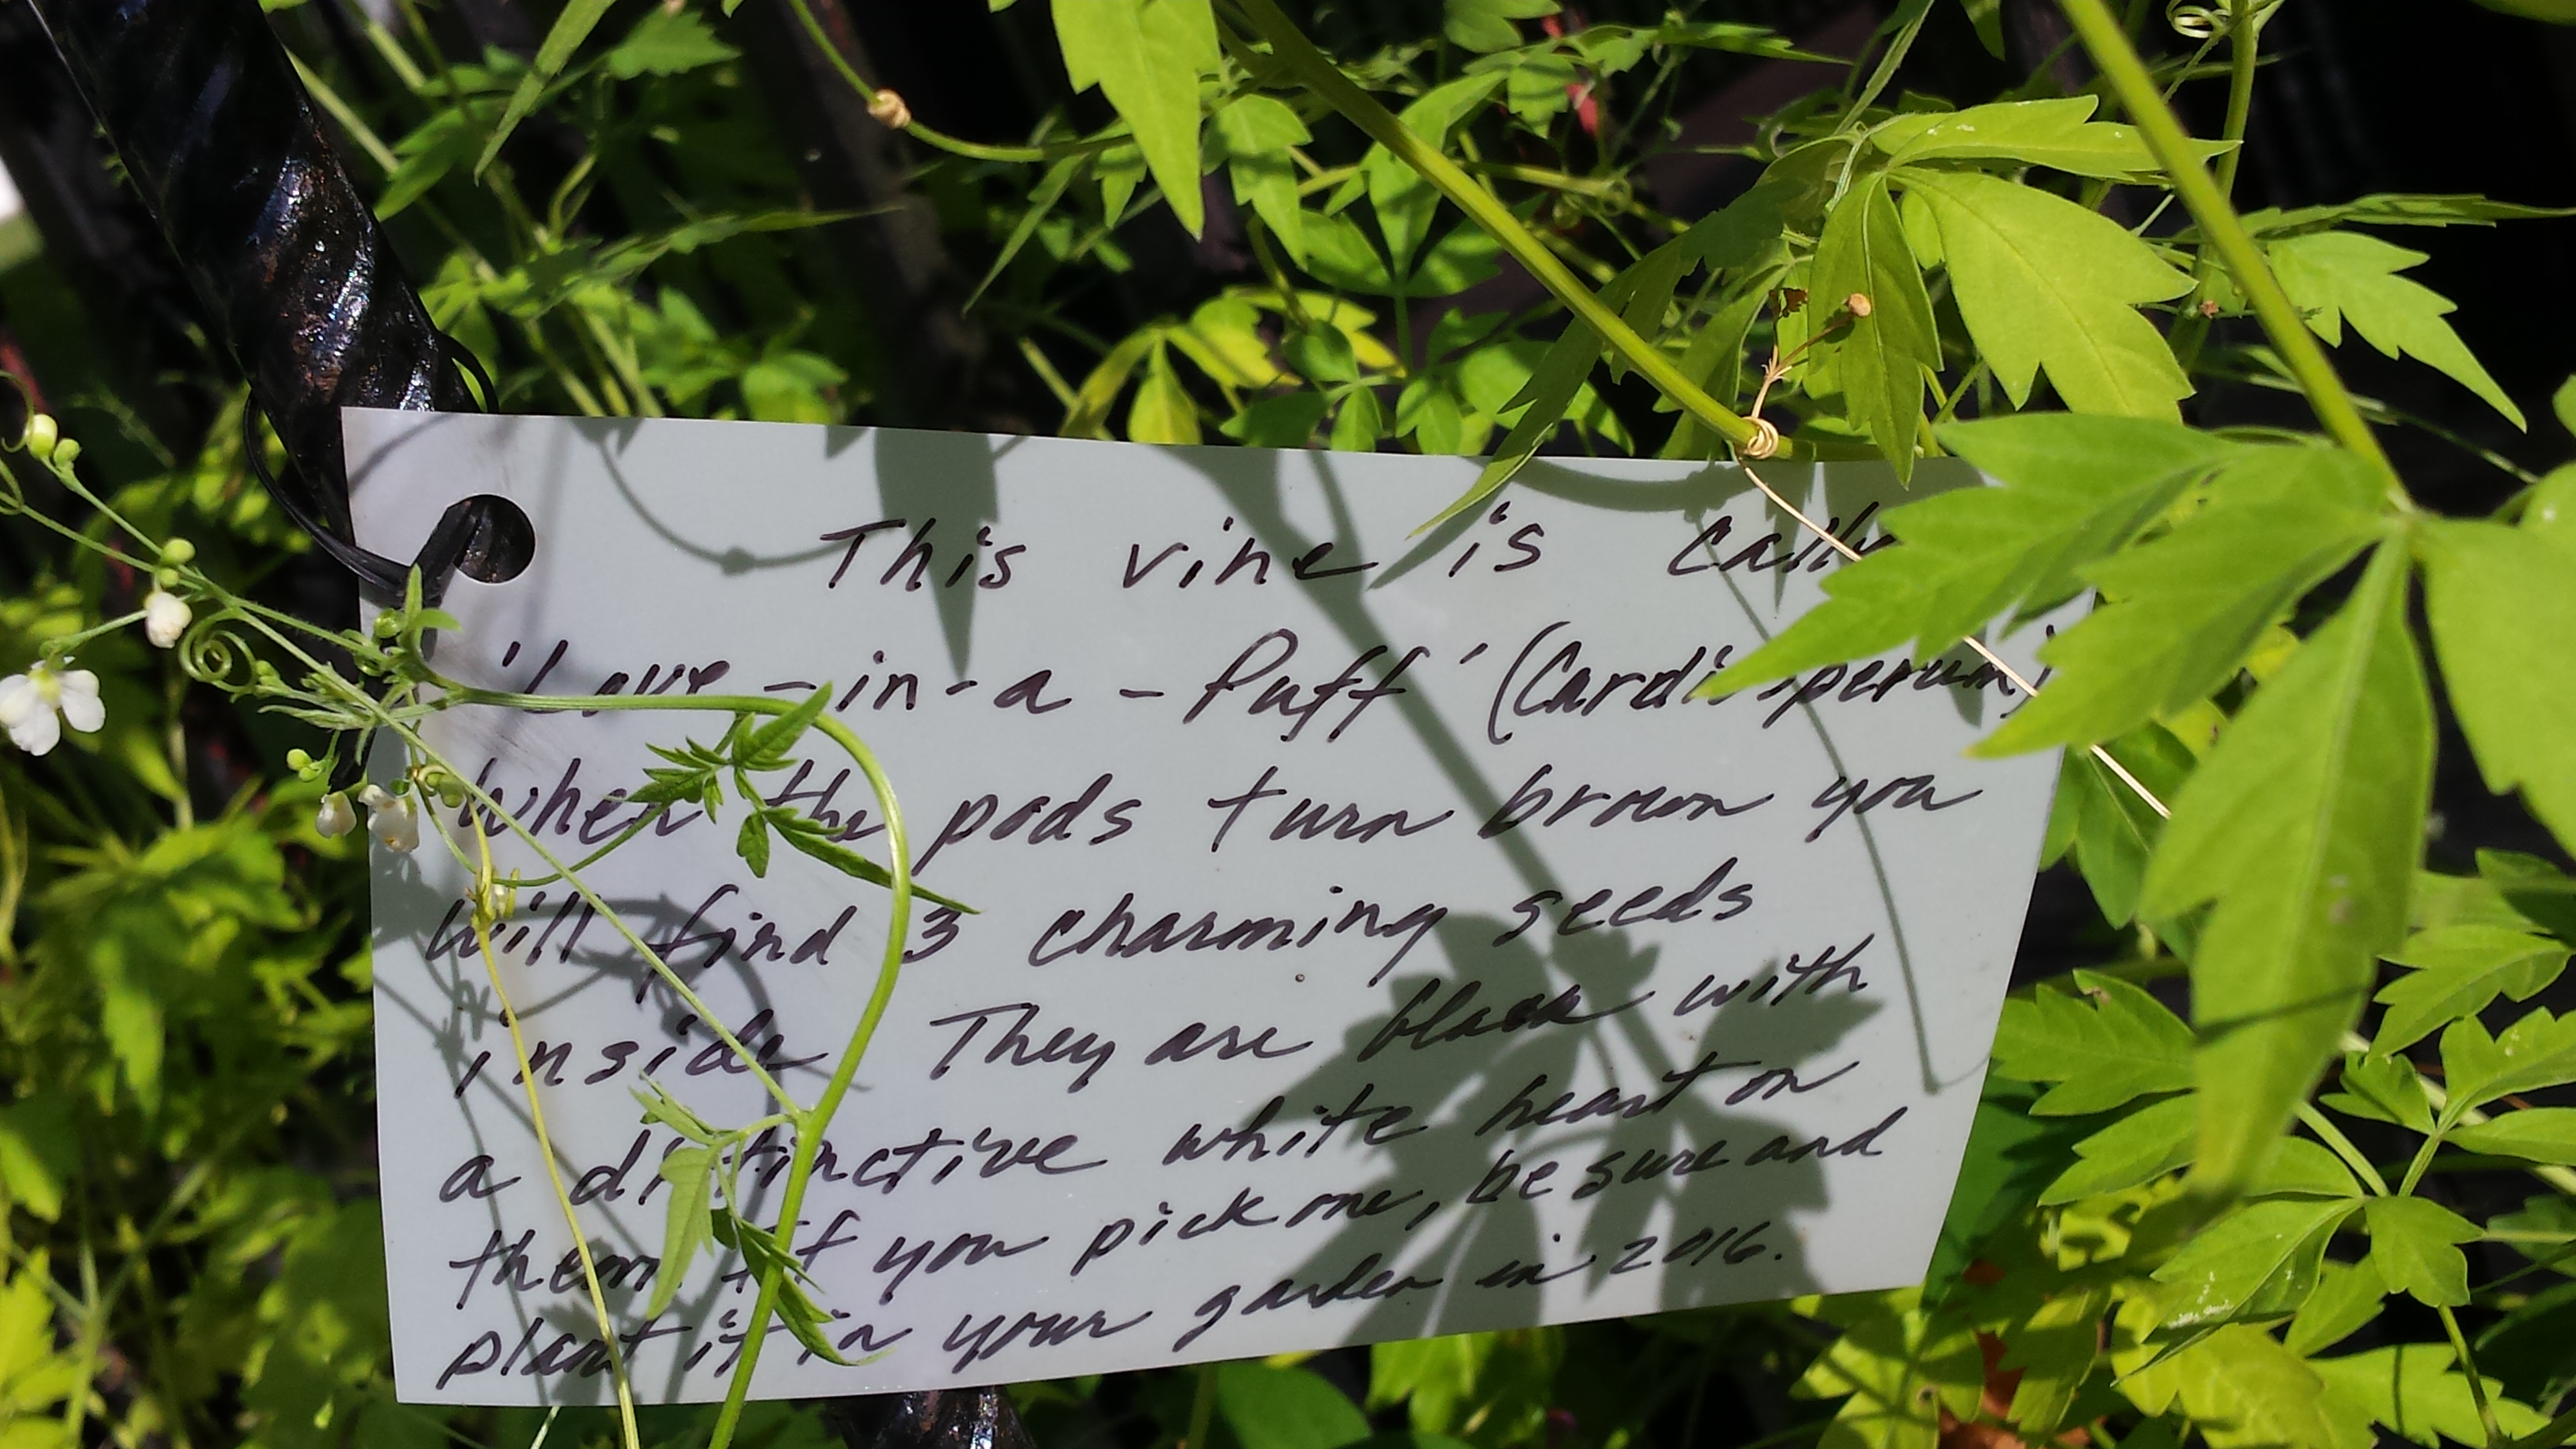
A member of the Cheraw Garden Club shared the name of the vine and gave me permission to purloin a few ripened pods containing seeds. A card had actually been attached with plant information to the trellis, but it had fallen down. These are my kind of people!
Card posted with information attached to the vine.
So here it is my fellow garden enthusiaists. The vine of my dreams in the phloem.
Cardiospermum helicacabum
It looks like a party on a trellis doesn’t it? It’s the combination of tiny white flowers and pods of various colors that reminds me of confetti. It’s hither and slither growth adds to the explosion effect. What a happy little plant!
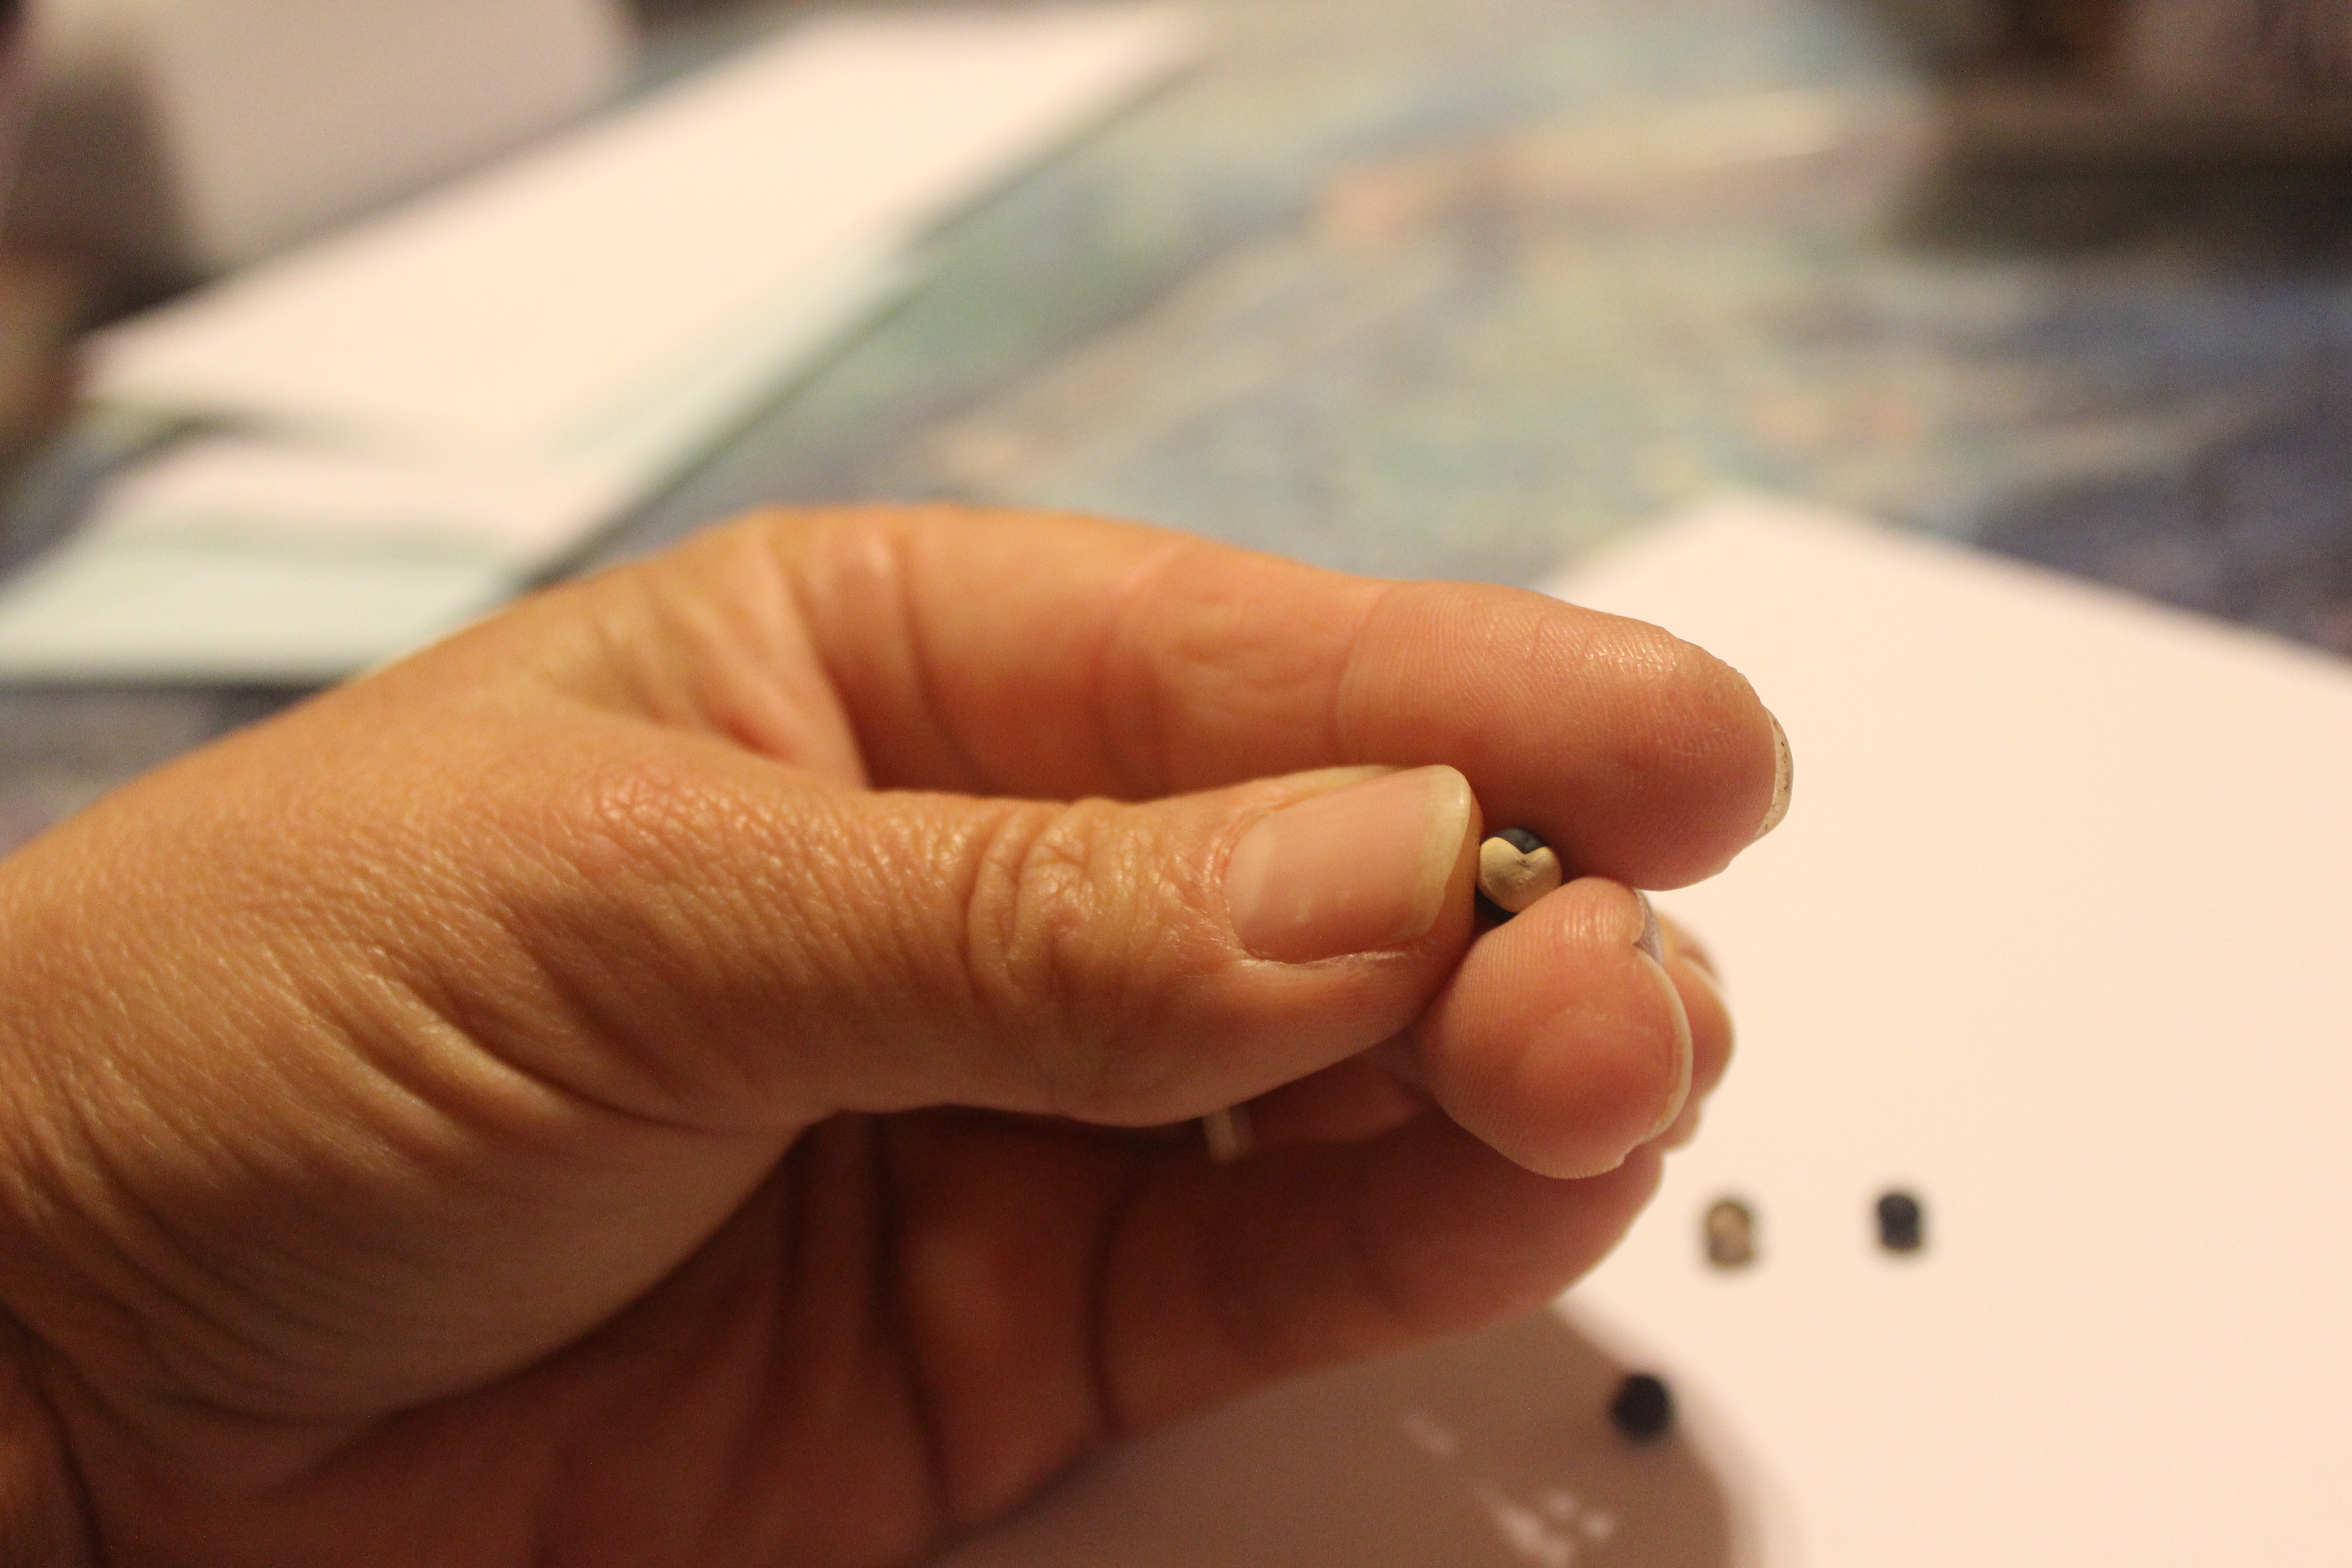
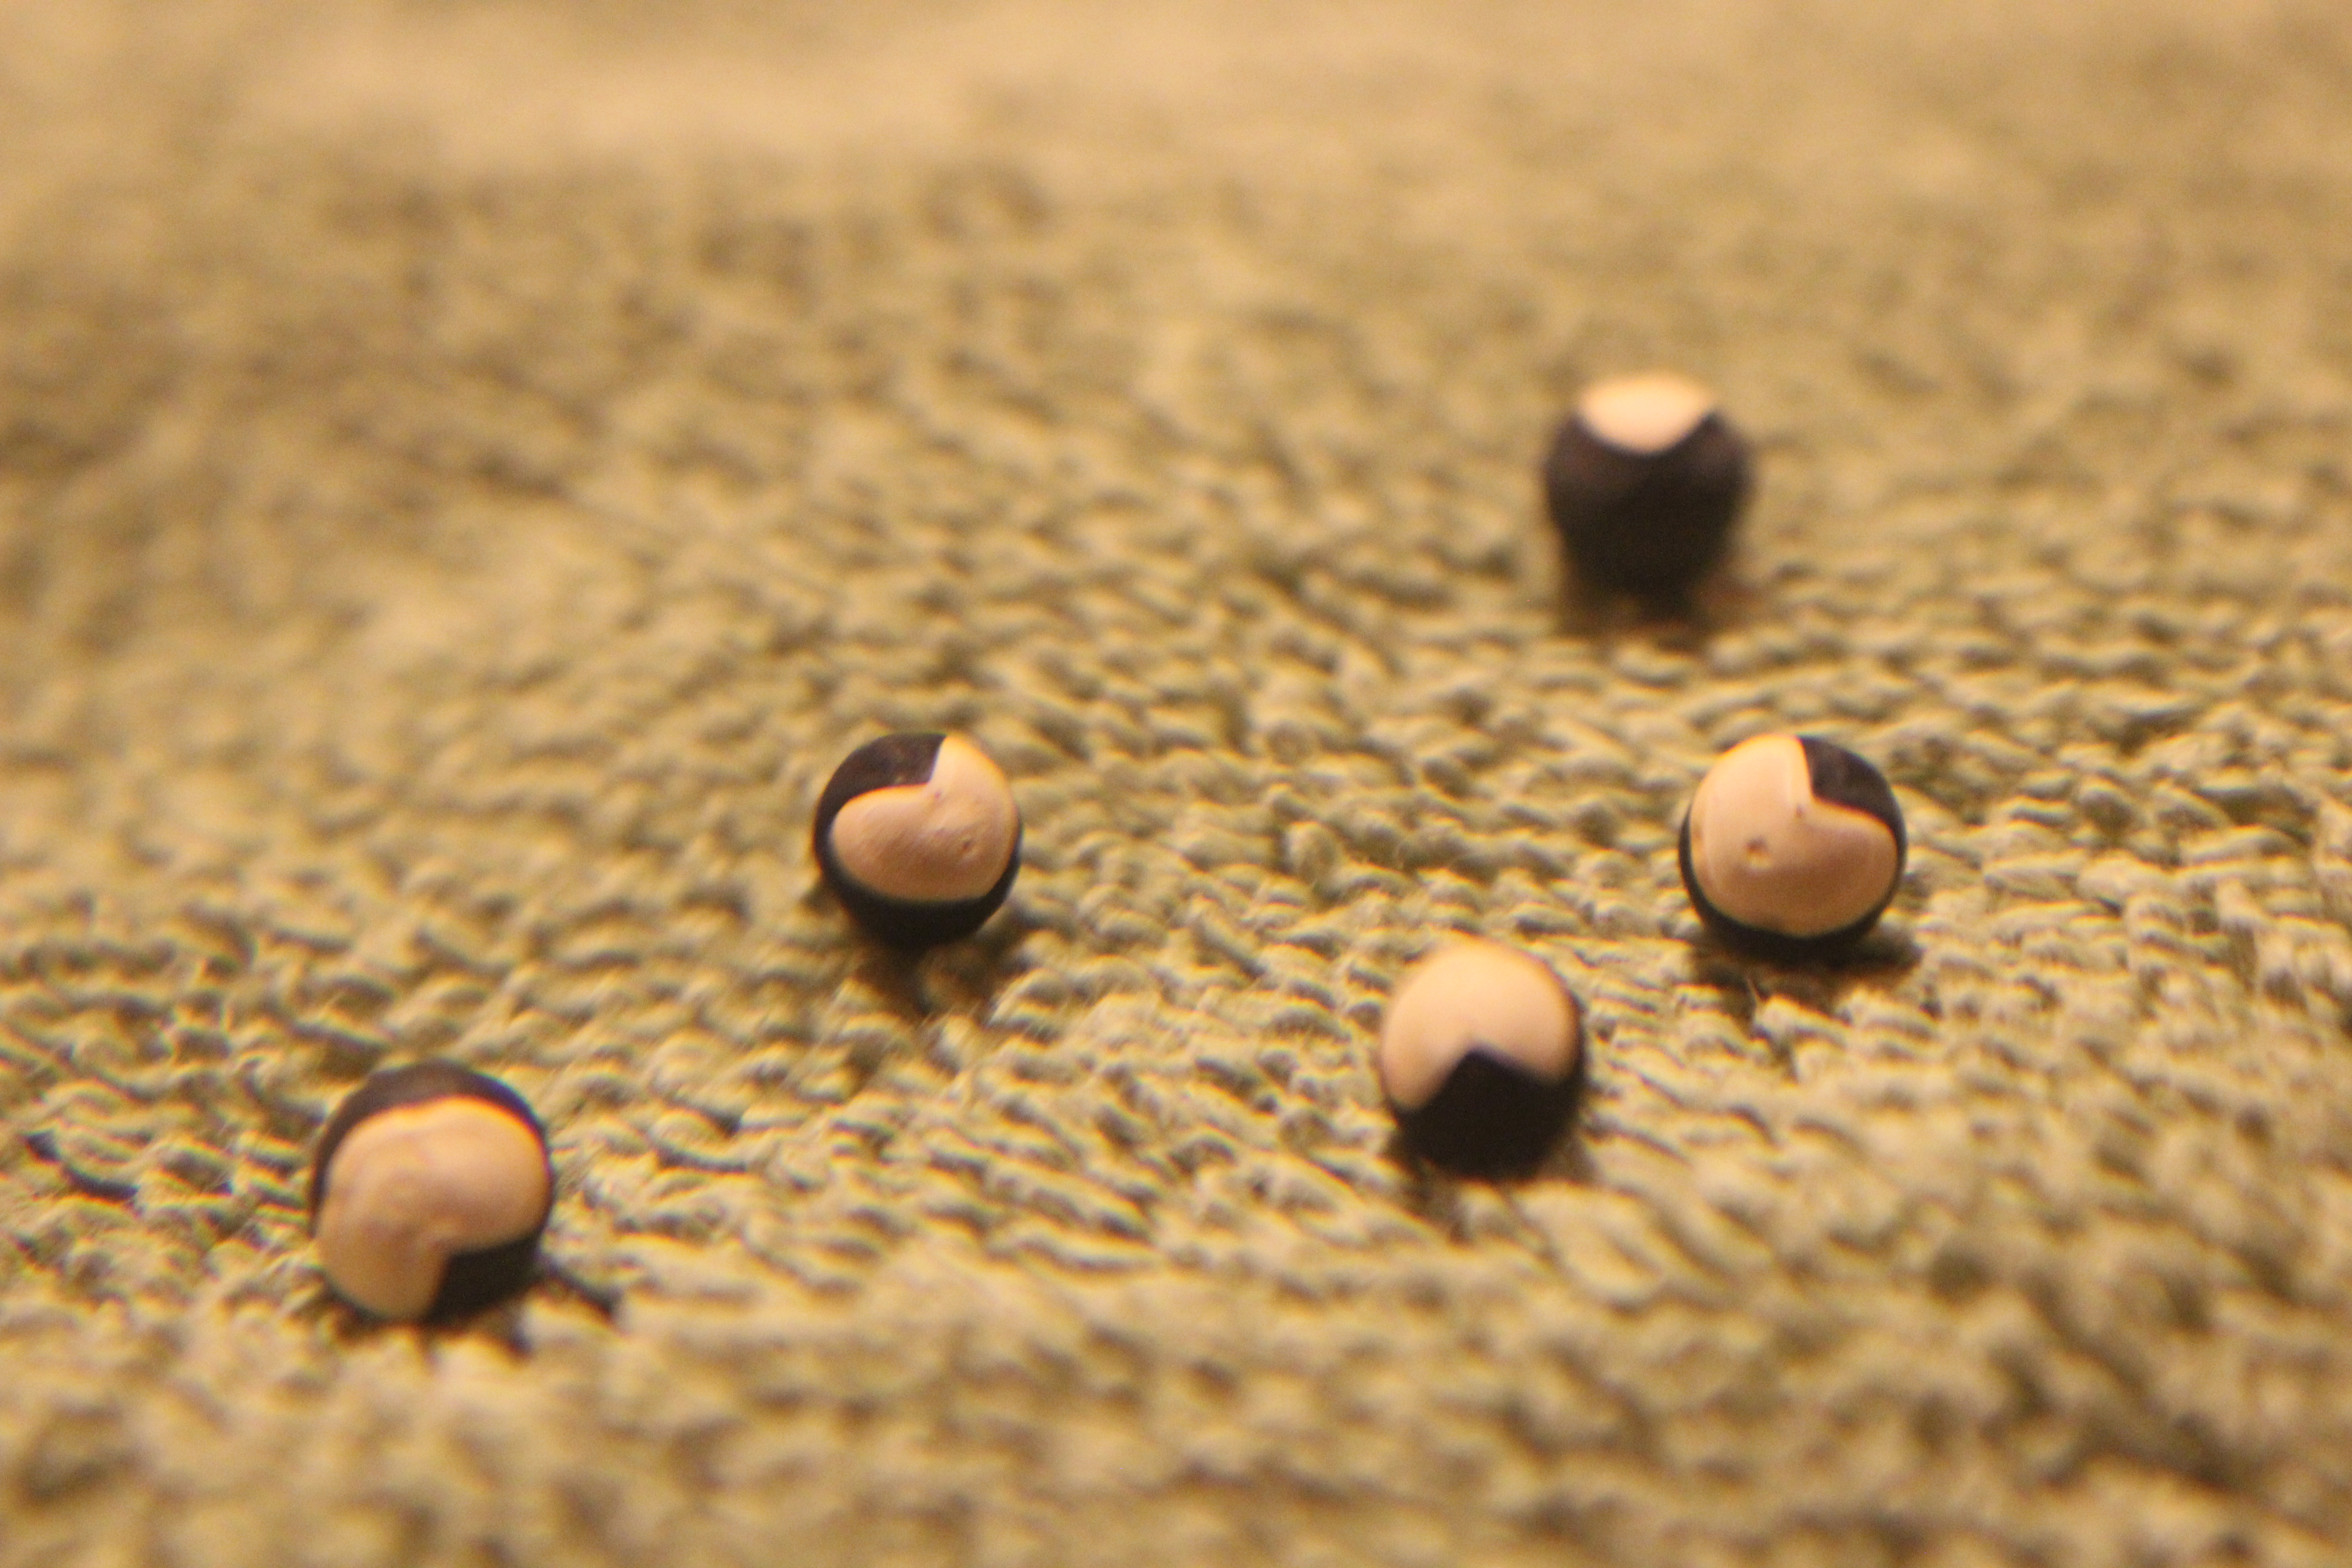
The species name is Cardiosperma helicacabum. My guess is that the genus name refers to the black seeds that have a tiny white heart on each one. They look like love beads.
The real punch in the line is the common name, Love in a Puff. I am not making this up folks.
Before you rush to order it from Burpee, I must alert my southern readers that my research warns that Cardiospermum halicacabum may be an invasive, self-seeding annual in Southern zones of 6 and up.
I also read that this delightful plant has been around for two hundred years. Why am I just now finding out about it? Well the secret is out now!
I intend to handle my little seedlings with the same care as I have my other potential renegades… in a pot.
I’ll be sharing my progress with seed germination in April. I do have quite a few seeds collected…legally of course.