

Every few years I grow a new crop of birdhouses. In this post I will show you how to preserve birdhouse gourds and fix them up, so that they can be used for birdhouses. All you have to do is plant some seeds at the beginning and decorate them at the end. I’ll guide you through the middle.
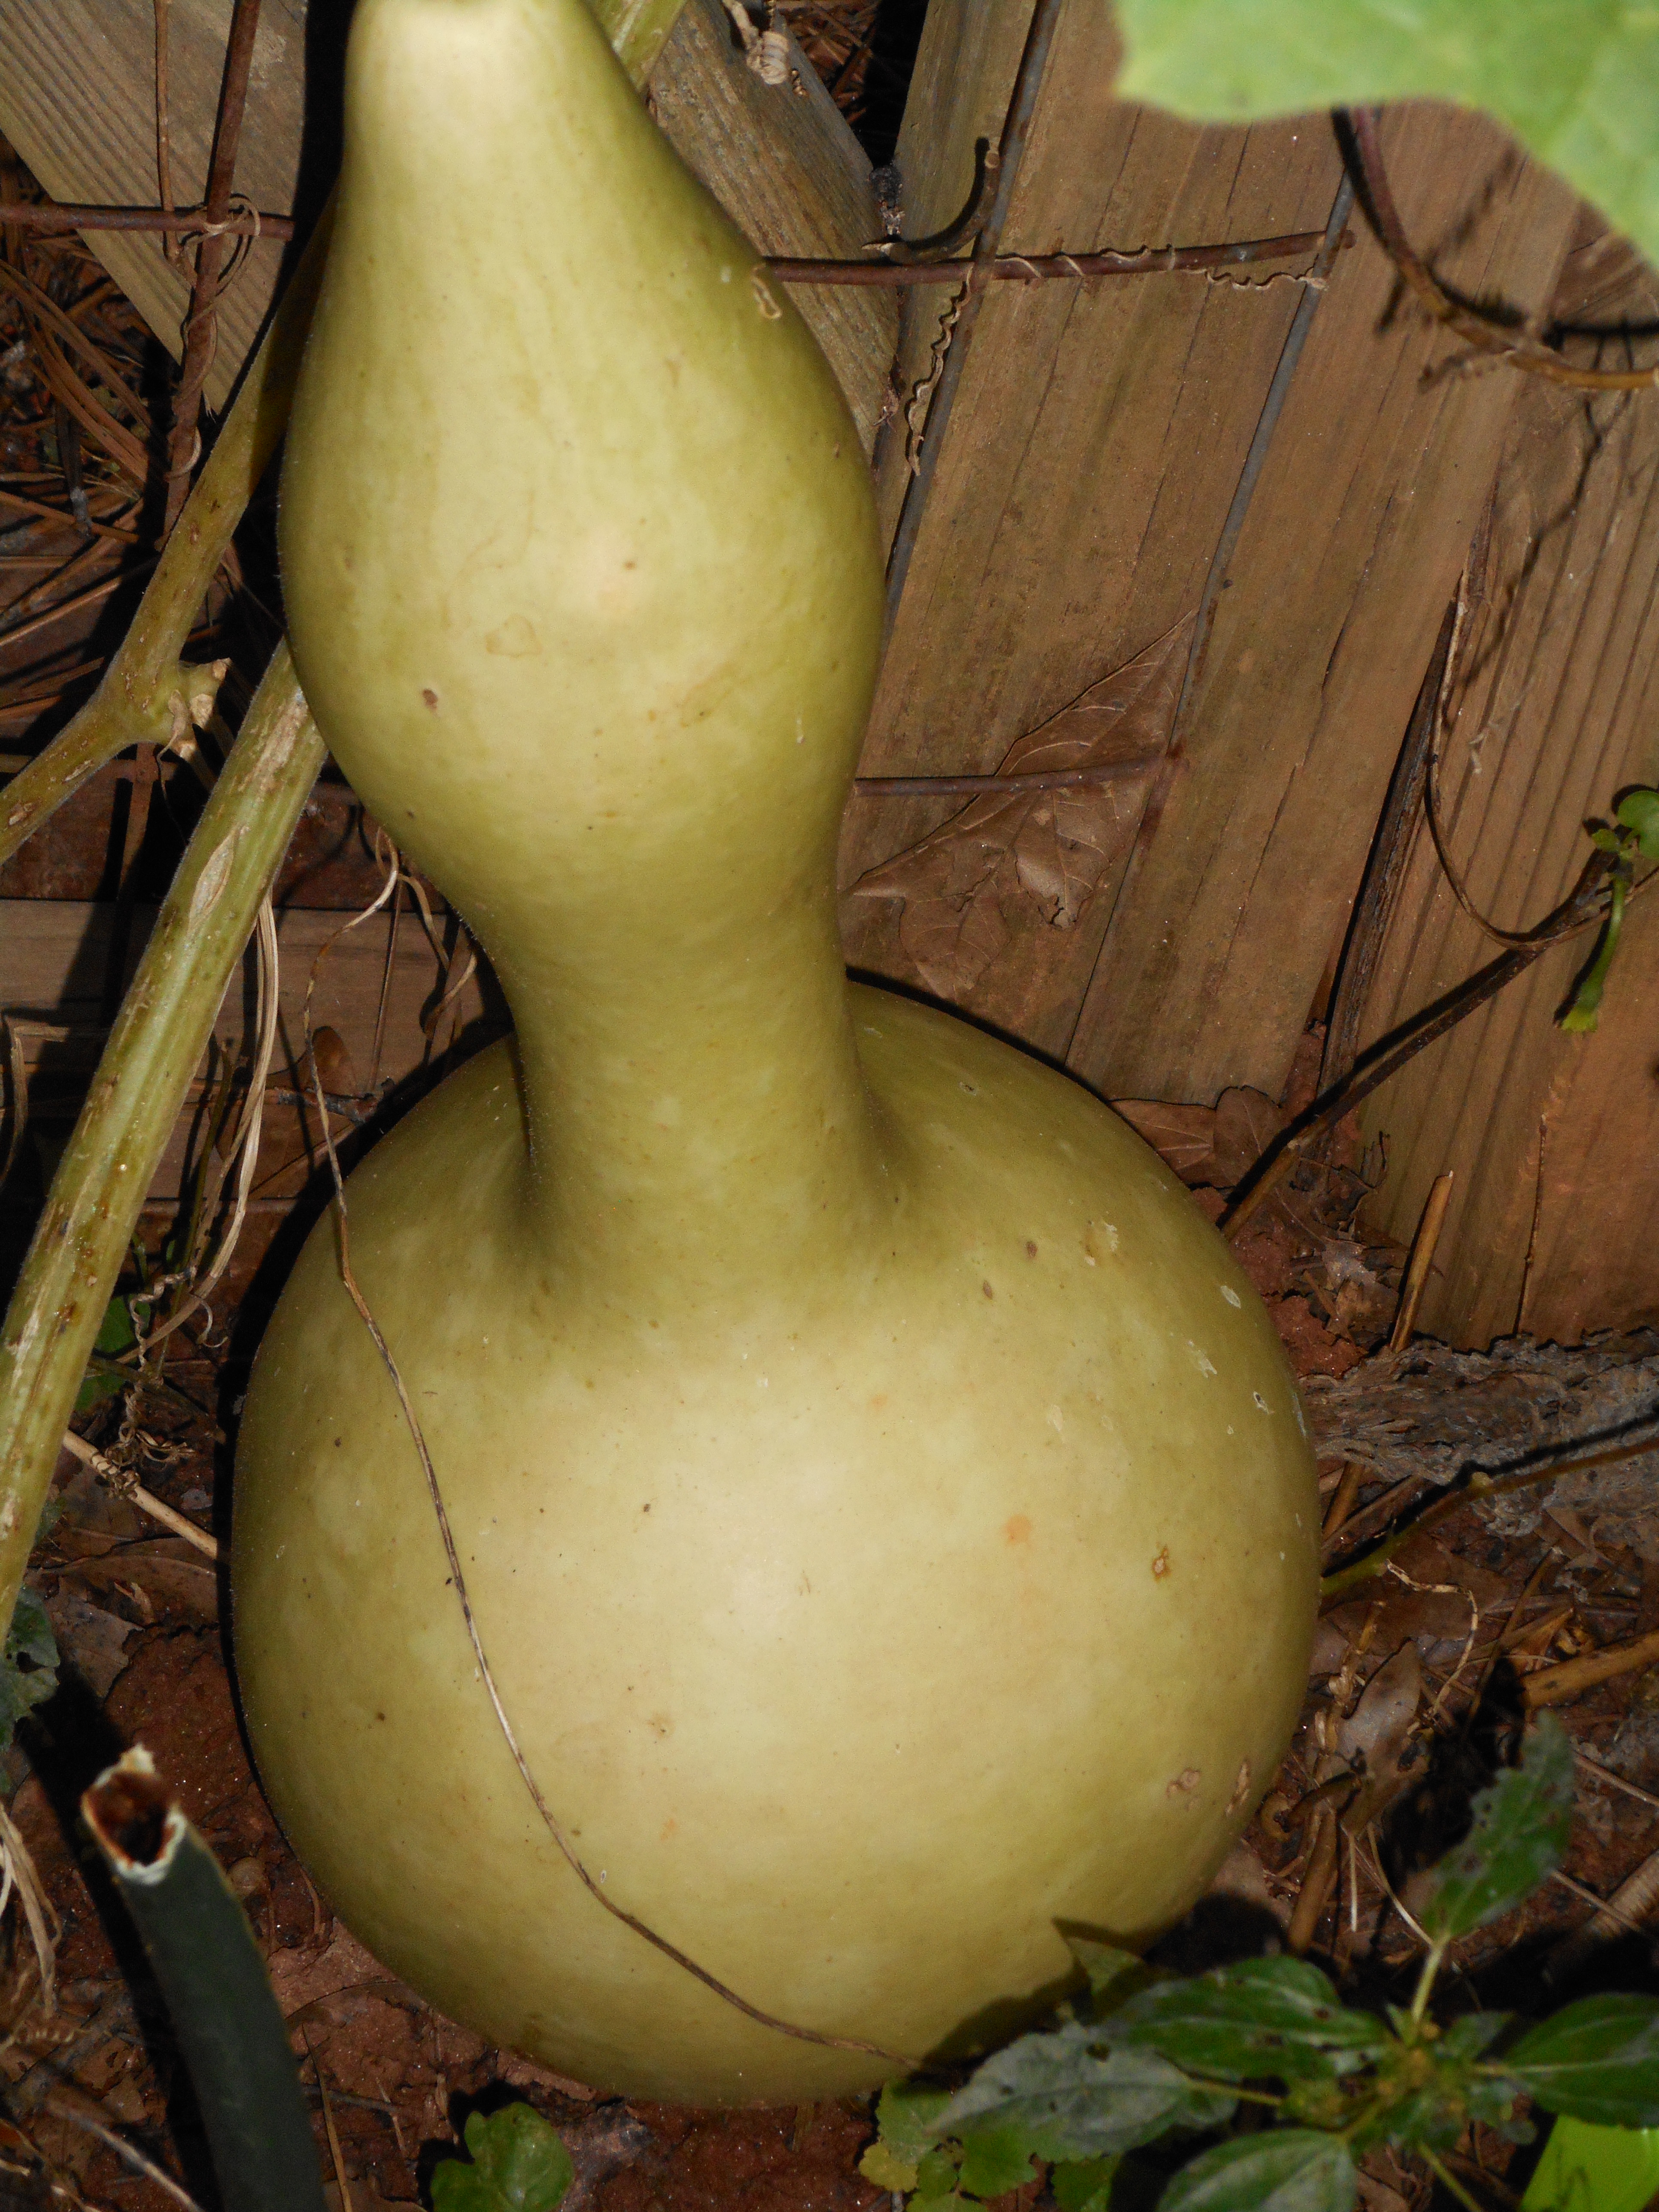
First: DO NOT pick them now. They must stay on the vine through the winter, until they are brown and ugly. They will rot if you pick them while they are pretty and green. This is called seasoning. Mother nature does this part.
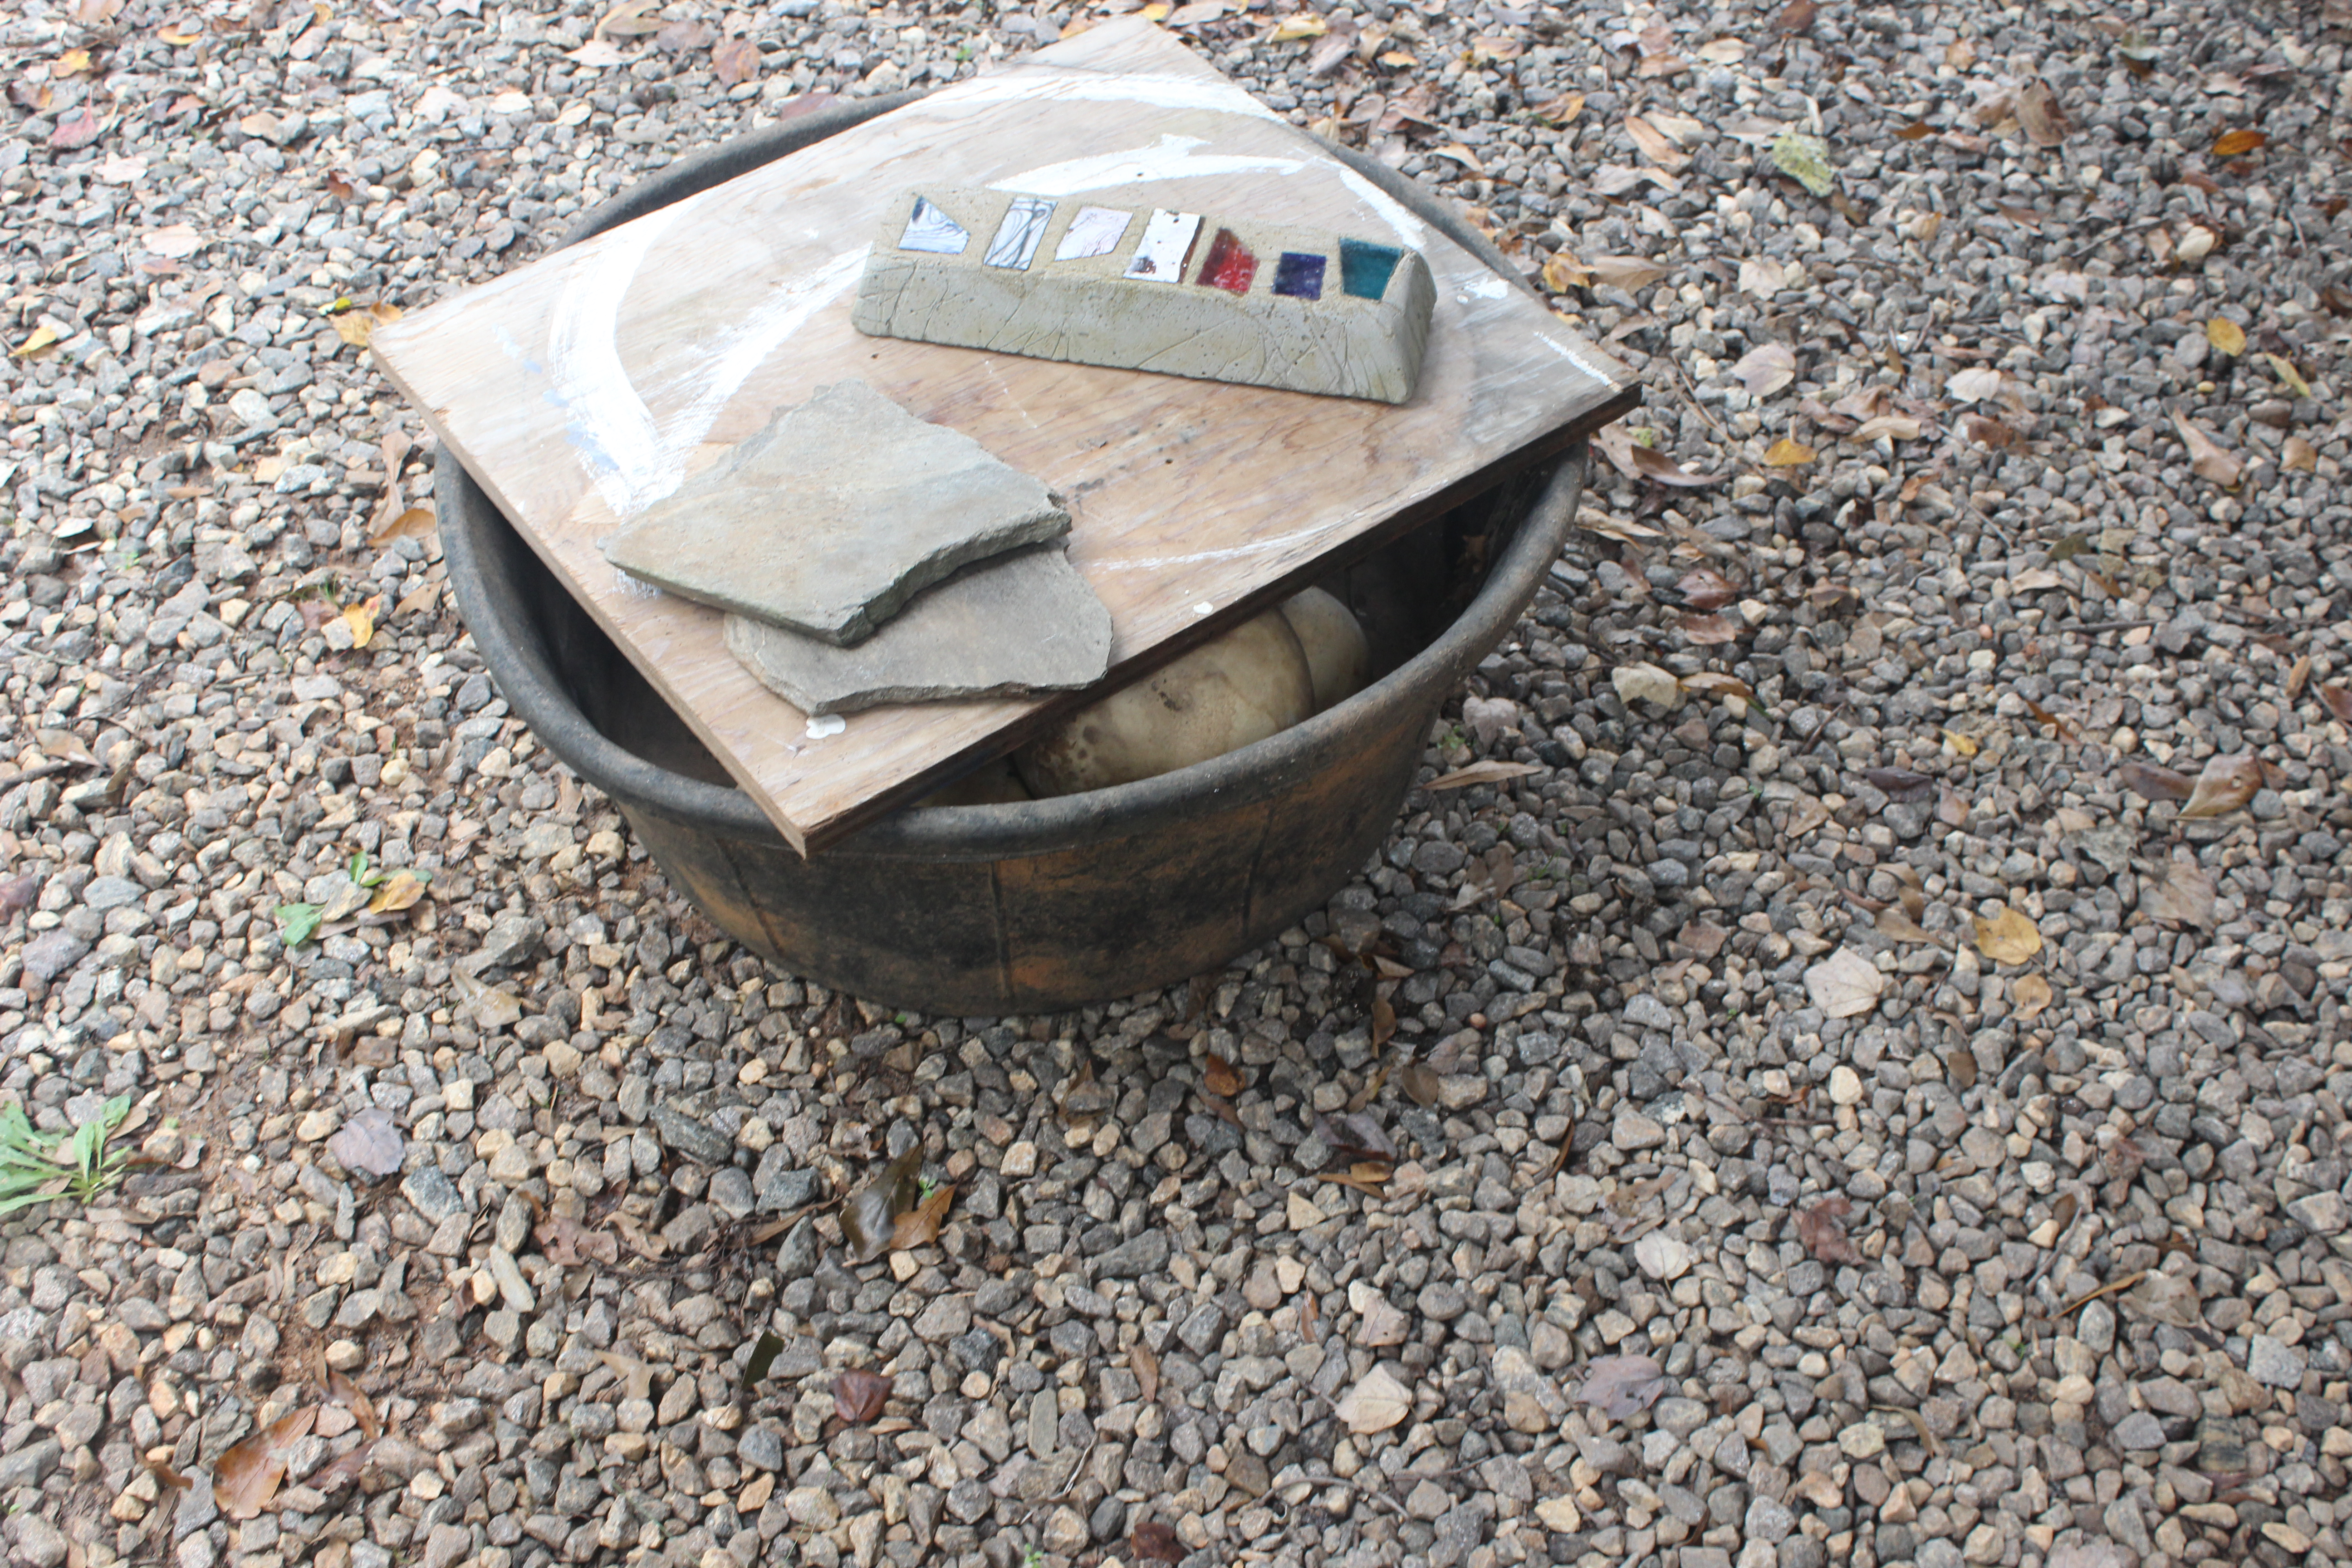
Second: In the spring, I soak my ugly brown gourds in a giant tub that looks like a witch’s cauldron. That makes this messy part more fun. I mix in about one part bleach to about ten parts water. The bleach kills and mold and bacteria on them. They float, so you have to put a big board on top with of the cauldron with some weight on it to keep them submerged. I let them soak all day and then scrub them with a fiber-bristle brush to remove the skin and debris.
DO NOT let them soak more than twenty-four hours. They will turn to mush. Let them dry several days to harden again.
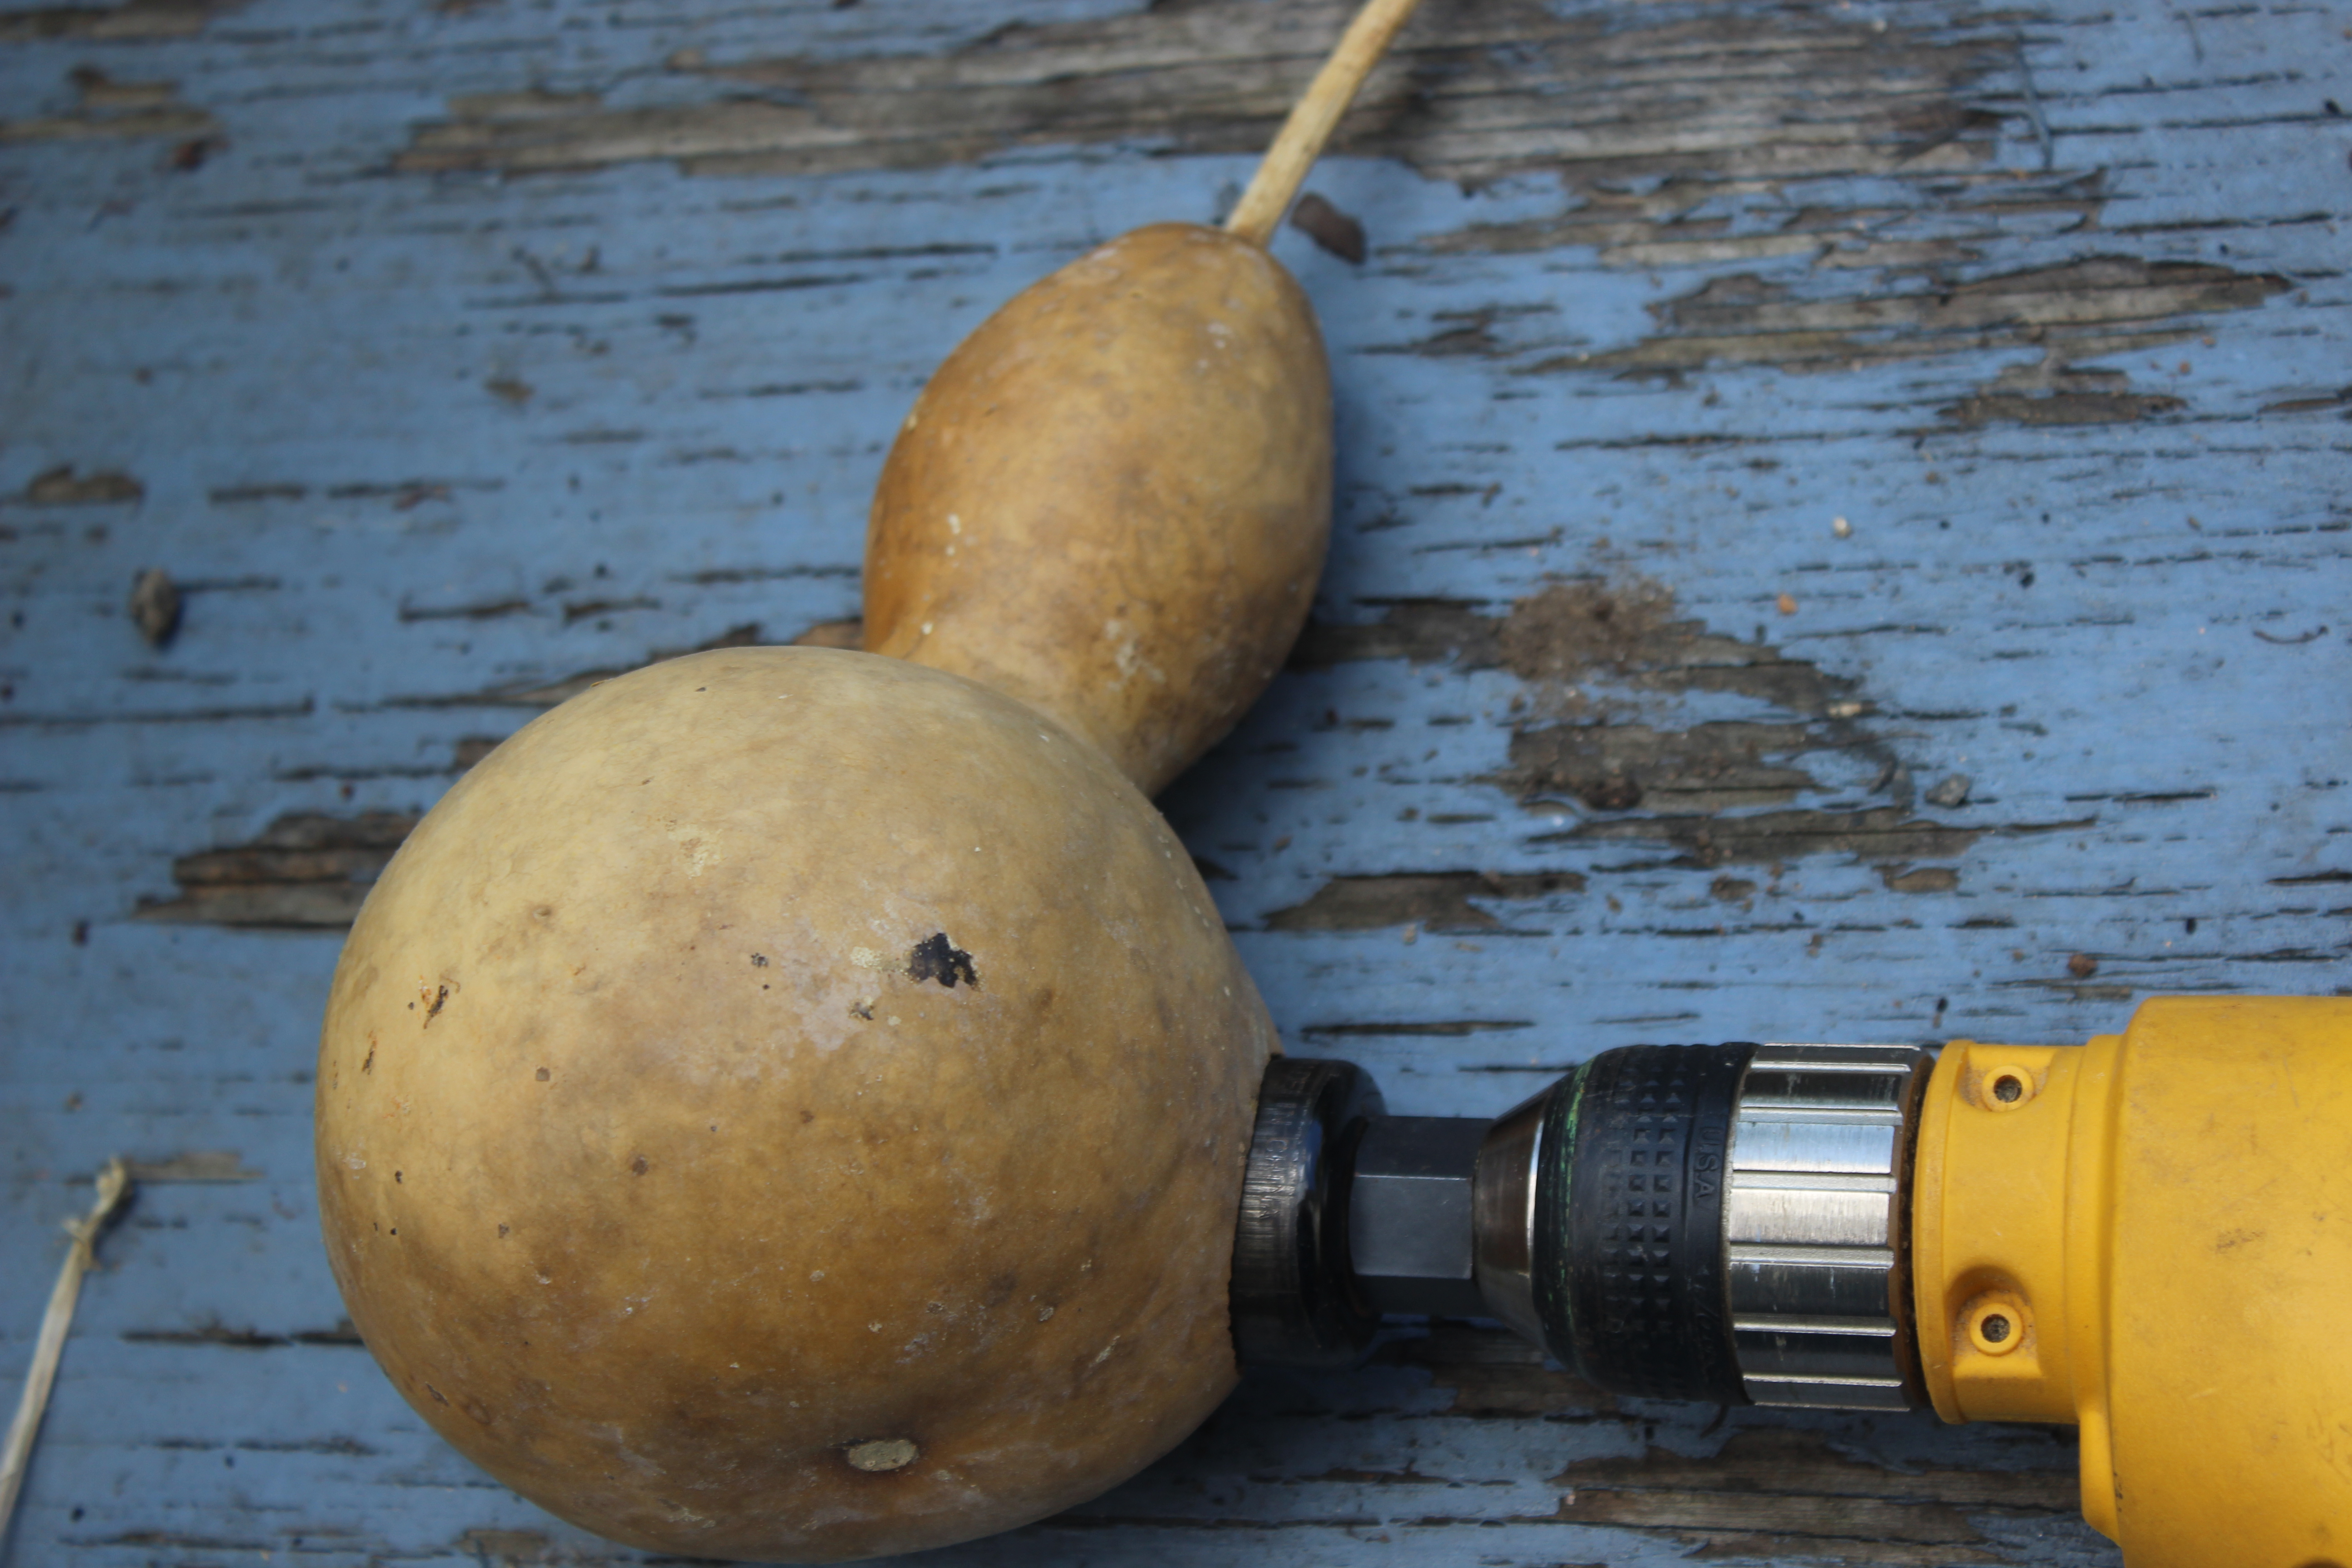
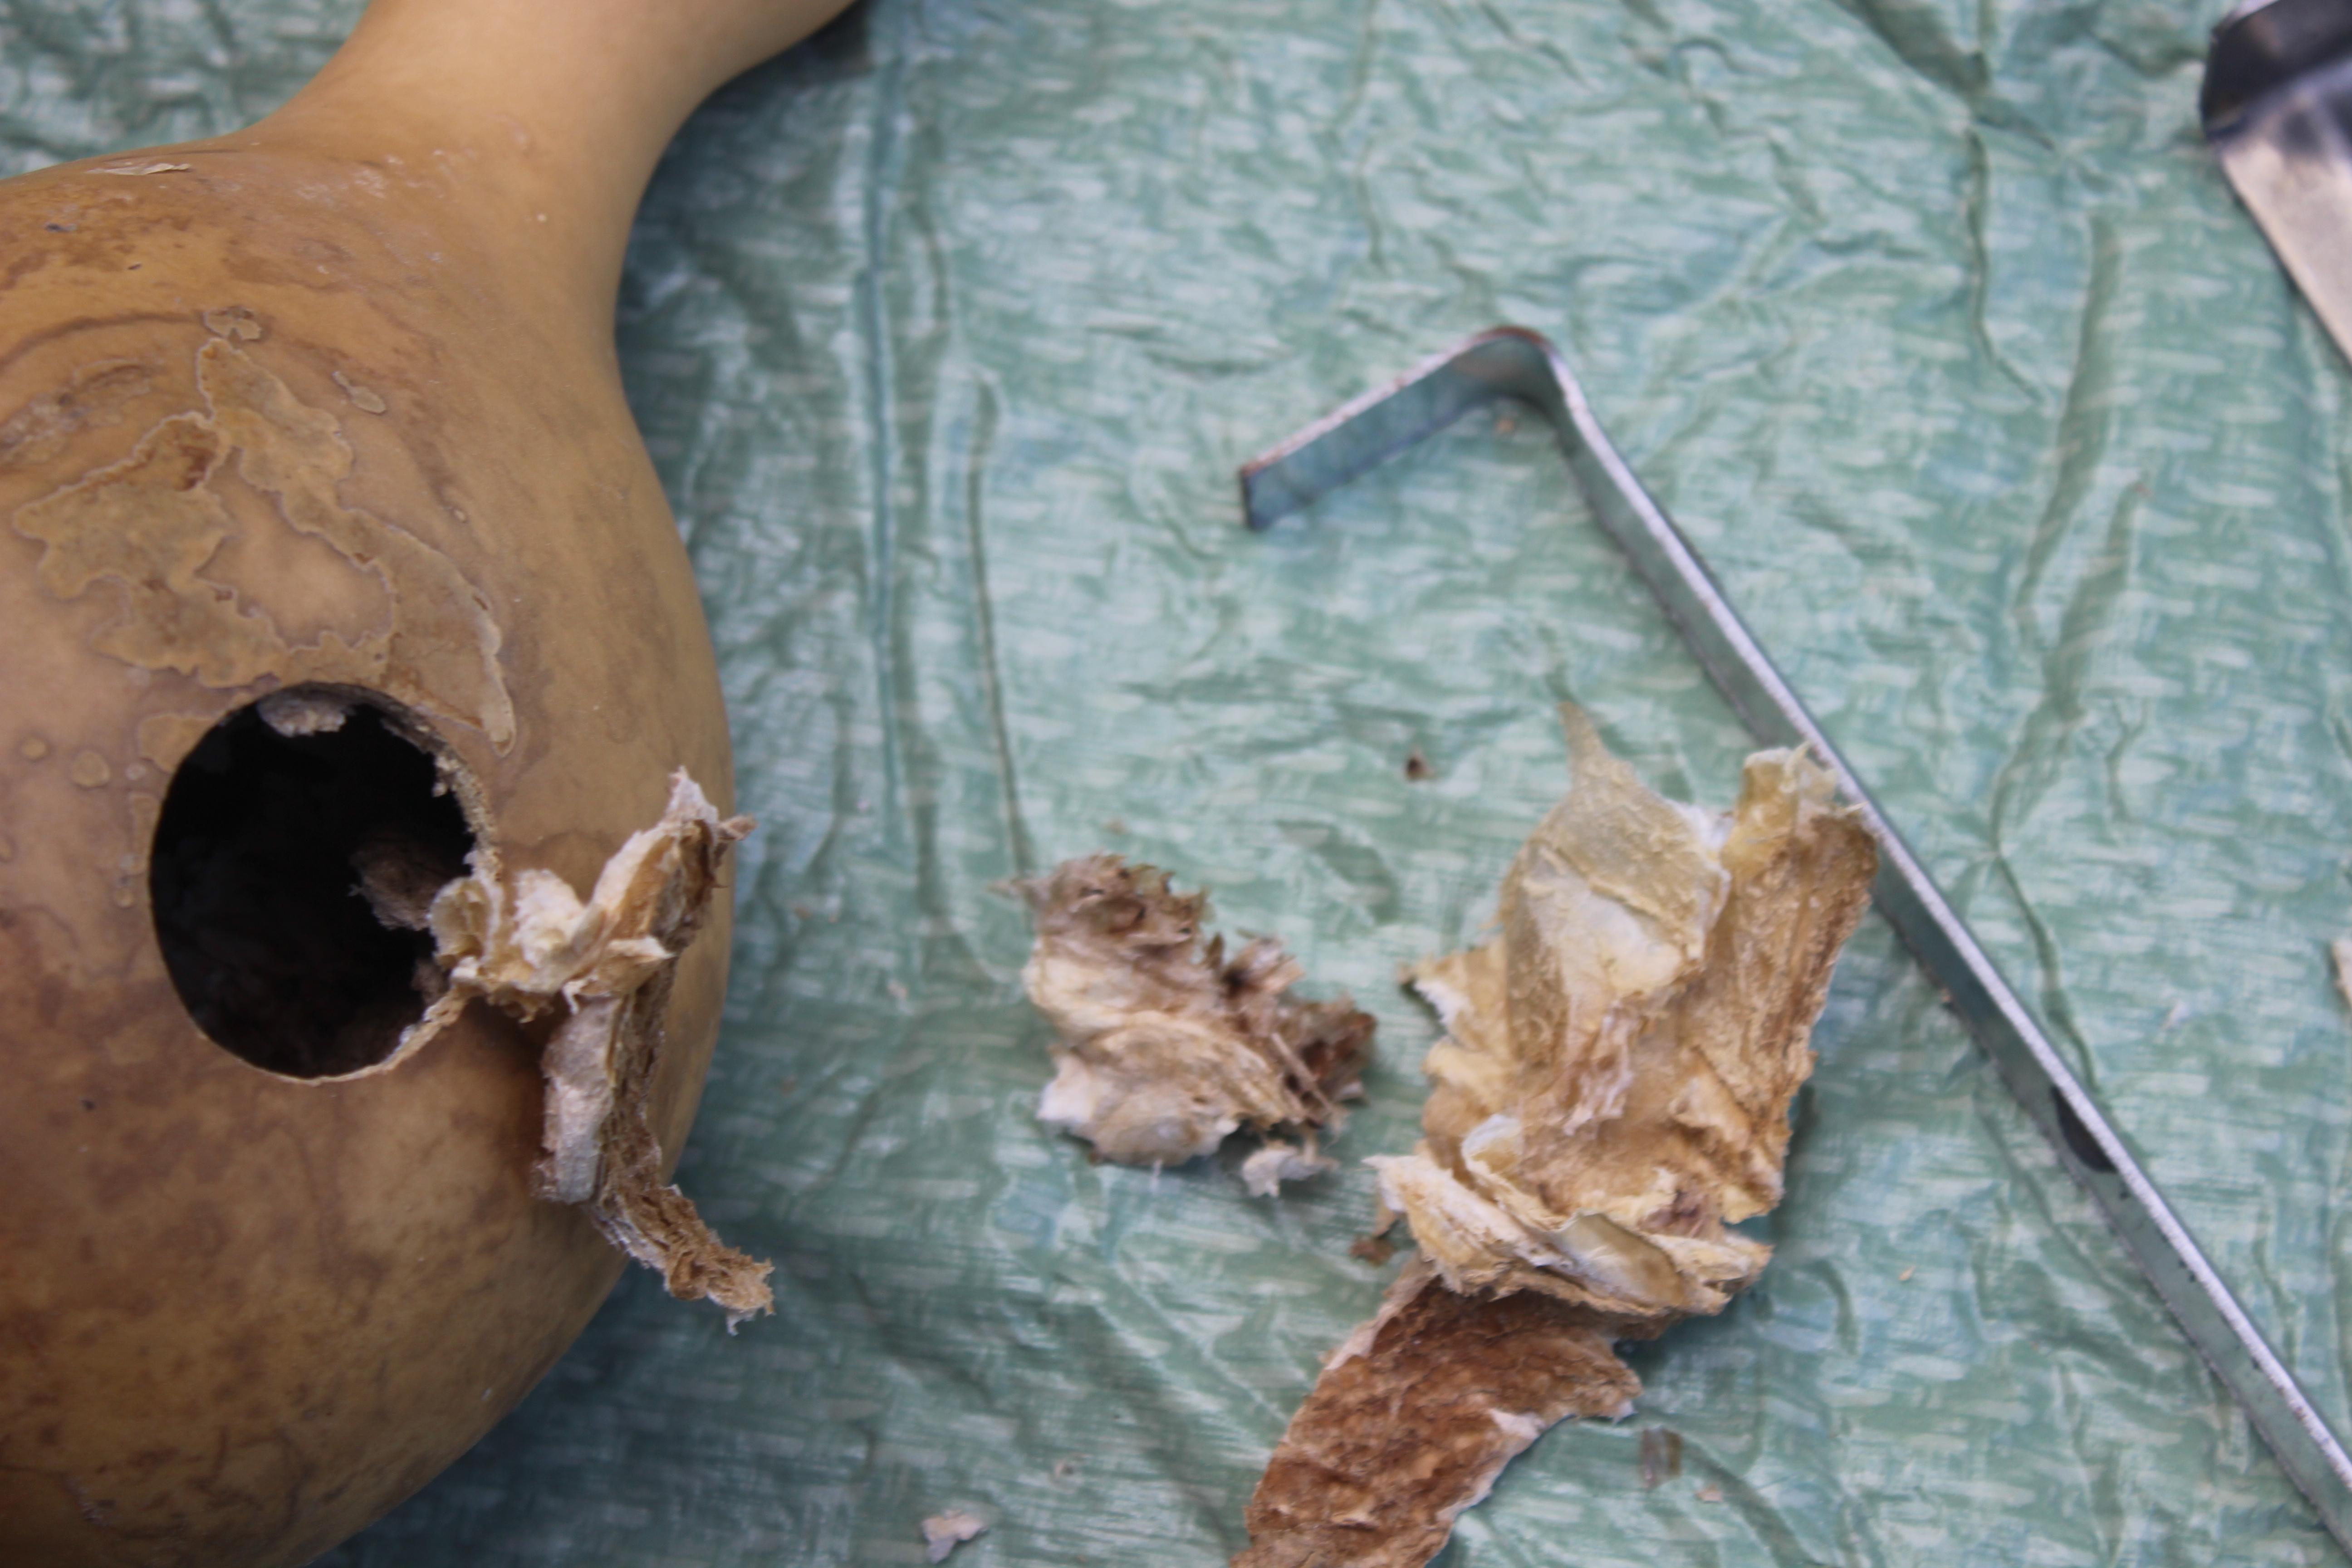
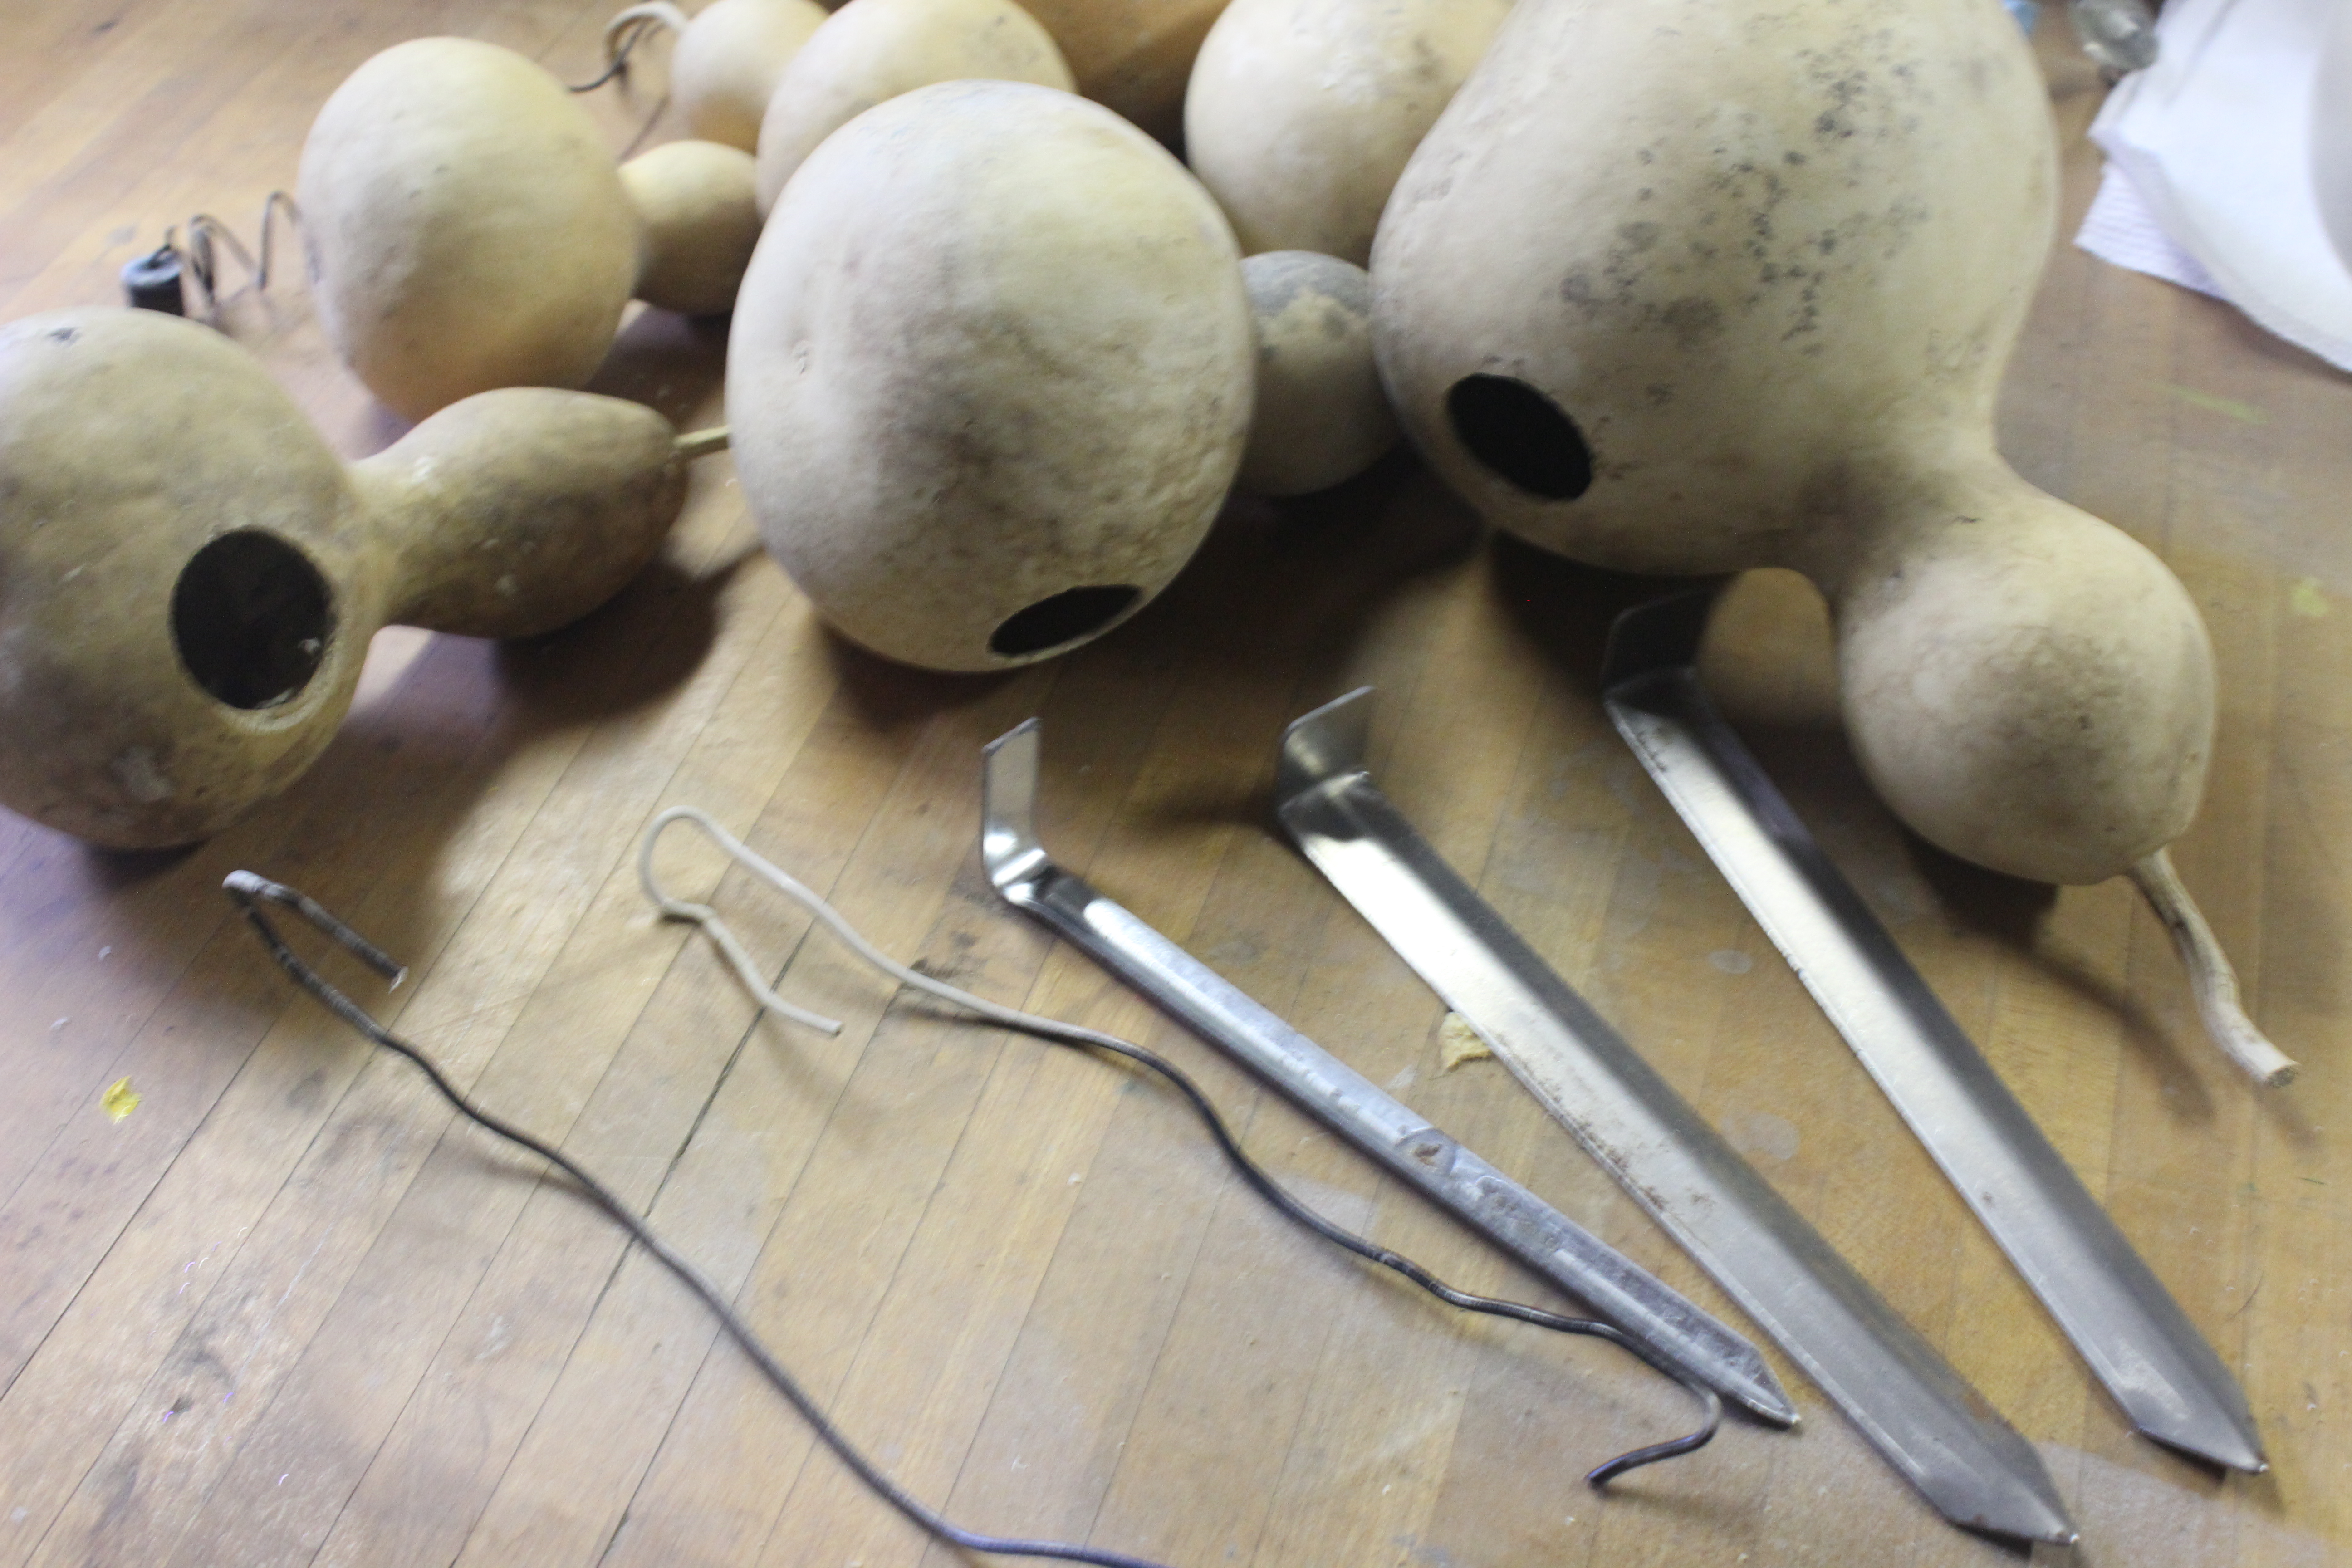
Third: Remove the seeds. I use my 1-and-1/4 inch drill bit to drill the door for the bird. I pull the seeds out this same hole. I keep a hooked piece of strong wire for pulling out seeds and for pulling the hanger wire through later. I also find landscaping stakes handy for scraping out the seeds and tissue within the gourd.
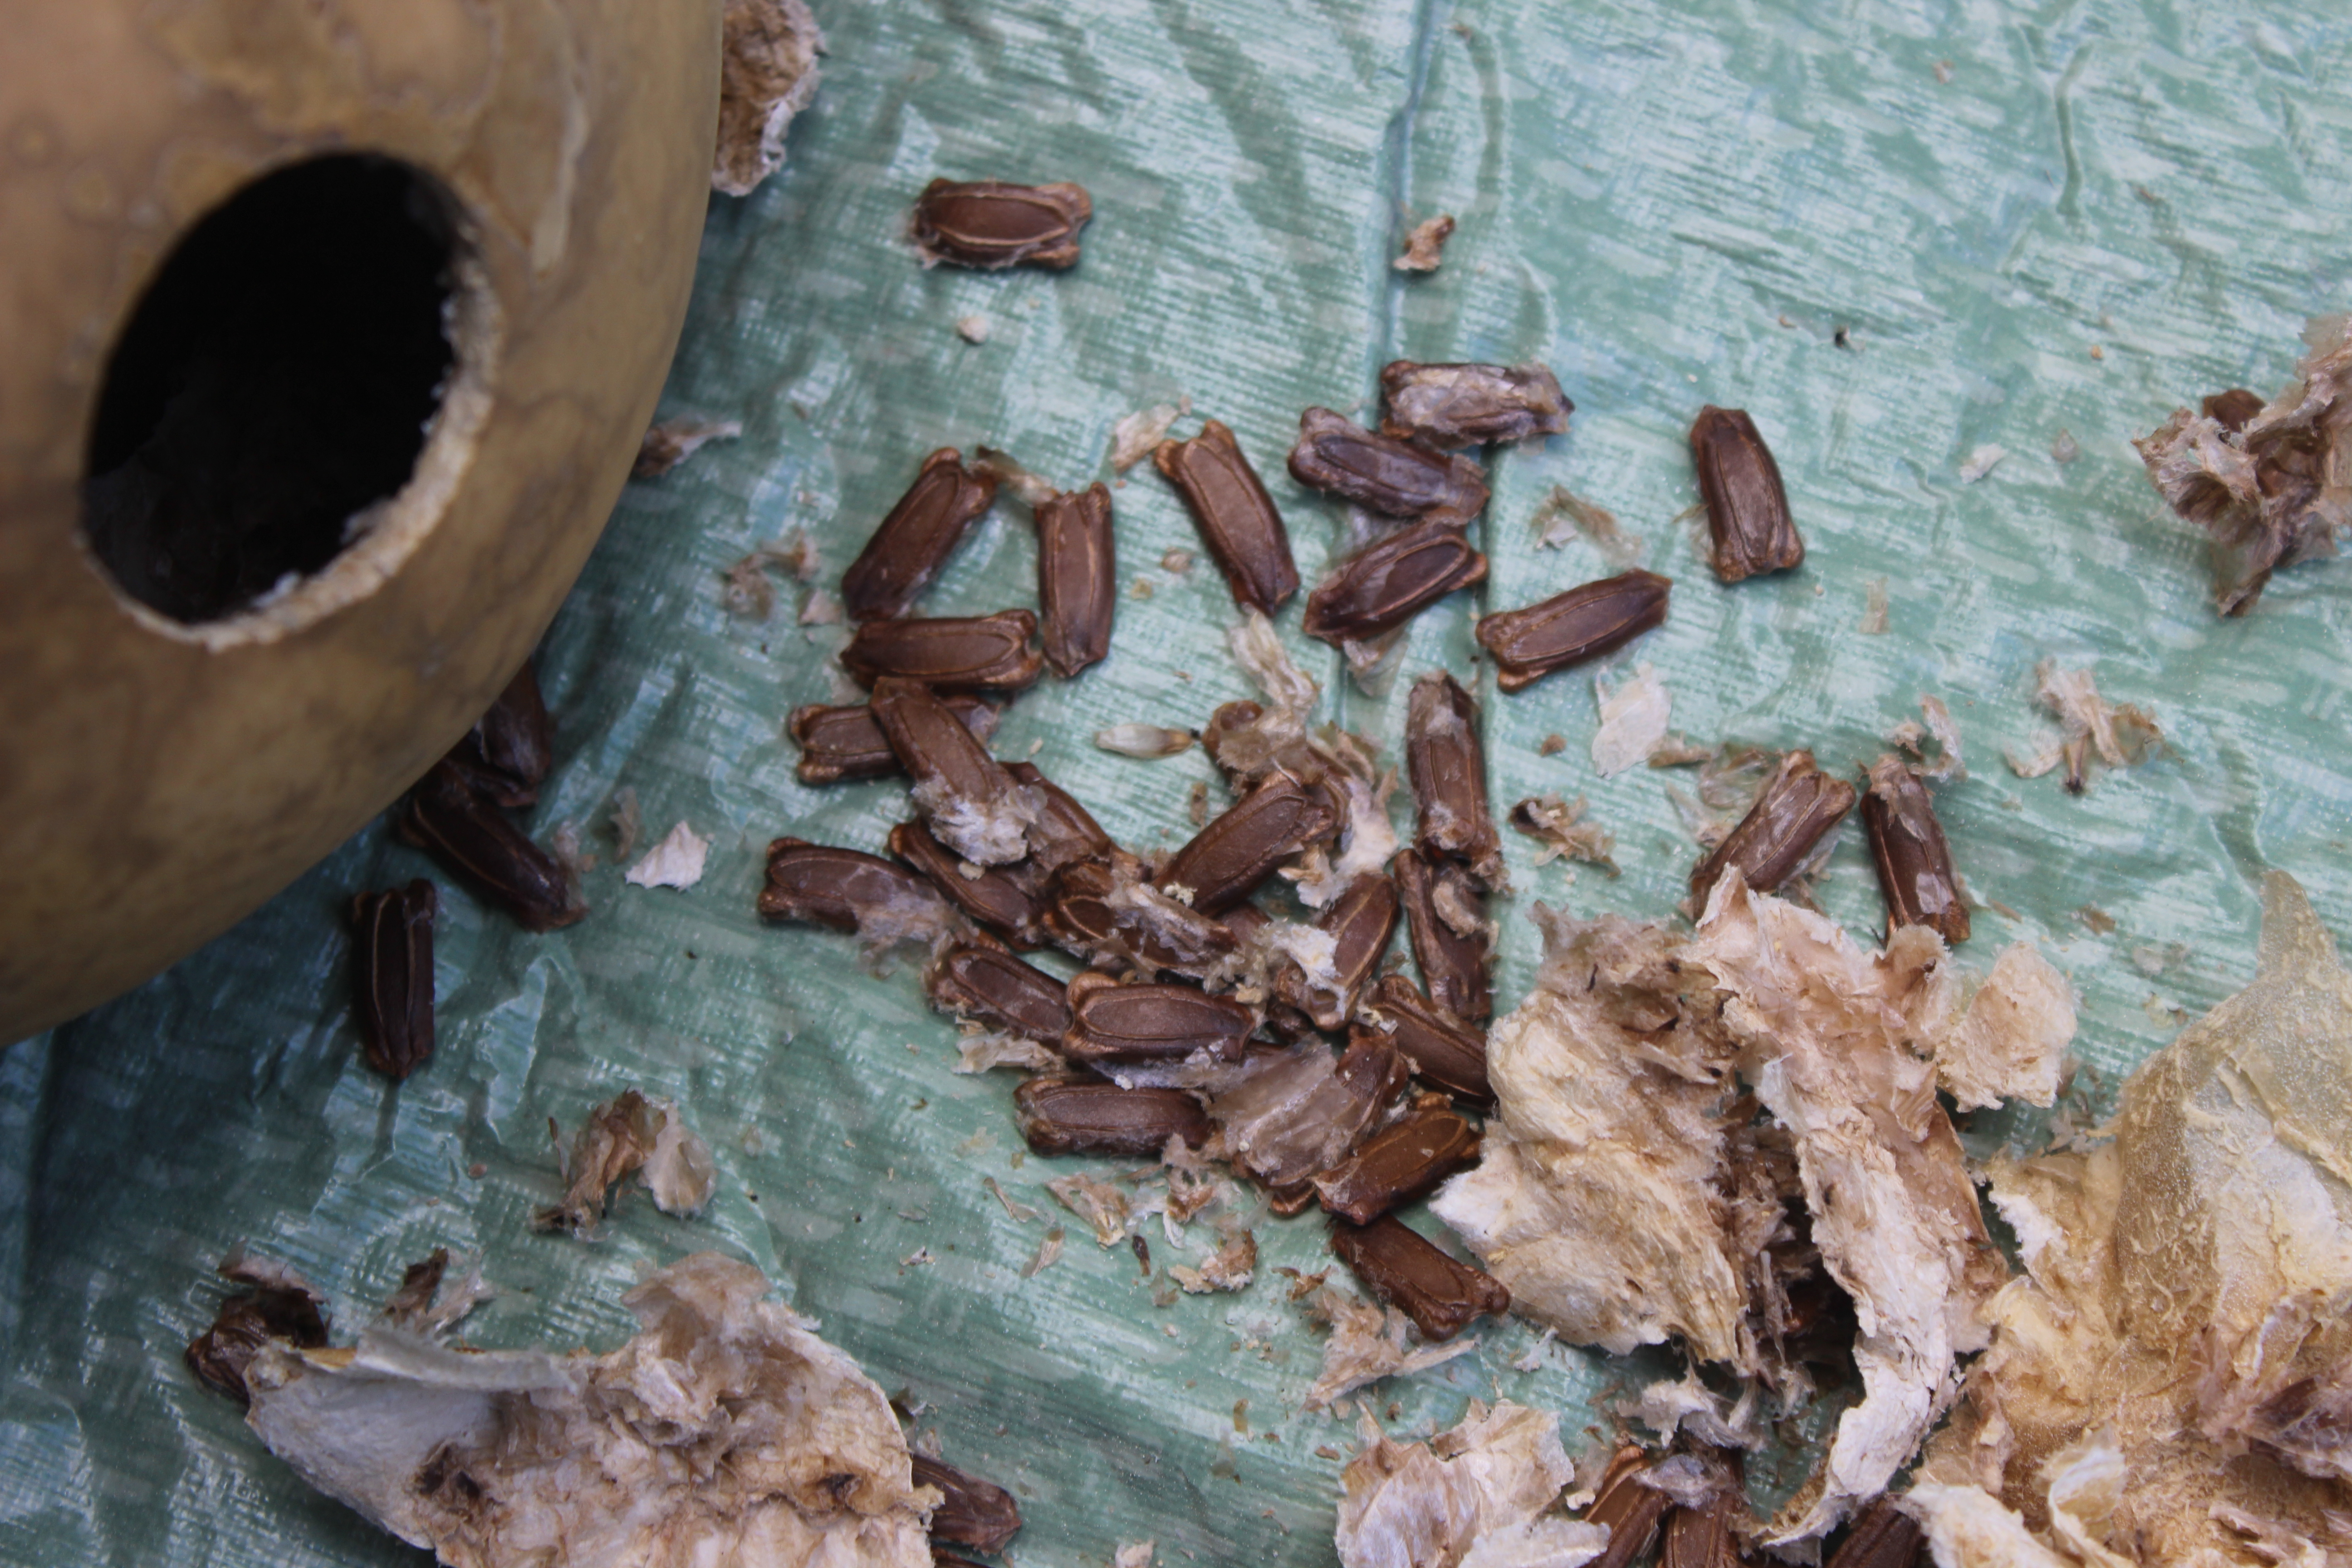
Years ago I made the mistake of dumping out all my seeds after doing this. The smart little squirrels remembered those tasty seeds the next year and ate my gourds. So, do not share the seeds with your local, furry friends.
I have put mesh bags(like for lemons or onions) around the gourds to discourage the squirrels. One year I did not have enough bags, so I tried pantyhose. What a mess! Don’t try that at home.
Fourth: Drill one small hole at the top of the neck near the stalk for your hanging wire. Also, drill four or five small holes through the bottom for ventilation or in case water happens to get in. Baby song birds cannot swim, you know.
Fifth: Take a sturdy wire about two and a half feet long and push it down through the top hole until you can see it by looking through the door. Then use that same hooked piece of wire that you used to remove seeds to pull the end of the long wire out through the hole. Bend the end of the wire to make a loop and then pull the loop back into the gourd using the top of the wire.
Pull firmly but carefully to get the loop back in the gourd and up into the neck of the gourd. If you pull the wire too hard and break off the neck, you can make a nice bowl with the gourd you just mutilated. This wire is how you hang up the birdhouse. We swirl our wire around a one-inch dowel rod to make it look like a tendril.
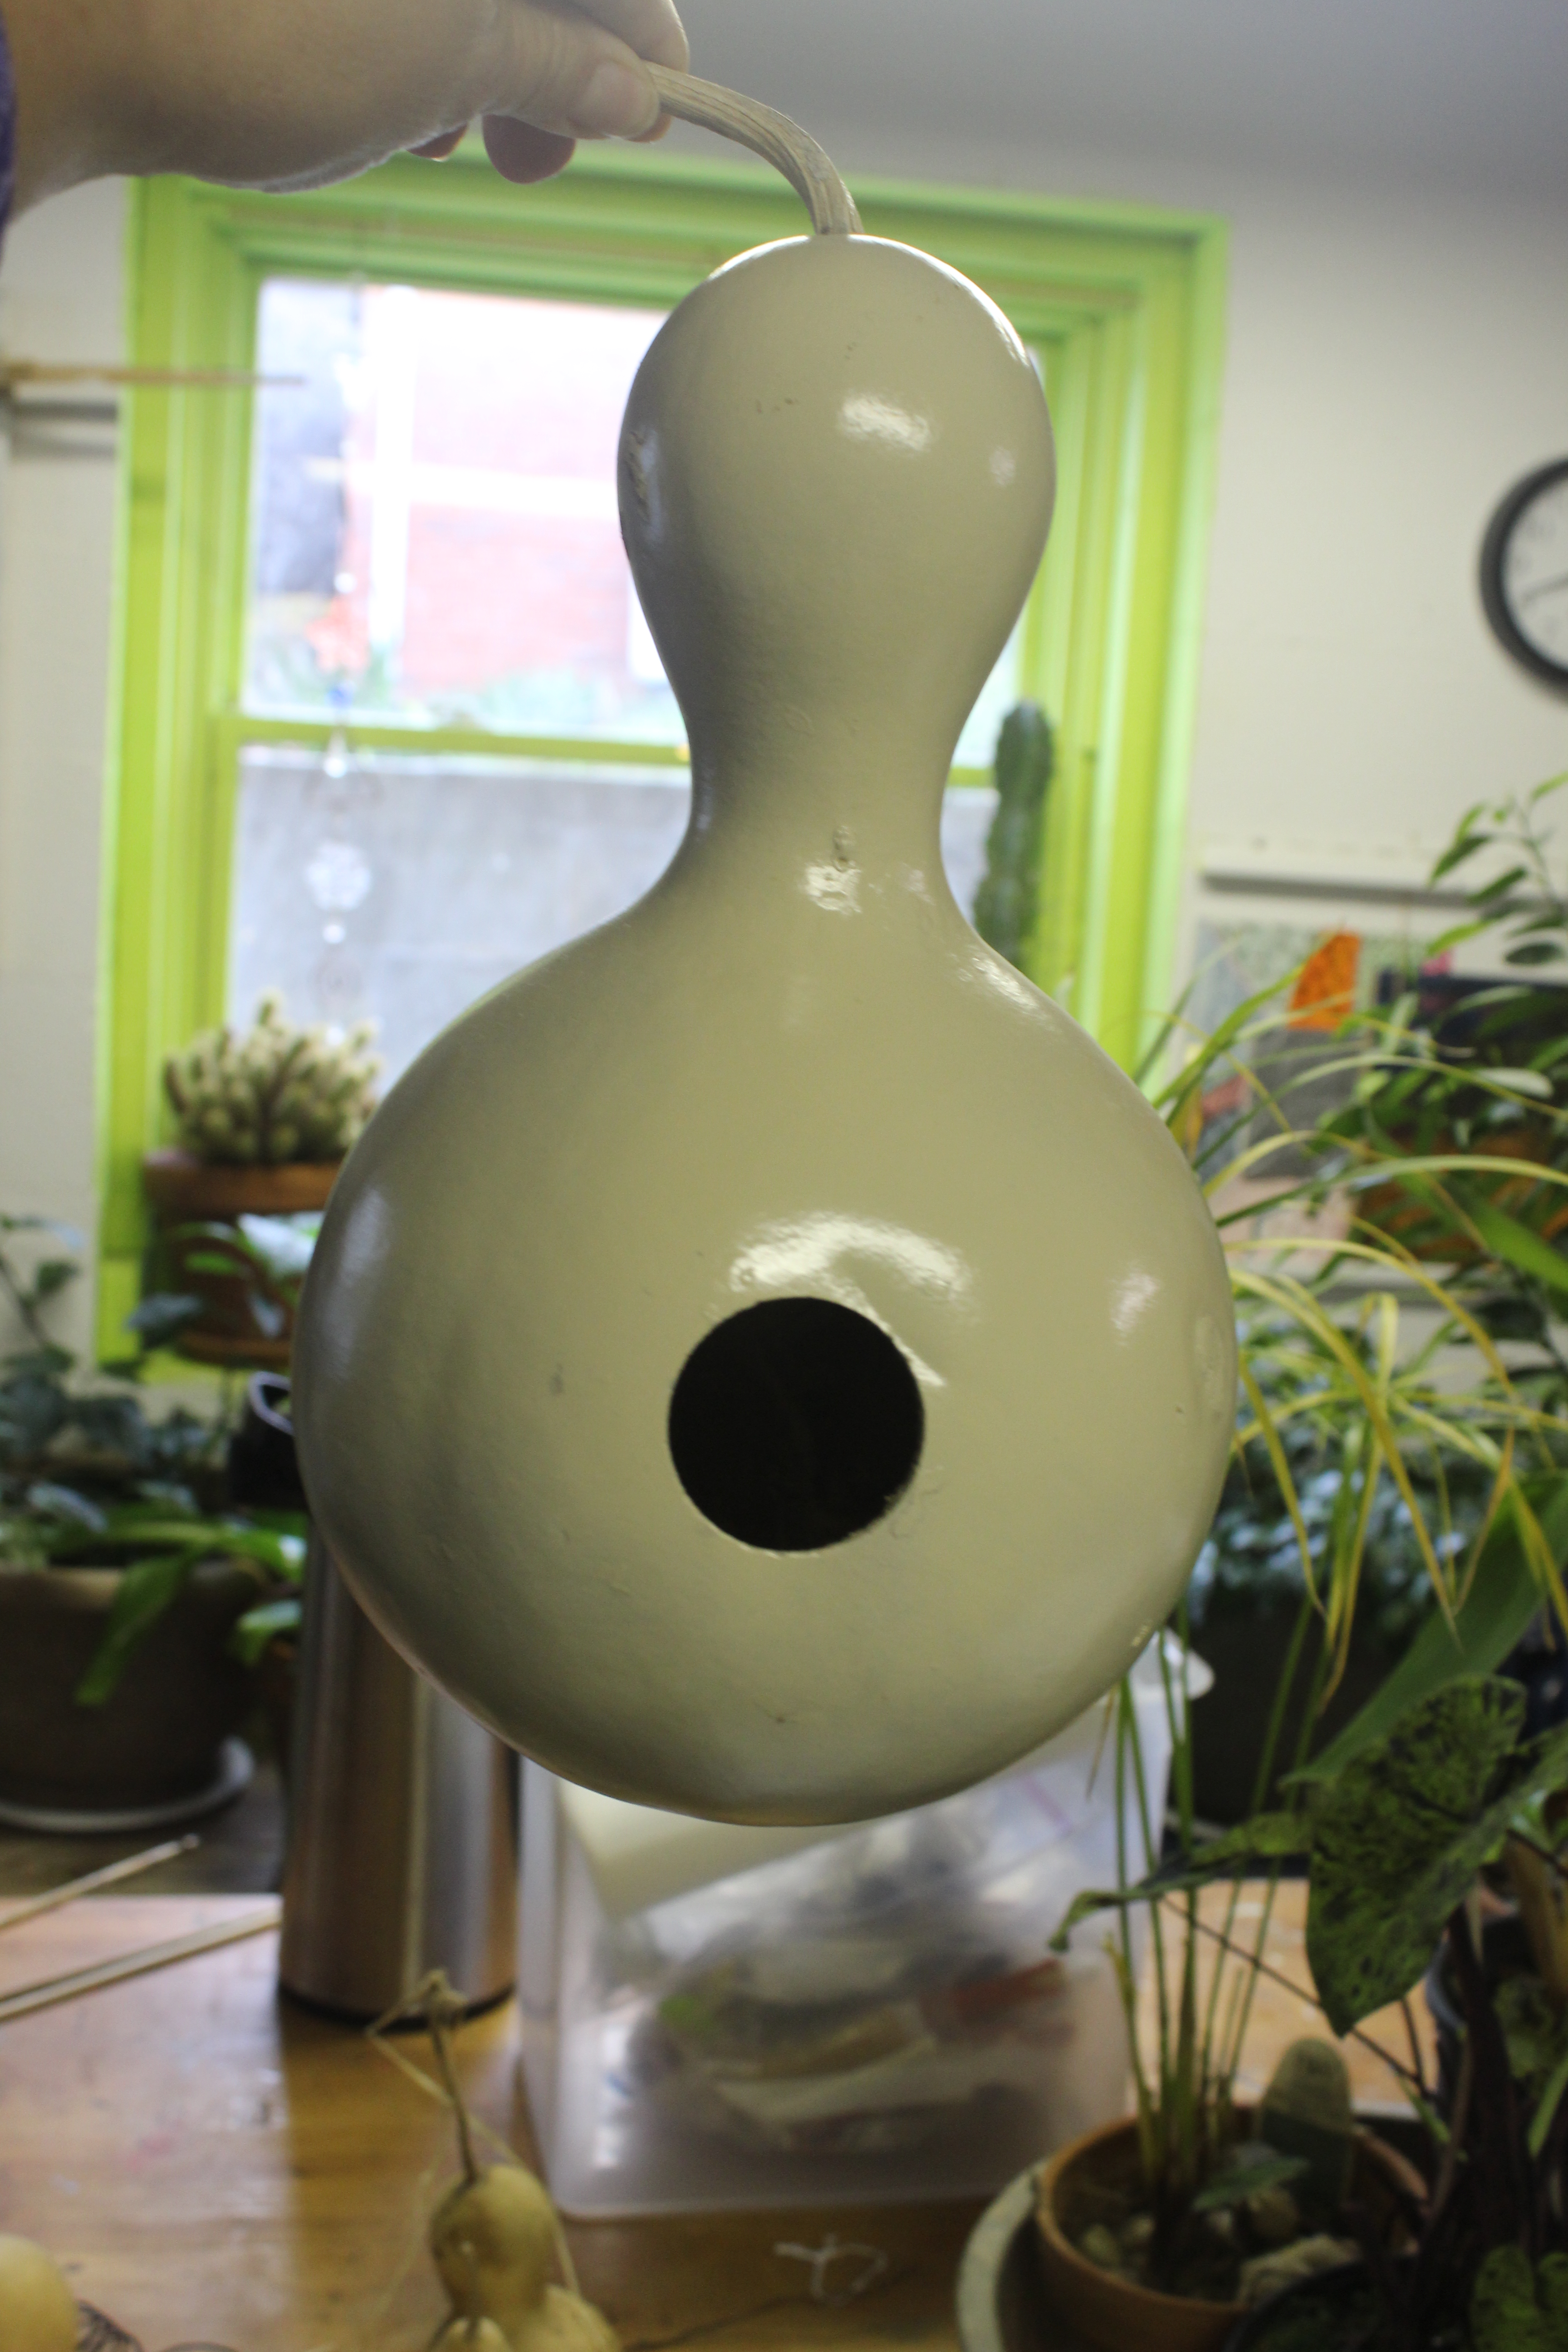
Finish: I prime mine with a neutral color. Then paint them with exterior paint. We stick large sticks or dowel rods through an upside down crate for painting and drying. Hang the gourd by putting the “door” over the rod.
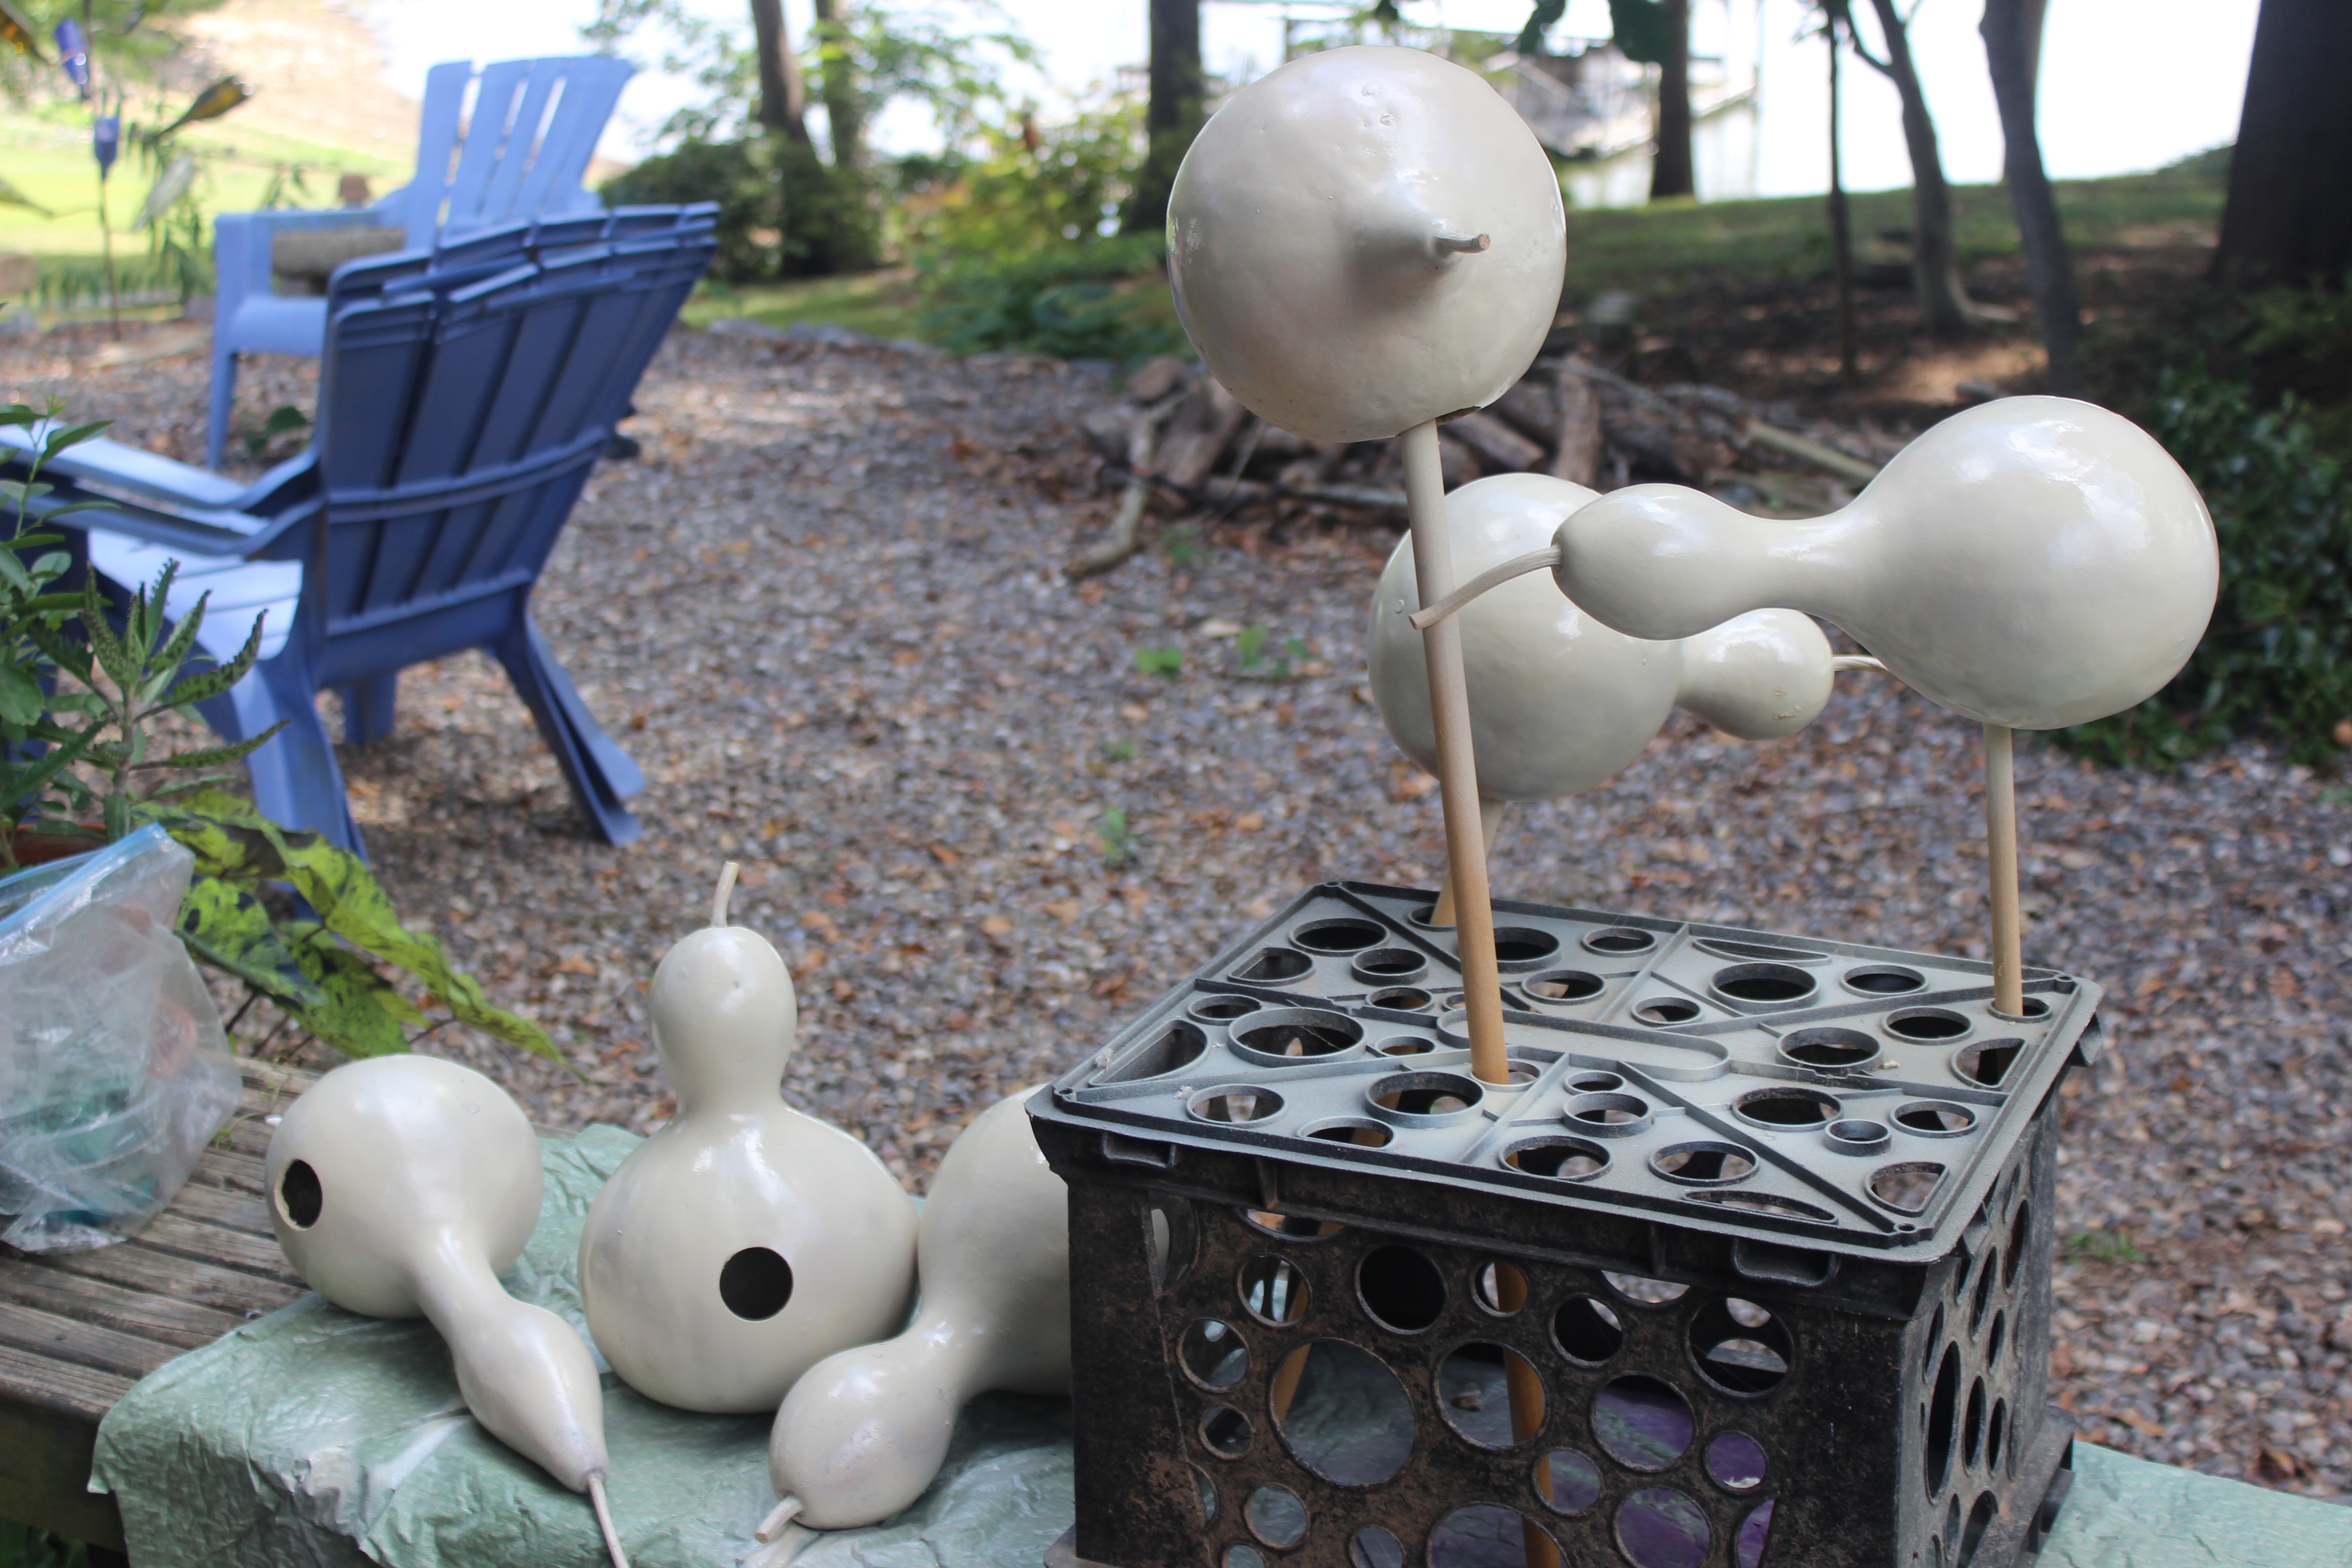
Then use your imagination to decorate your birdhouse. Let the gourd speak to you. The shapes will vary, so each one will have its own personality.
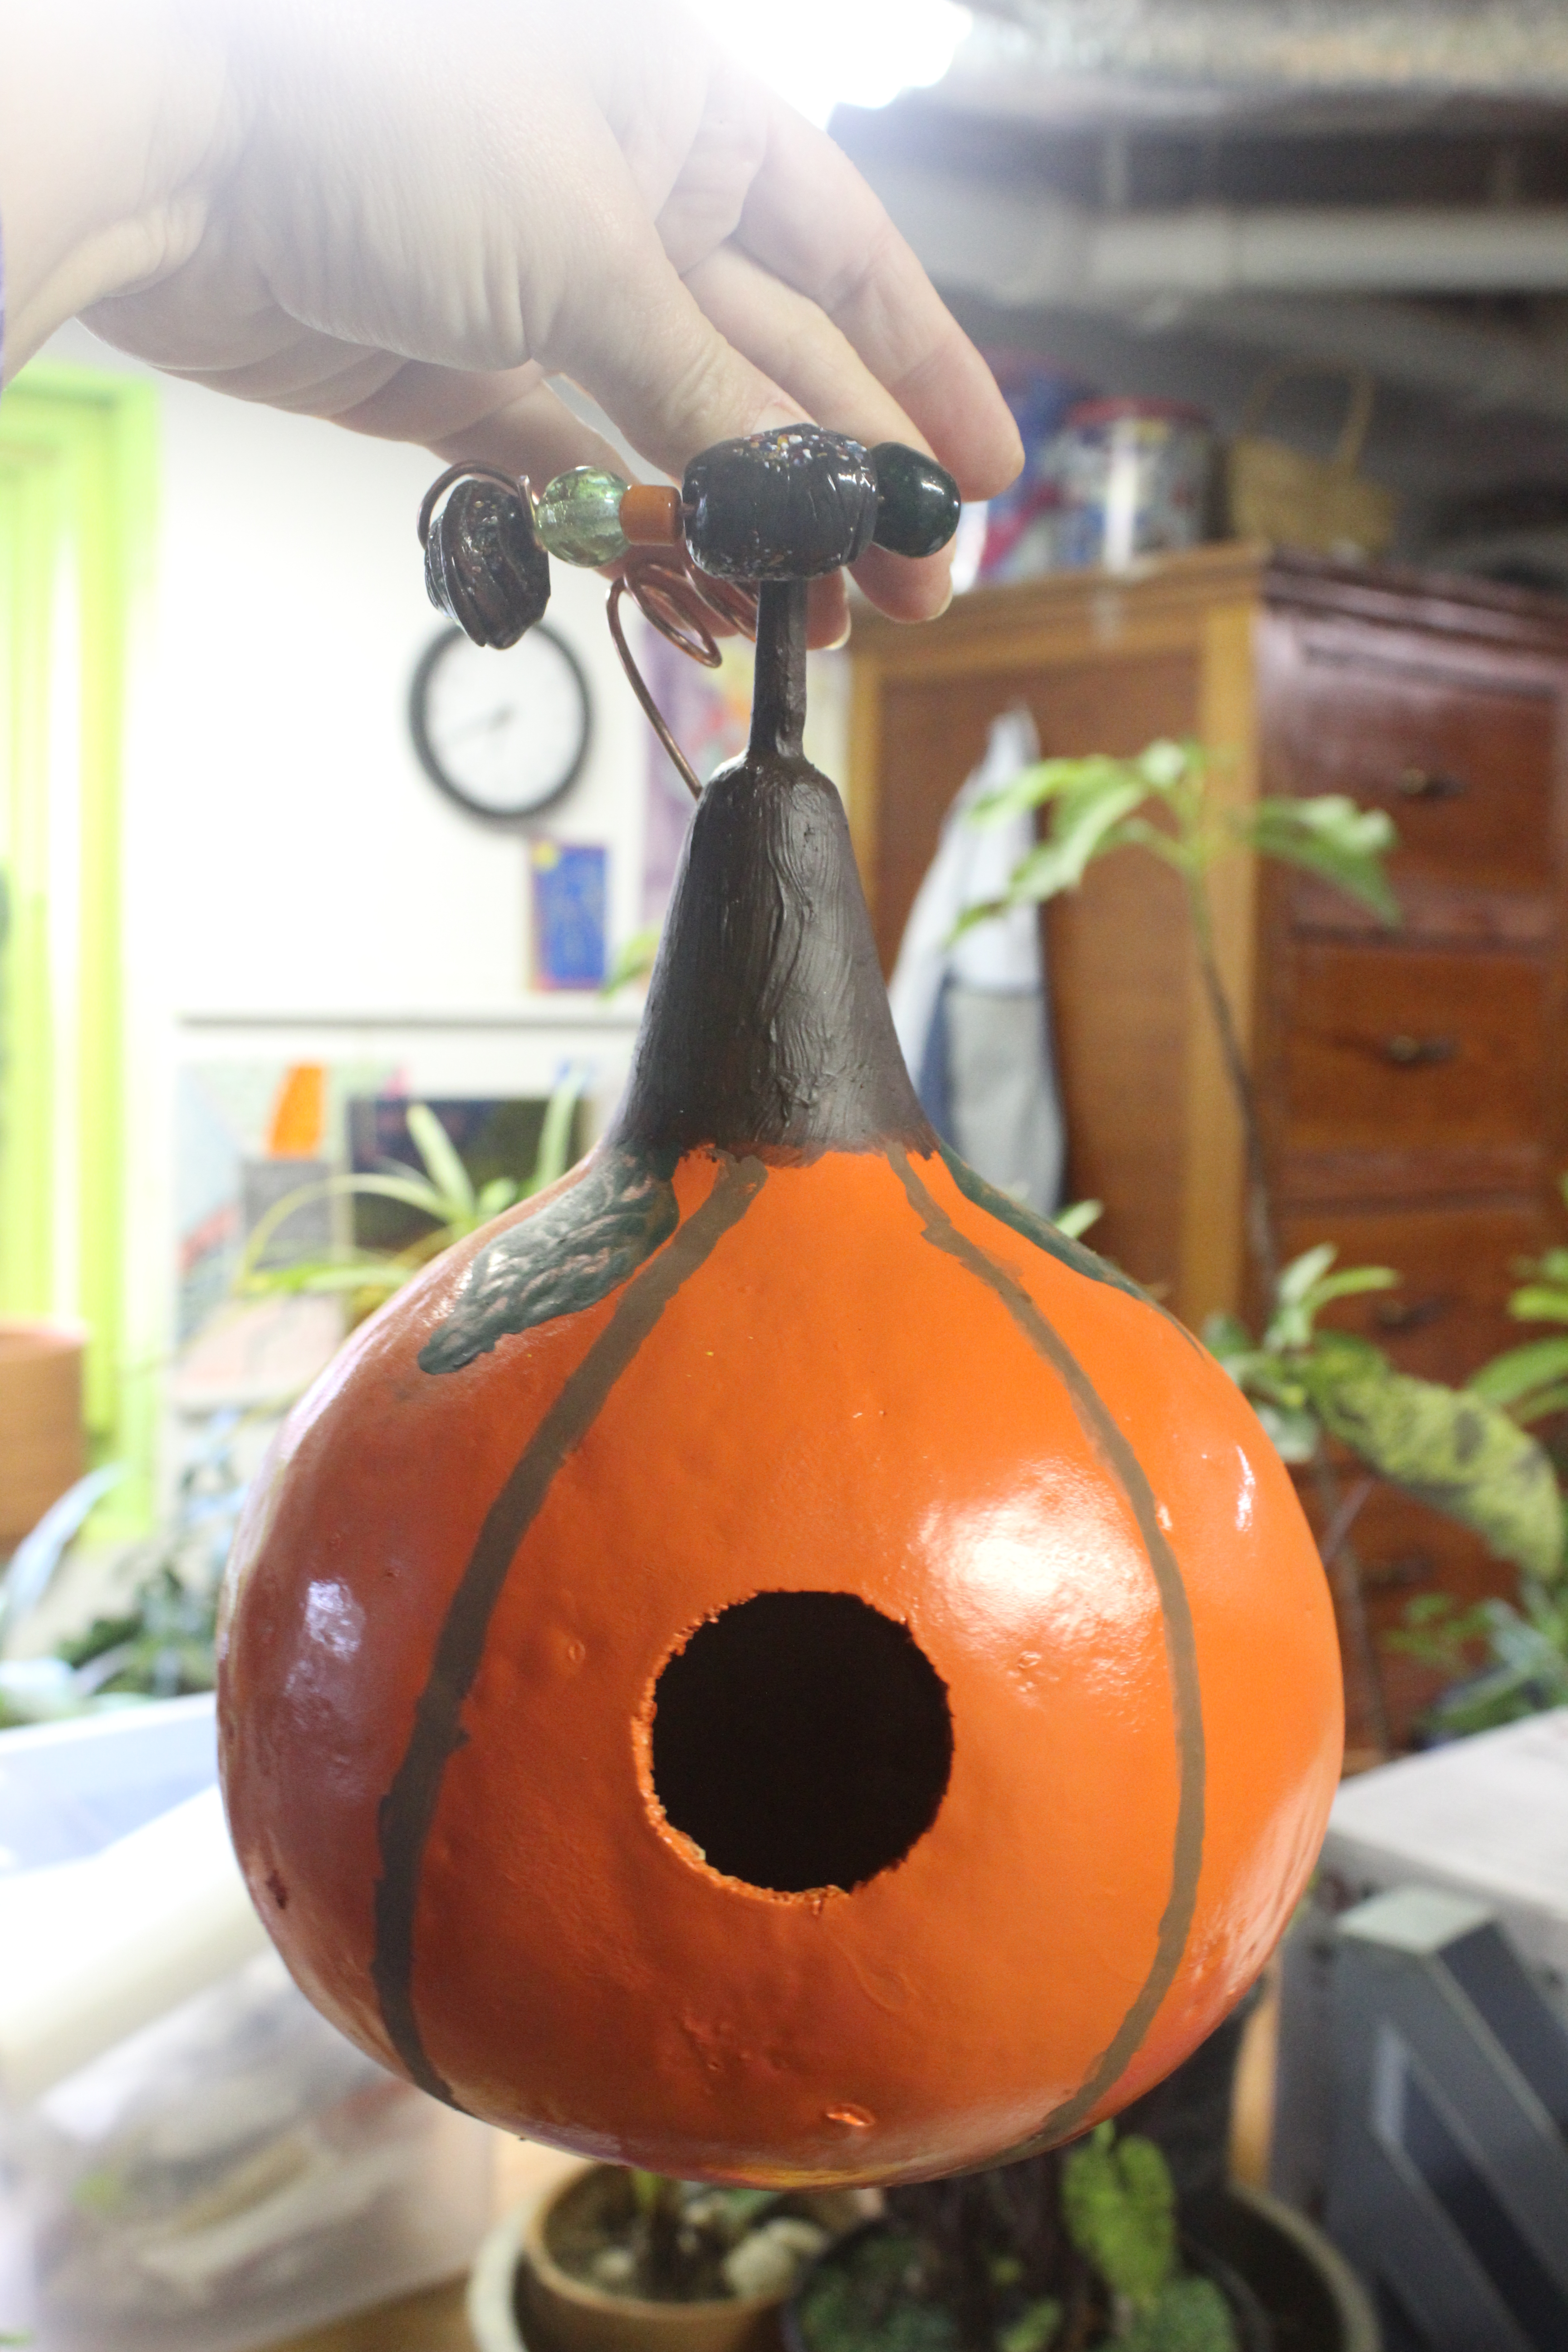
They will last longer if you also spray them with clear acrylic. We also jazz them up by adding beads onto the hanging wire.
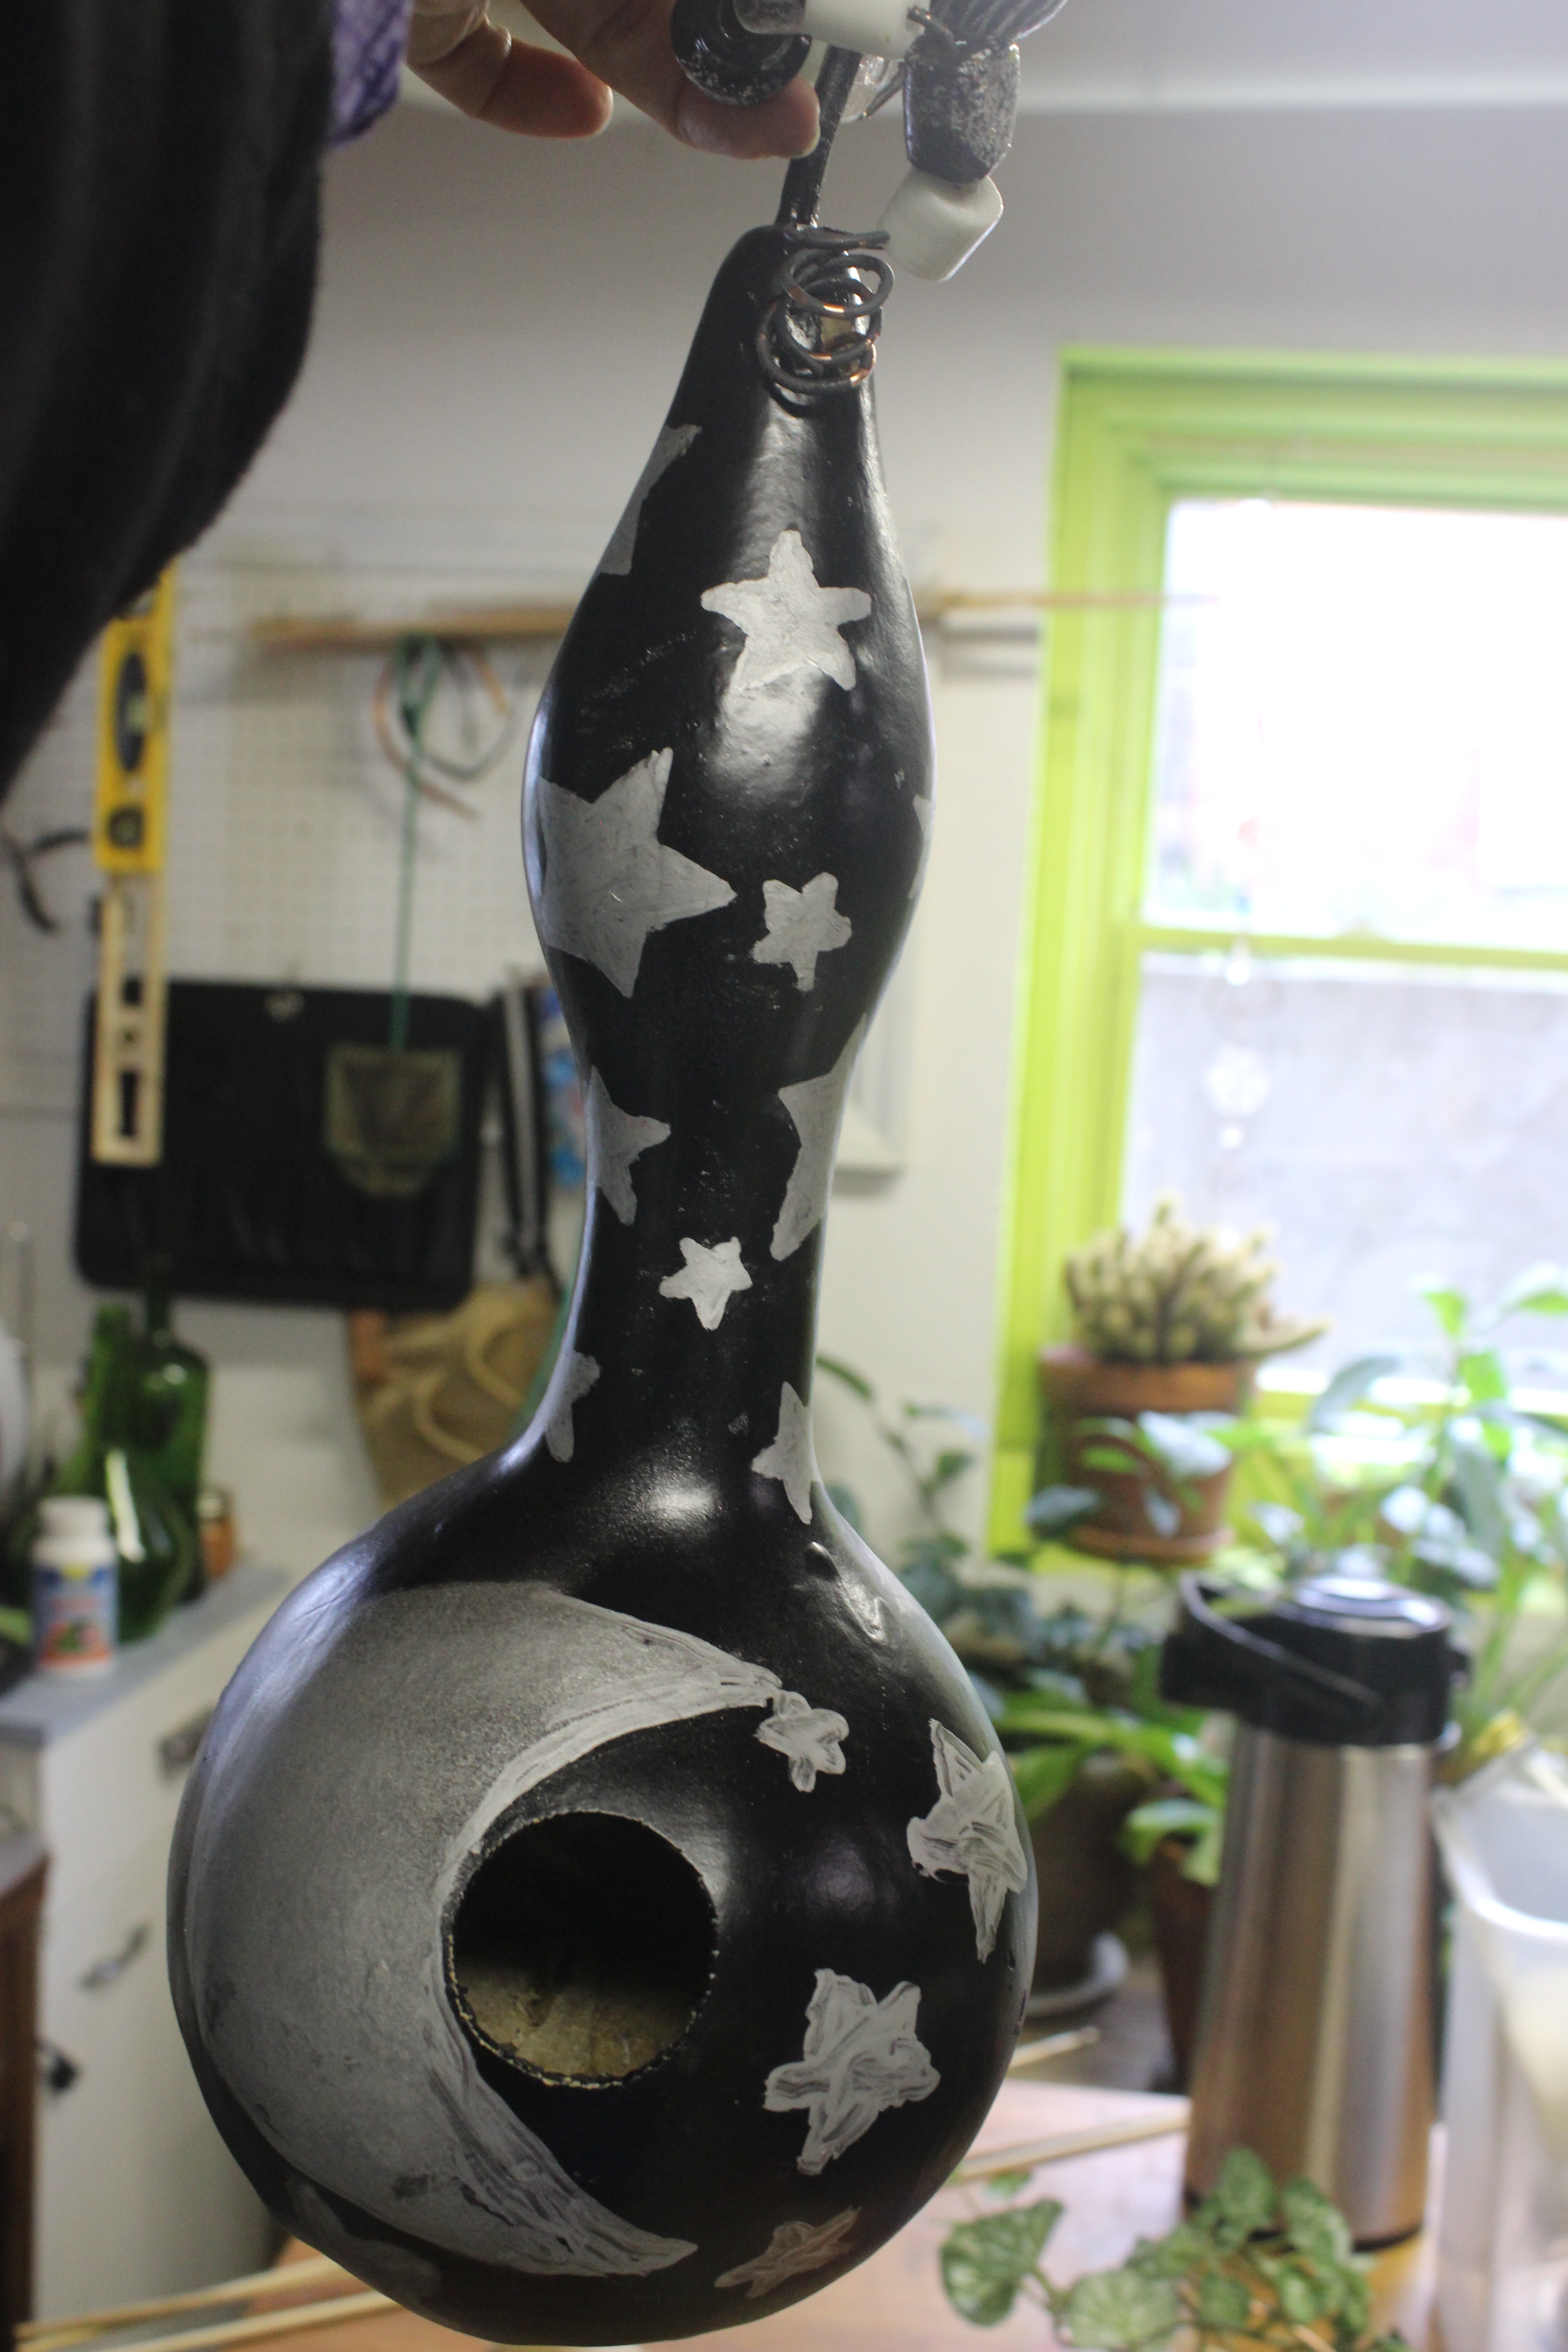

My daughter paints these and adds the beads. She likes to name them.
Voila! BIRDHOUSEGOURDBIRDHOUSE
Follow the Flower!
