

In the spring on 1980, Mount Saint Helens erupted. It blew out the north side instead of the top, which left a huge swath of devastation northward and mud slides down its eastern and western slopes. The devastation and dust from this blast covered about two hundred square miles around the mountain. Millions of plants and animals were erased from the landscape.

My father went there in the early 1980s and brought back a bag of ash. This is not like wood ash that you clean from a fireplace. This is rock ash from molten rock being blown out of the earths mantle. I passed around this ash in my classrooms whenever we studied volcanoes. I wanted my students to feel the texture and weight of this ash. Since I can’t do that here, I have photographed some under a microscope.


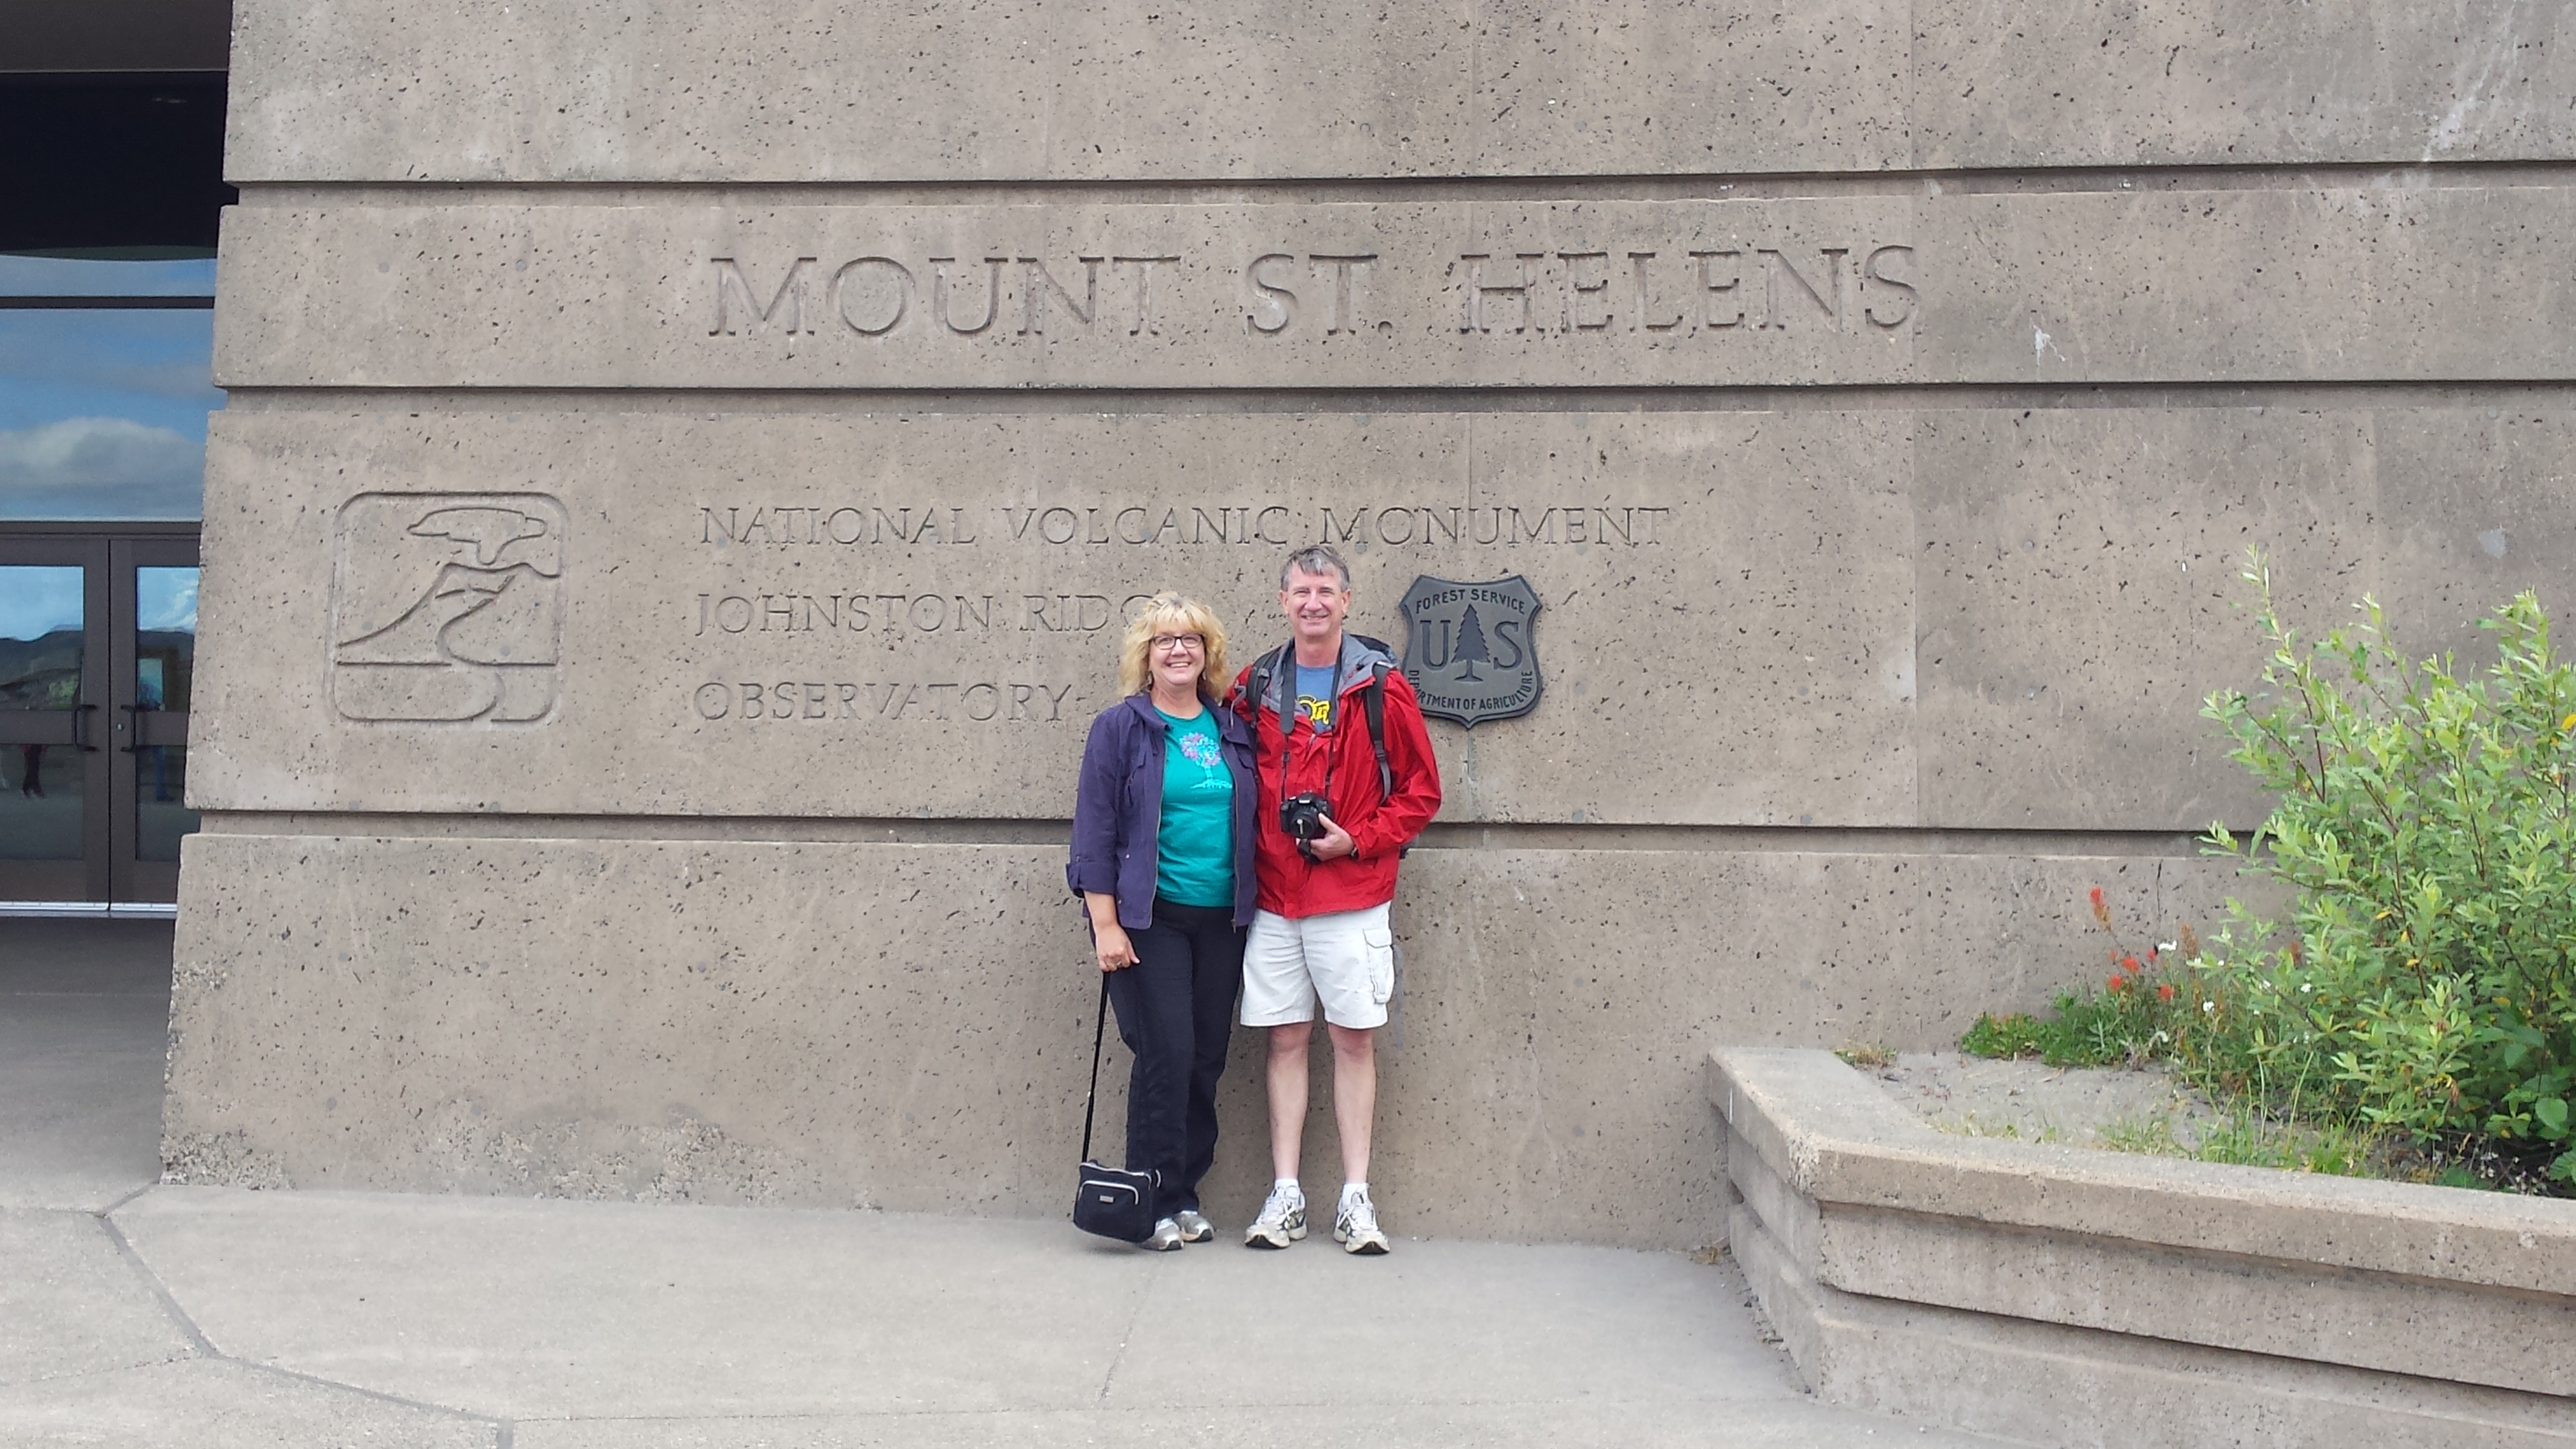
Last week, thirty five years later, I got to go see Mount Saint Helens myself for the first time. There was still evidence of the blast scattered here and there if you know what to look for. Still some tree trunks laid like matchsticks in parallel groups. A set of taller trees that survived the blast by being on the lee side of another mountain top.


The folks who knew the place before can point out many changes in the landscape including missing lakes and valleys that were filled in by the mudslides. What I saw were green trees and blooming flowers with wildlife everywhere.

How does a place recover from such devastation? How did it change from gray ash to green forests and meadows? I must admit that people sped up the process quite a bit to control erosion and continue timber production. Trees were planted by the thousands.
Nature has its ways of recovering. Seeds are the secret. Burrowing animals pushed up soil to mix with the ash and seeds were pushed up, carried in or blown in. This with a little rain and snow started the cycle of life again in the midst of all that destruction.
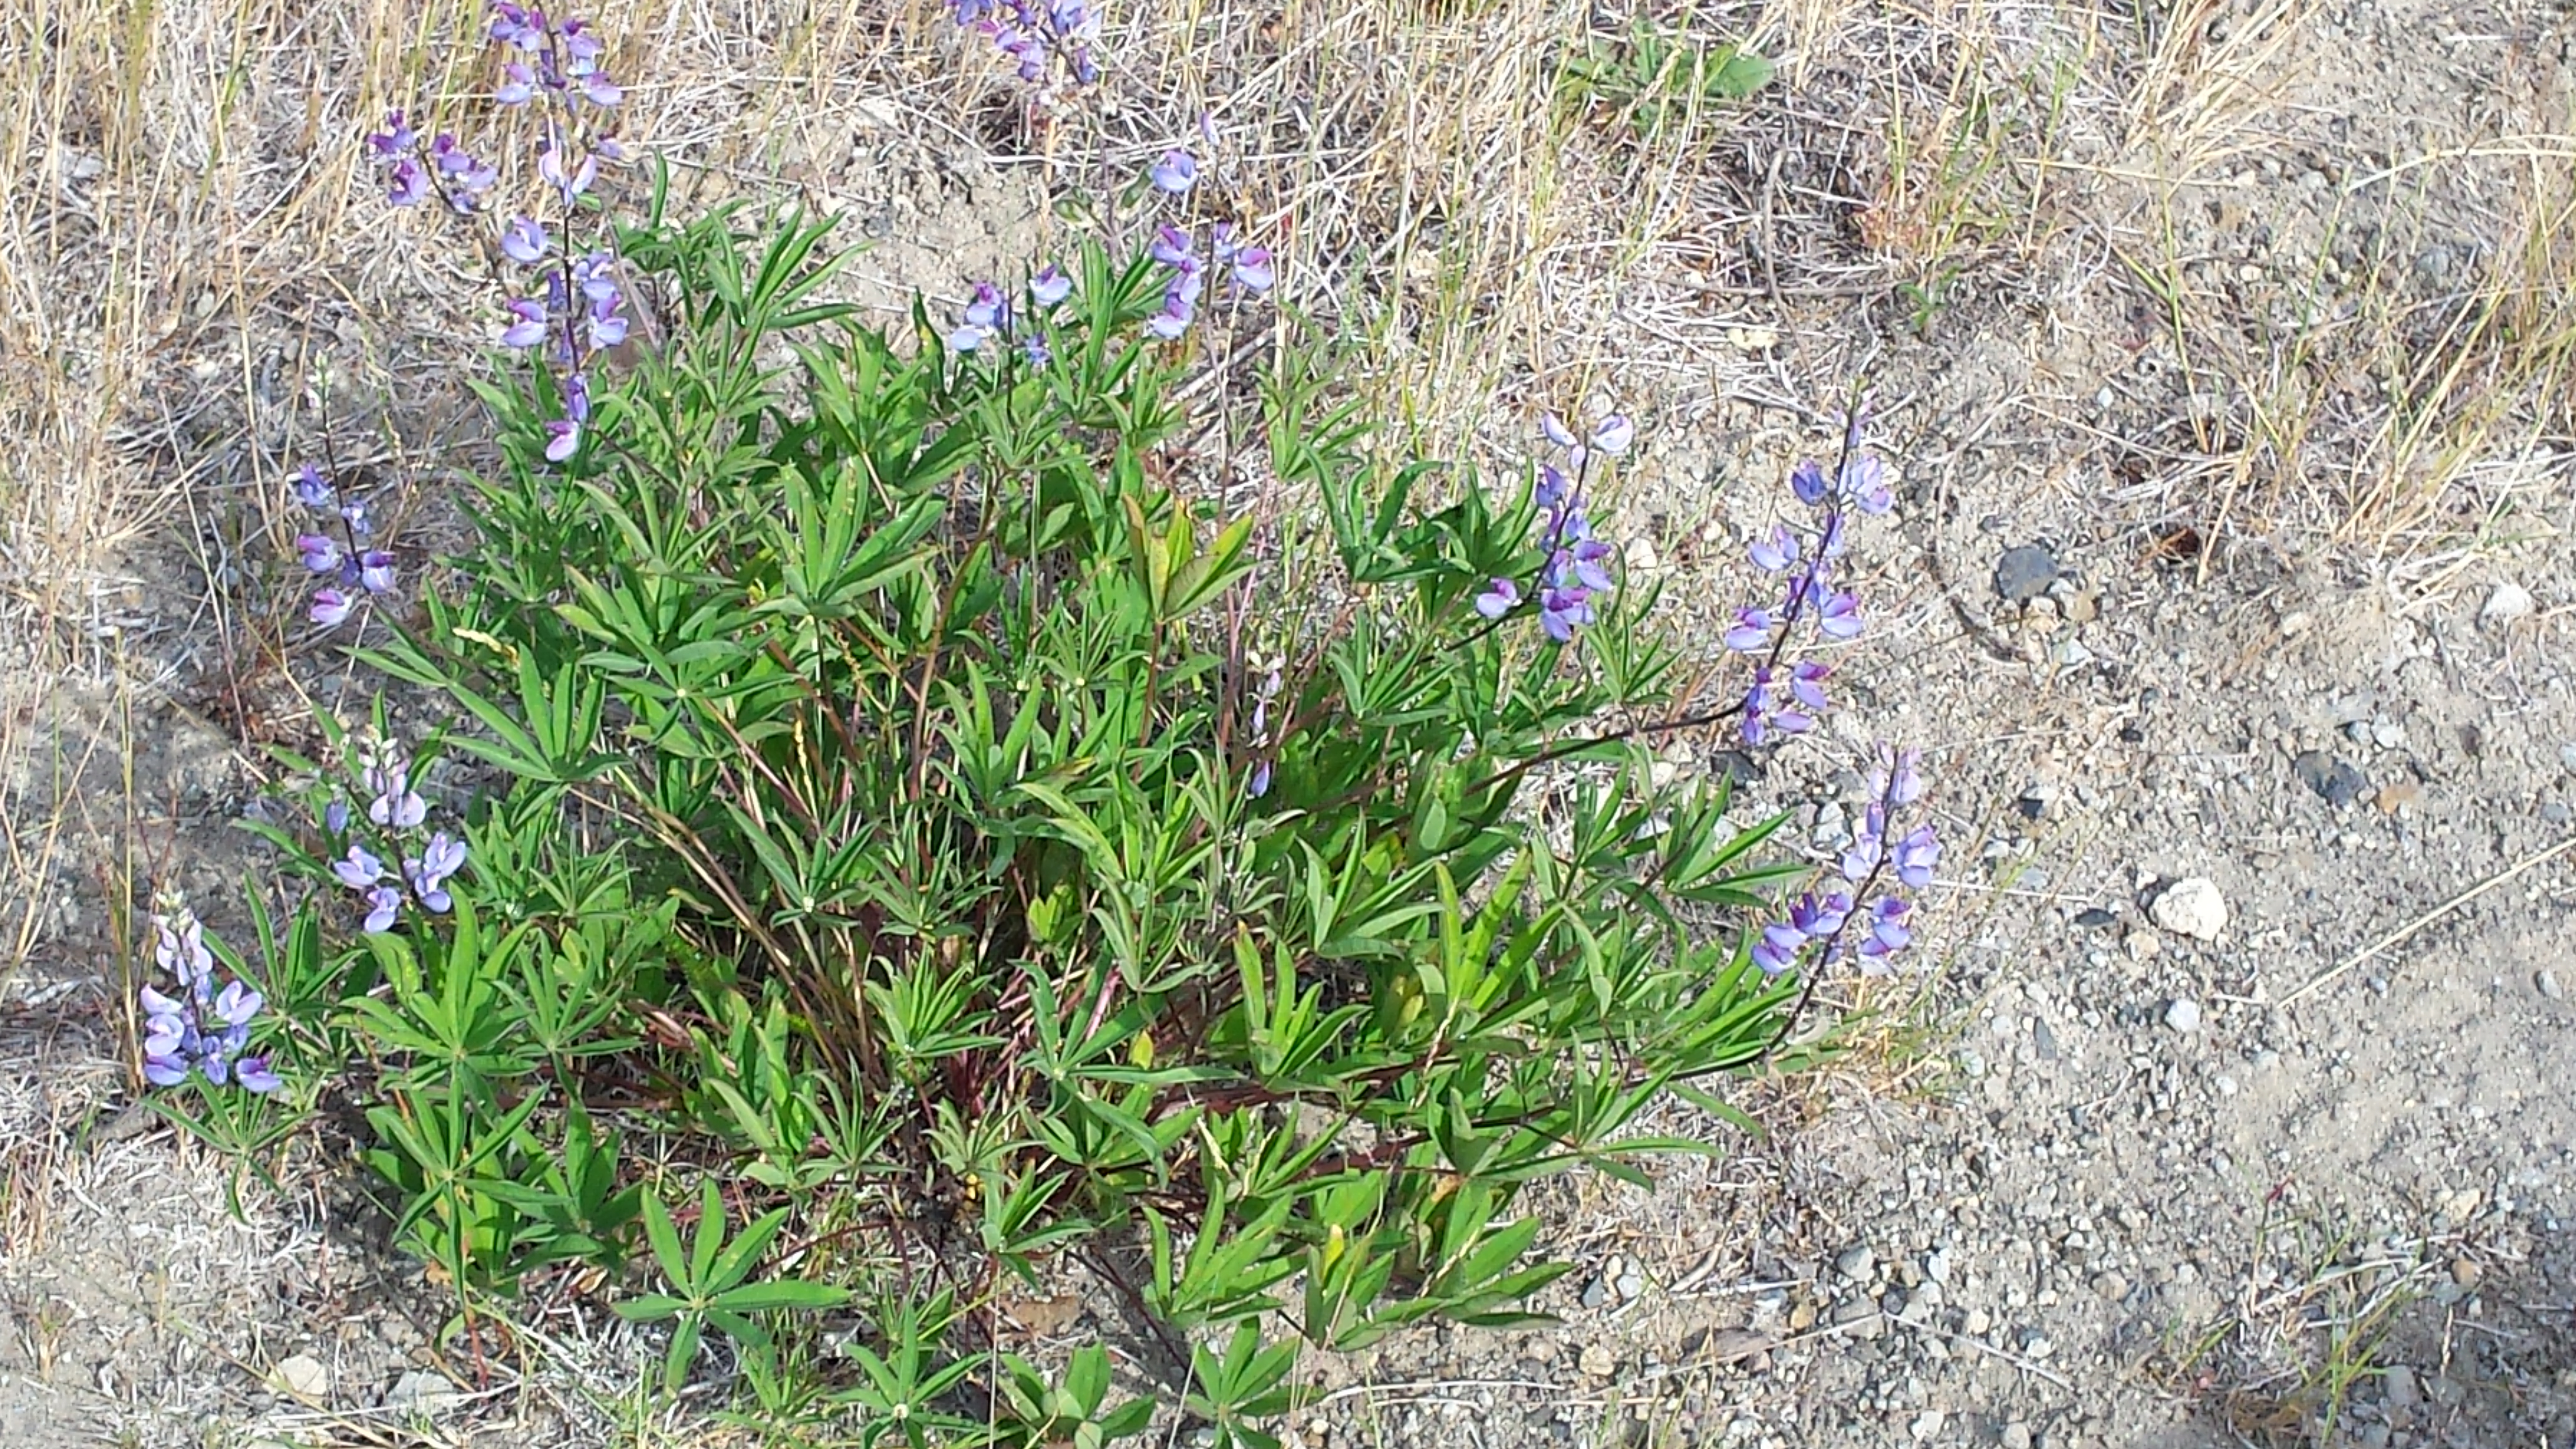
Most seeds could not survive on the ash, but one type actually thrived. Lupine, Lupinus lepidus, a pioneering species could grow on the ash mix. The seeds of this species germinated and grew because of its low nutrient needs, due to a bacteria in its roots that converts nitrogen.

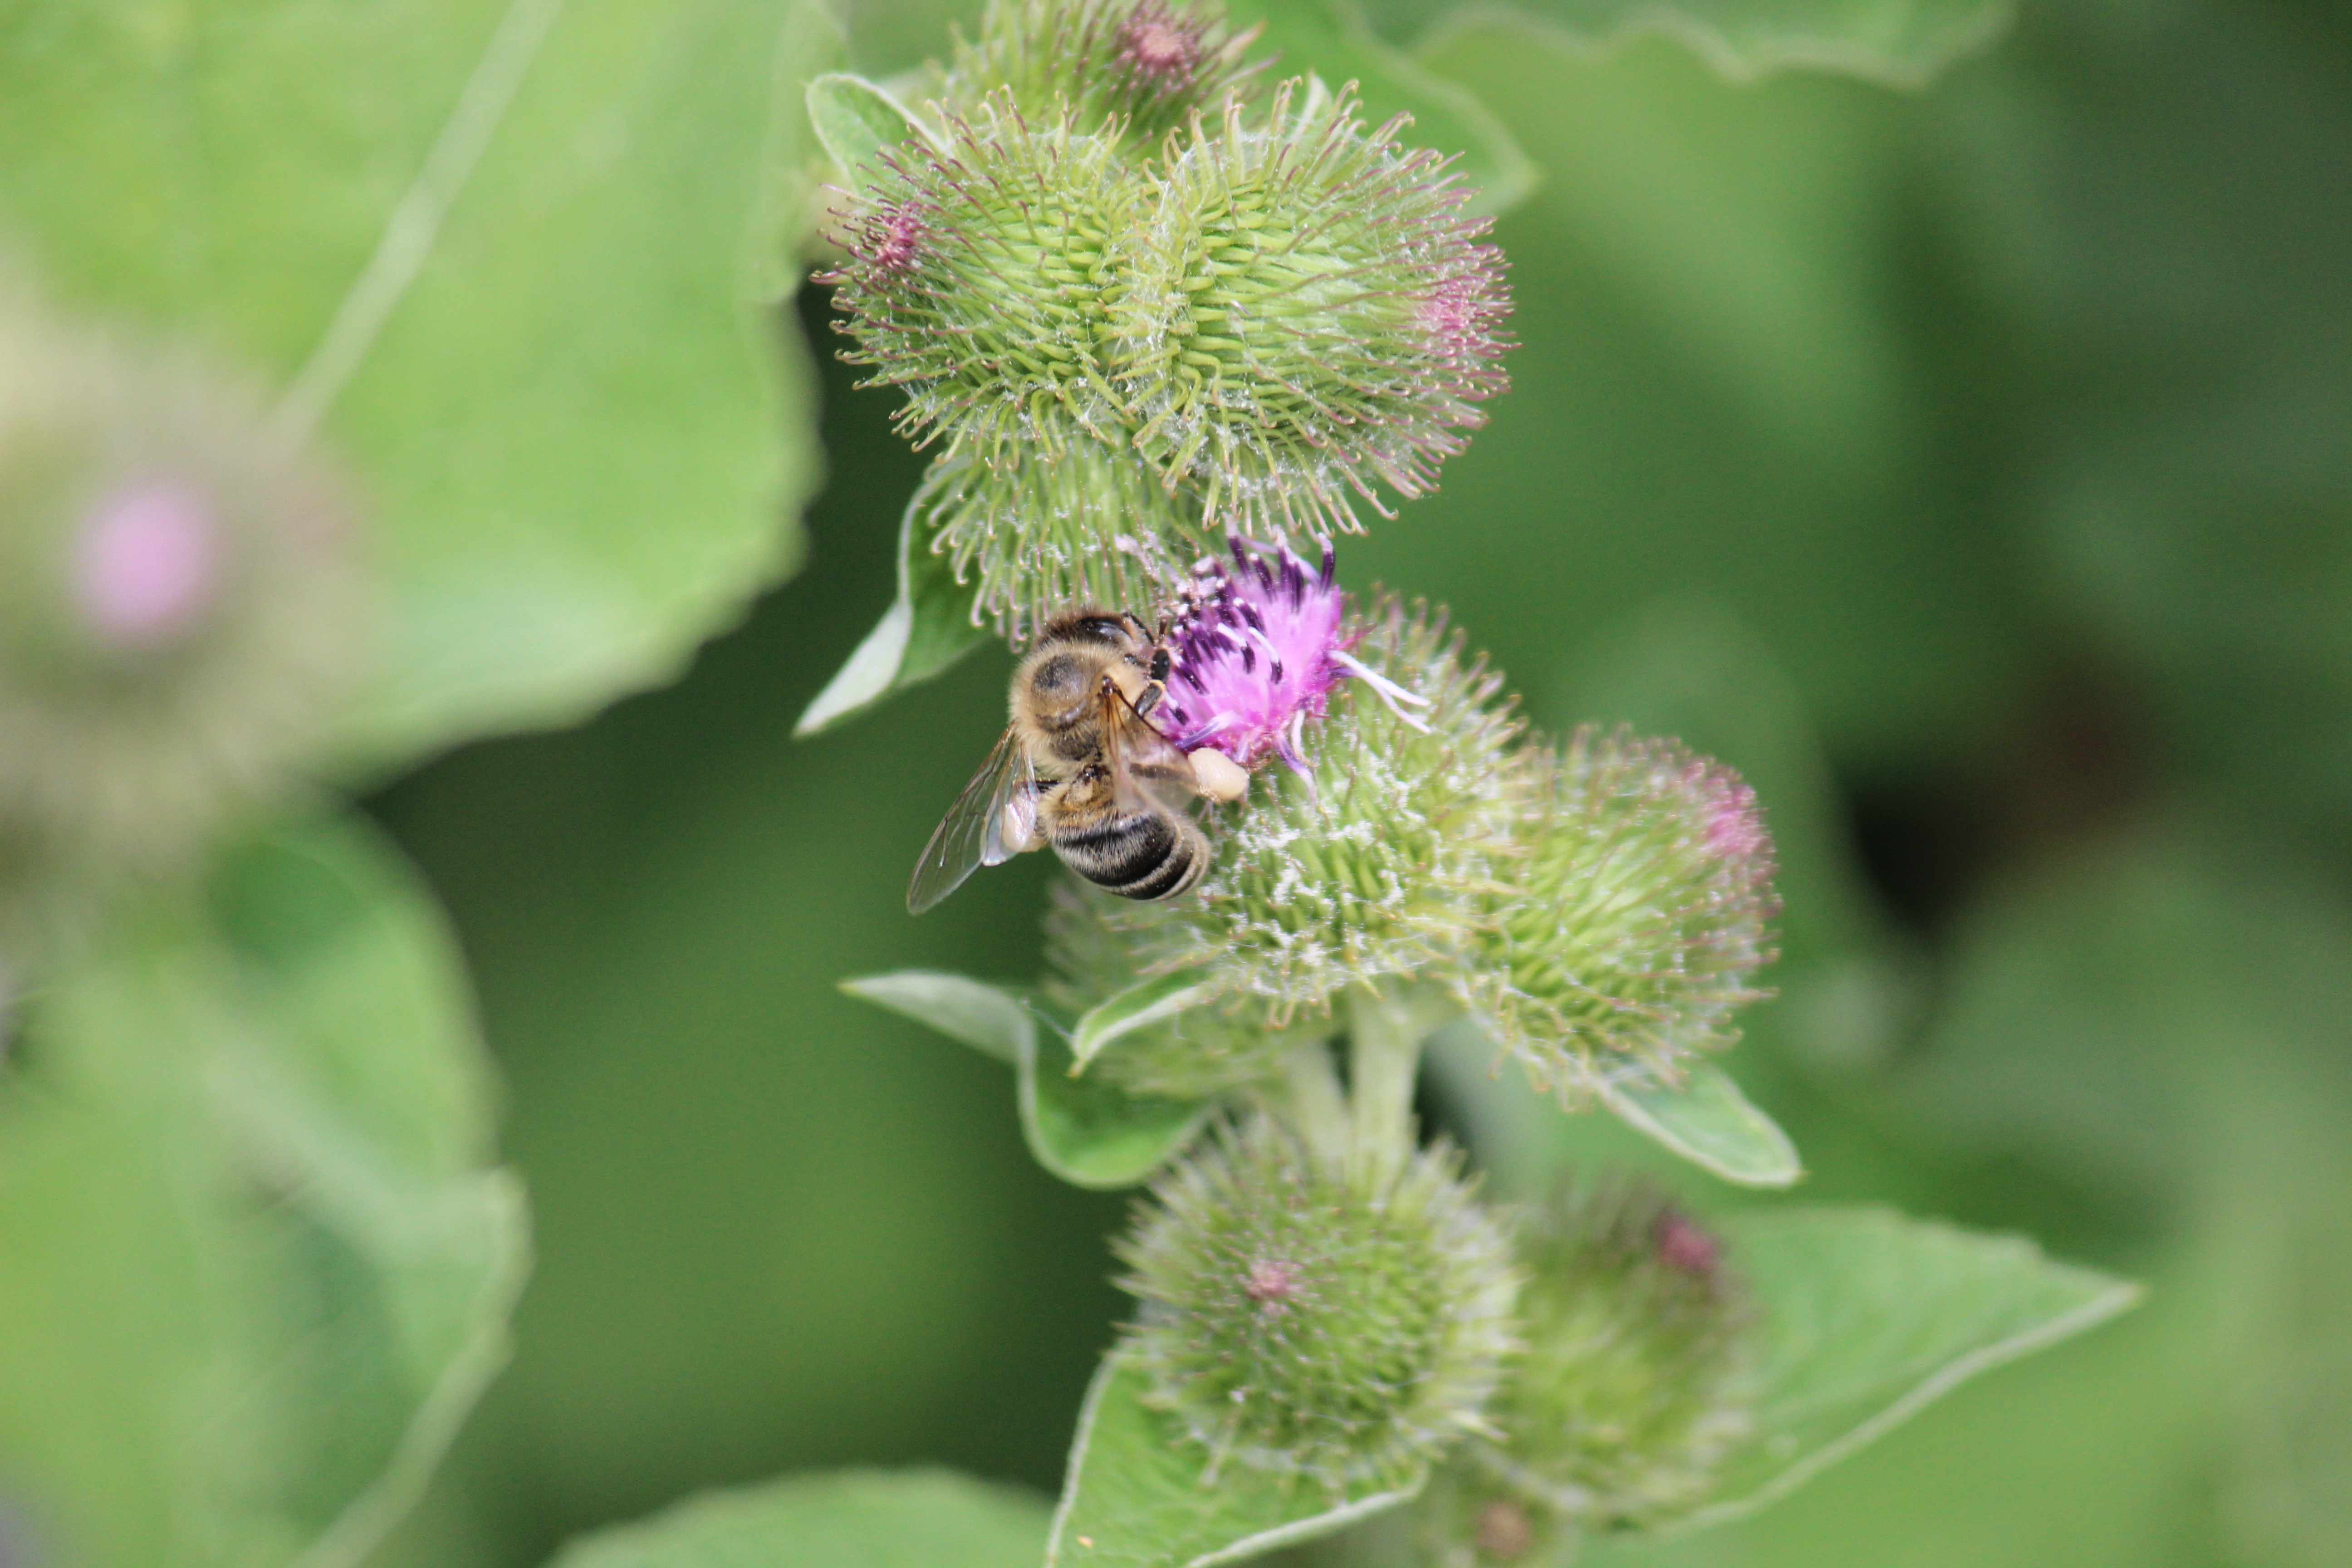
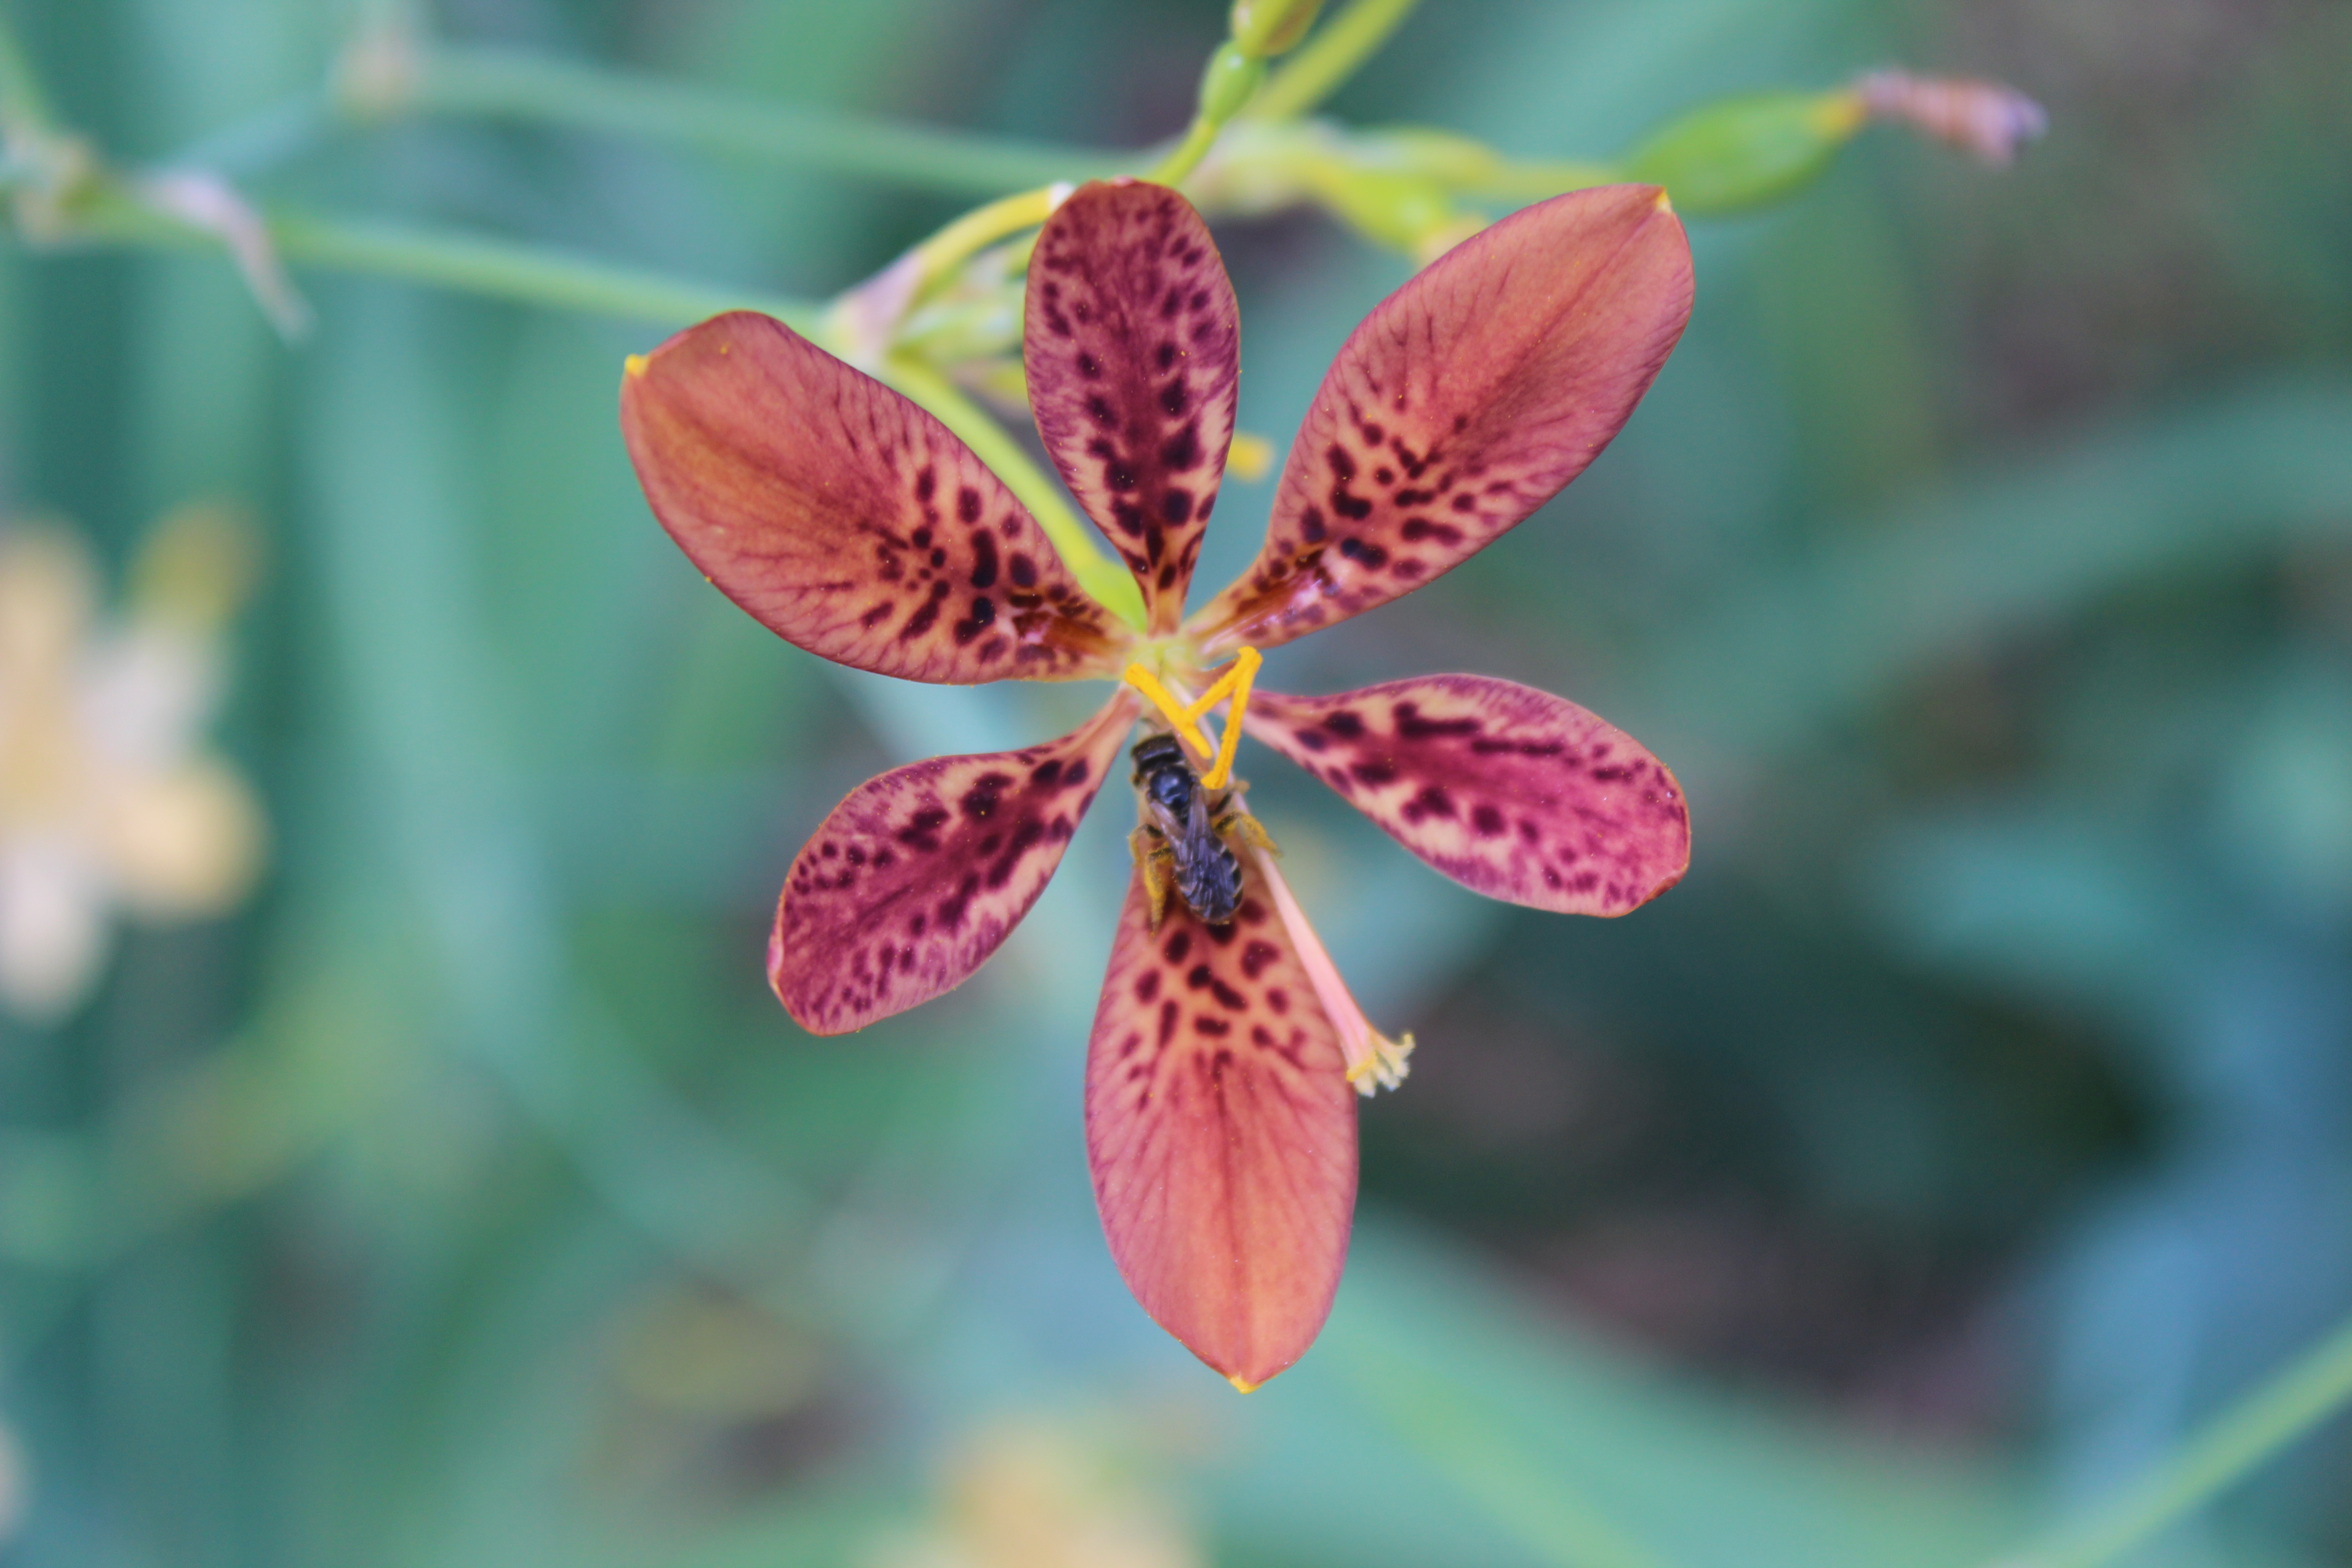
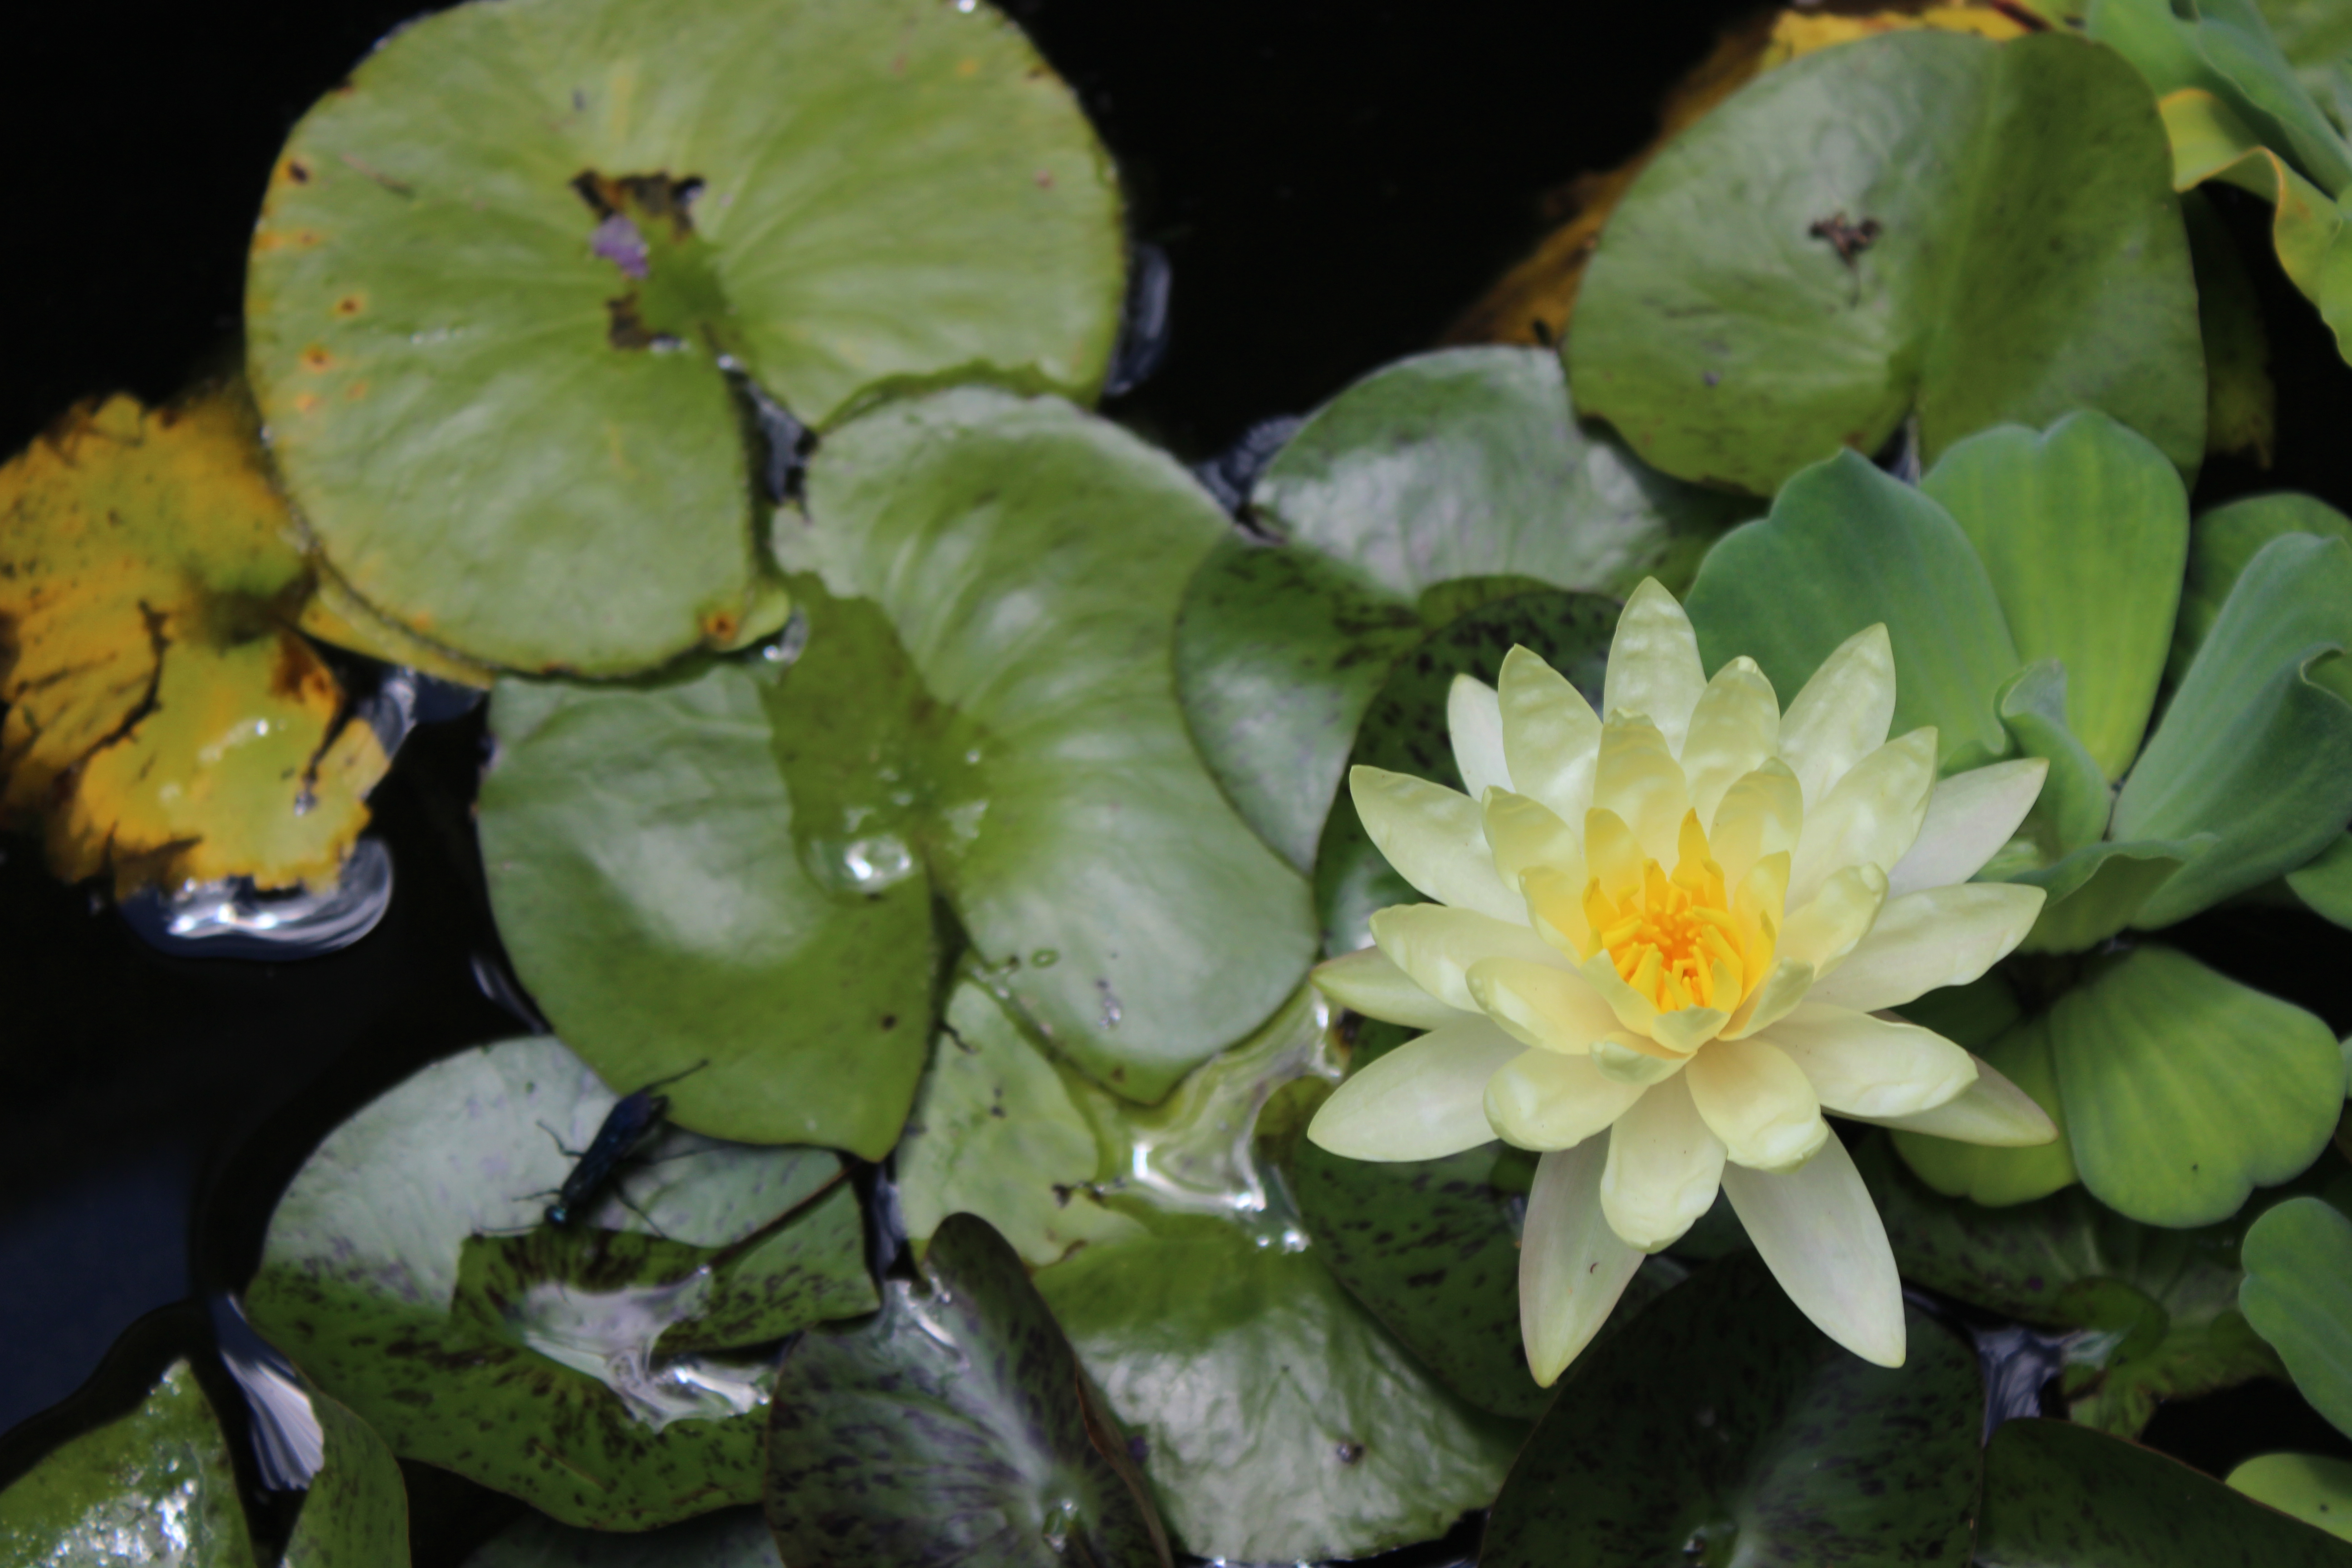
Once the Lupine took hold in an area, succession could begin. As these plants died and decayed, they produced organic matter for other plants to use. Thus, other plants moved into the area to produce the beautiful mix of wildflowers there today.


Delicate beauty and lovely scents of thousands of roses. Every color imaginable, except blue.


Follow the Flower!
Tranquil setting with all my favorite things; moss, stone, sculpture, koi and waterfalls. The plantings included many evergreens and Japanese maples.
Today was a dream. This garden is an oasis in the city. I wanted to take photos of every rock and plant.


Follow the flower!
Many garden bloggers send photos of their gardens to http://www.maydreamsgardens.com MayDreamsGardens to be posted as a group.
I had to rush home yesterday and figure out how to do this.
I have my first widget with my face on it!
So, here are the photos that I took of our garden yesterday.
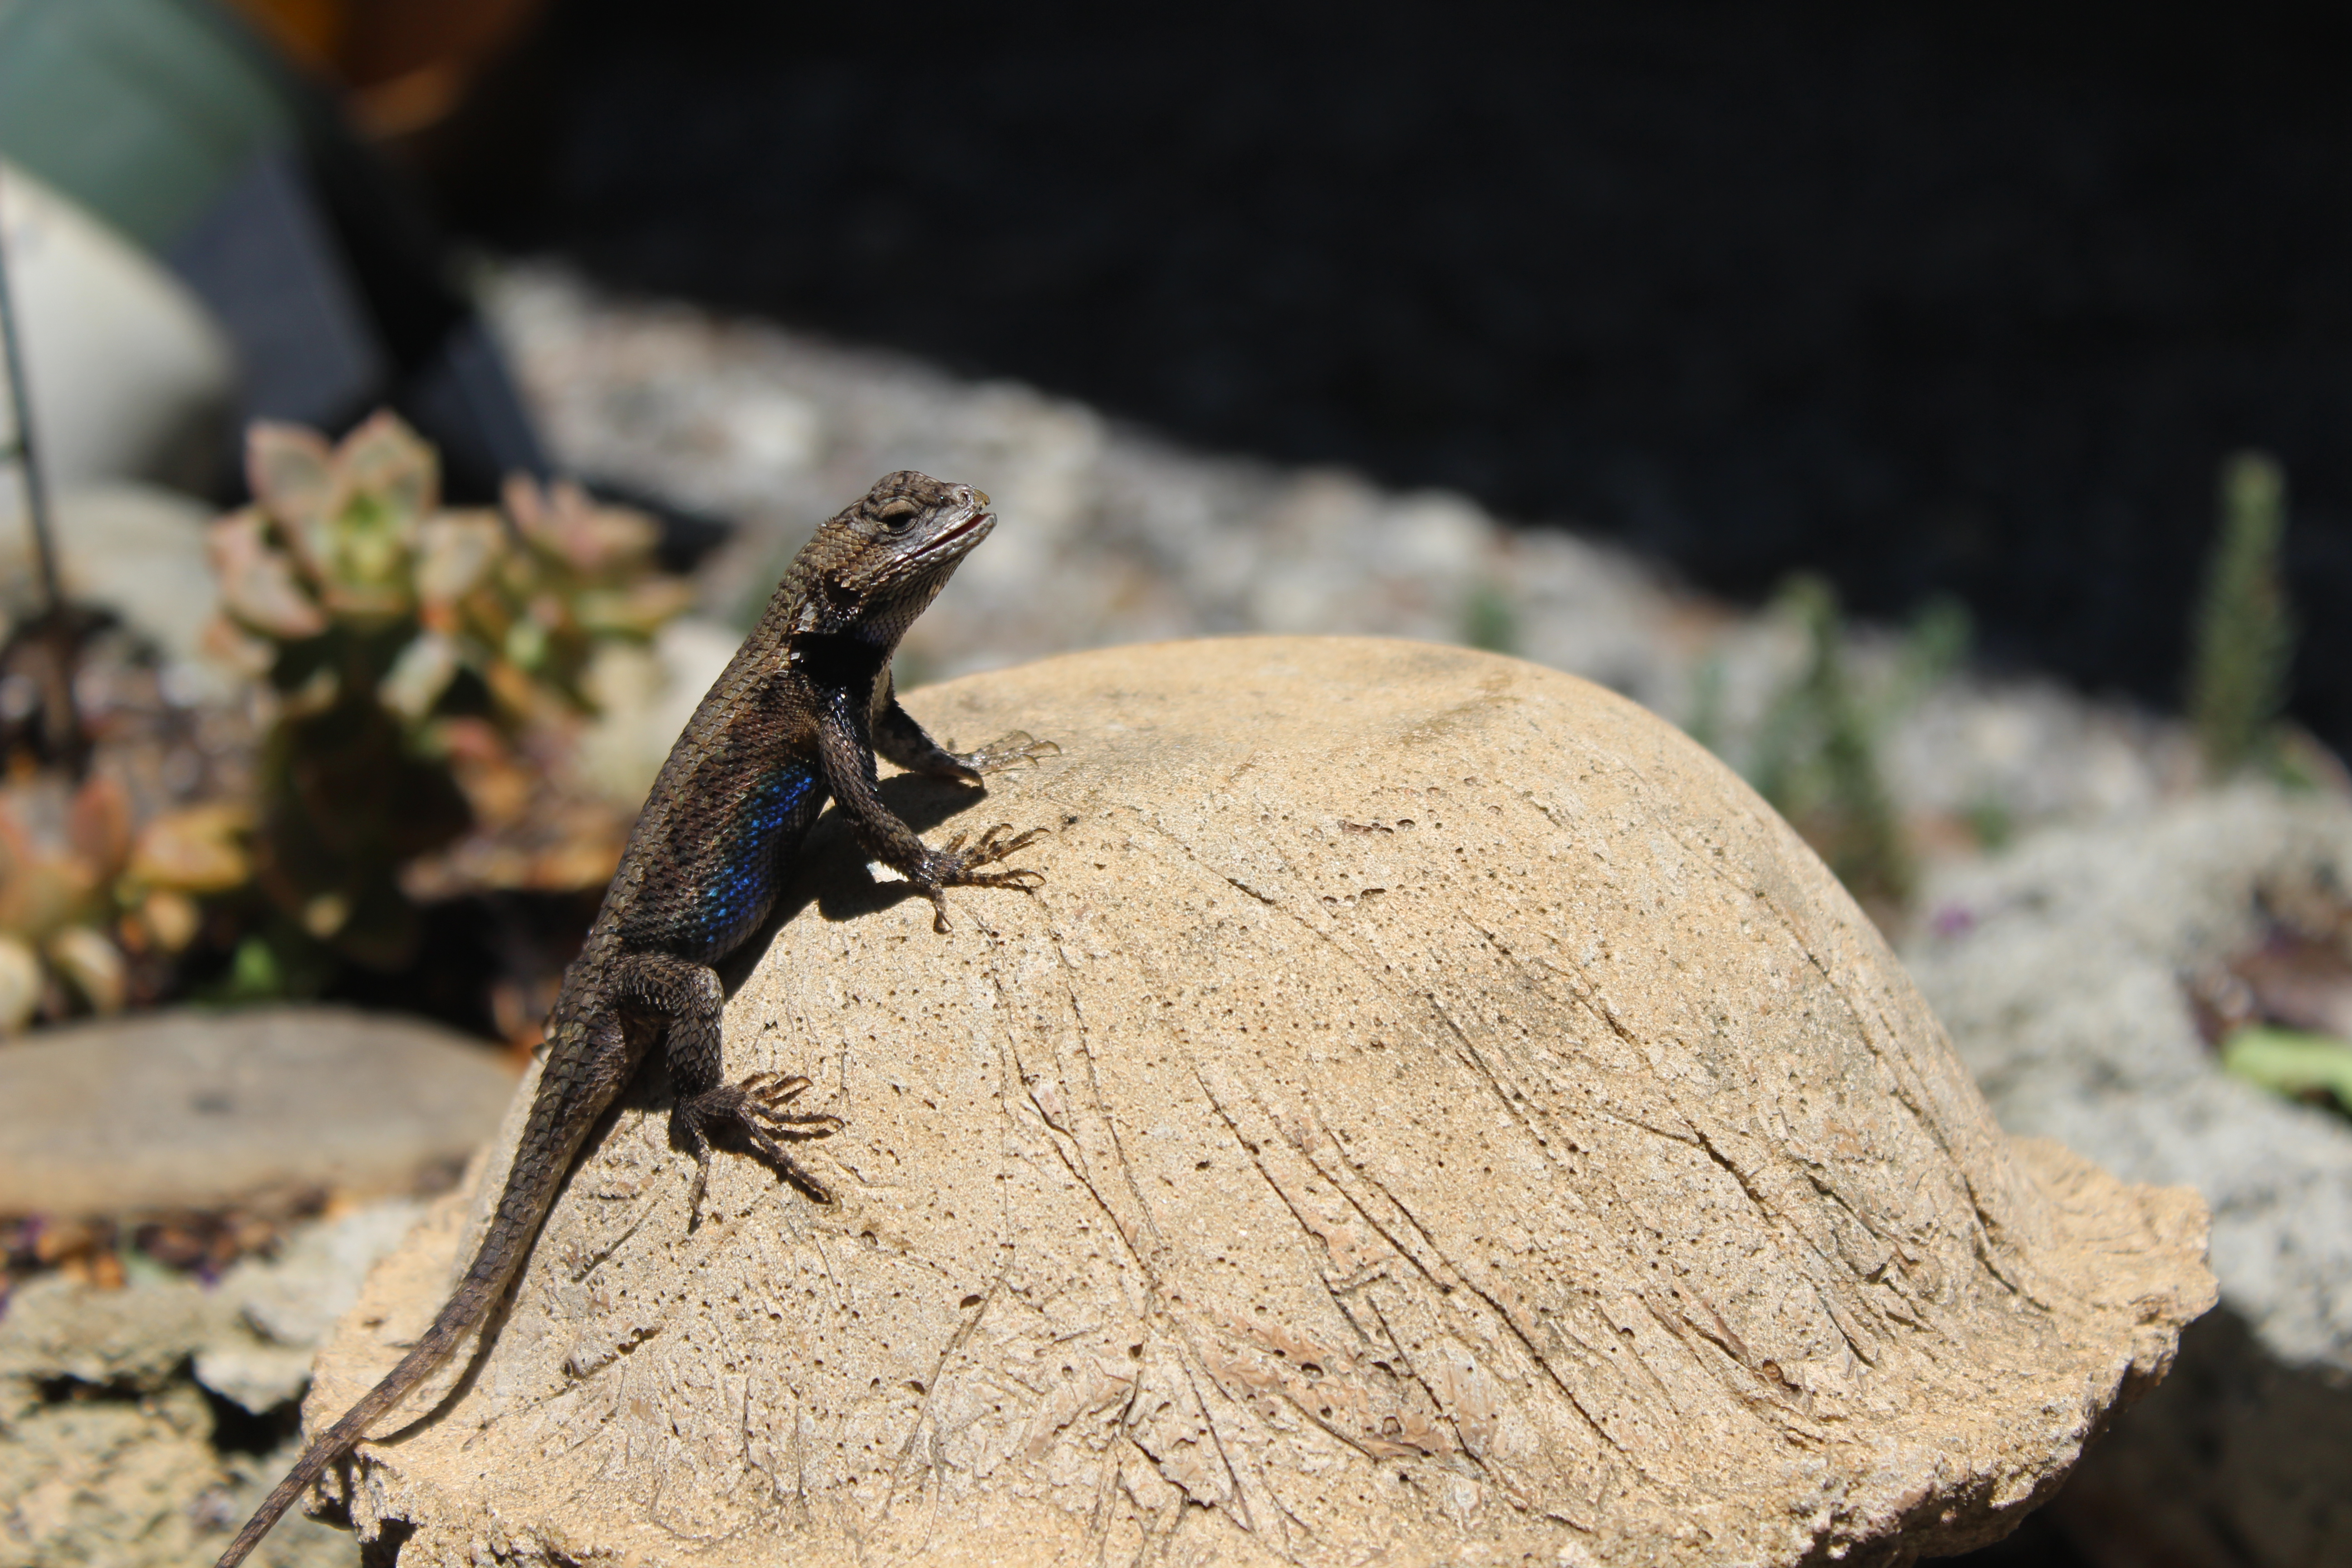
The first photo is one of many lizards around our stone parking area. I call him “The King” because he likes to climb on the stoneshrooms and sun himself while he stands watch over the garden.

I am working on a future post about ferns, so I took photos of the spores on the underside of the frond.

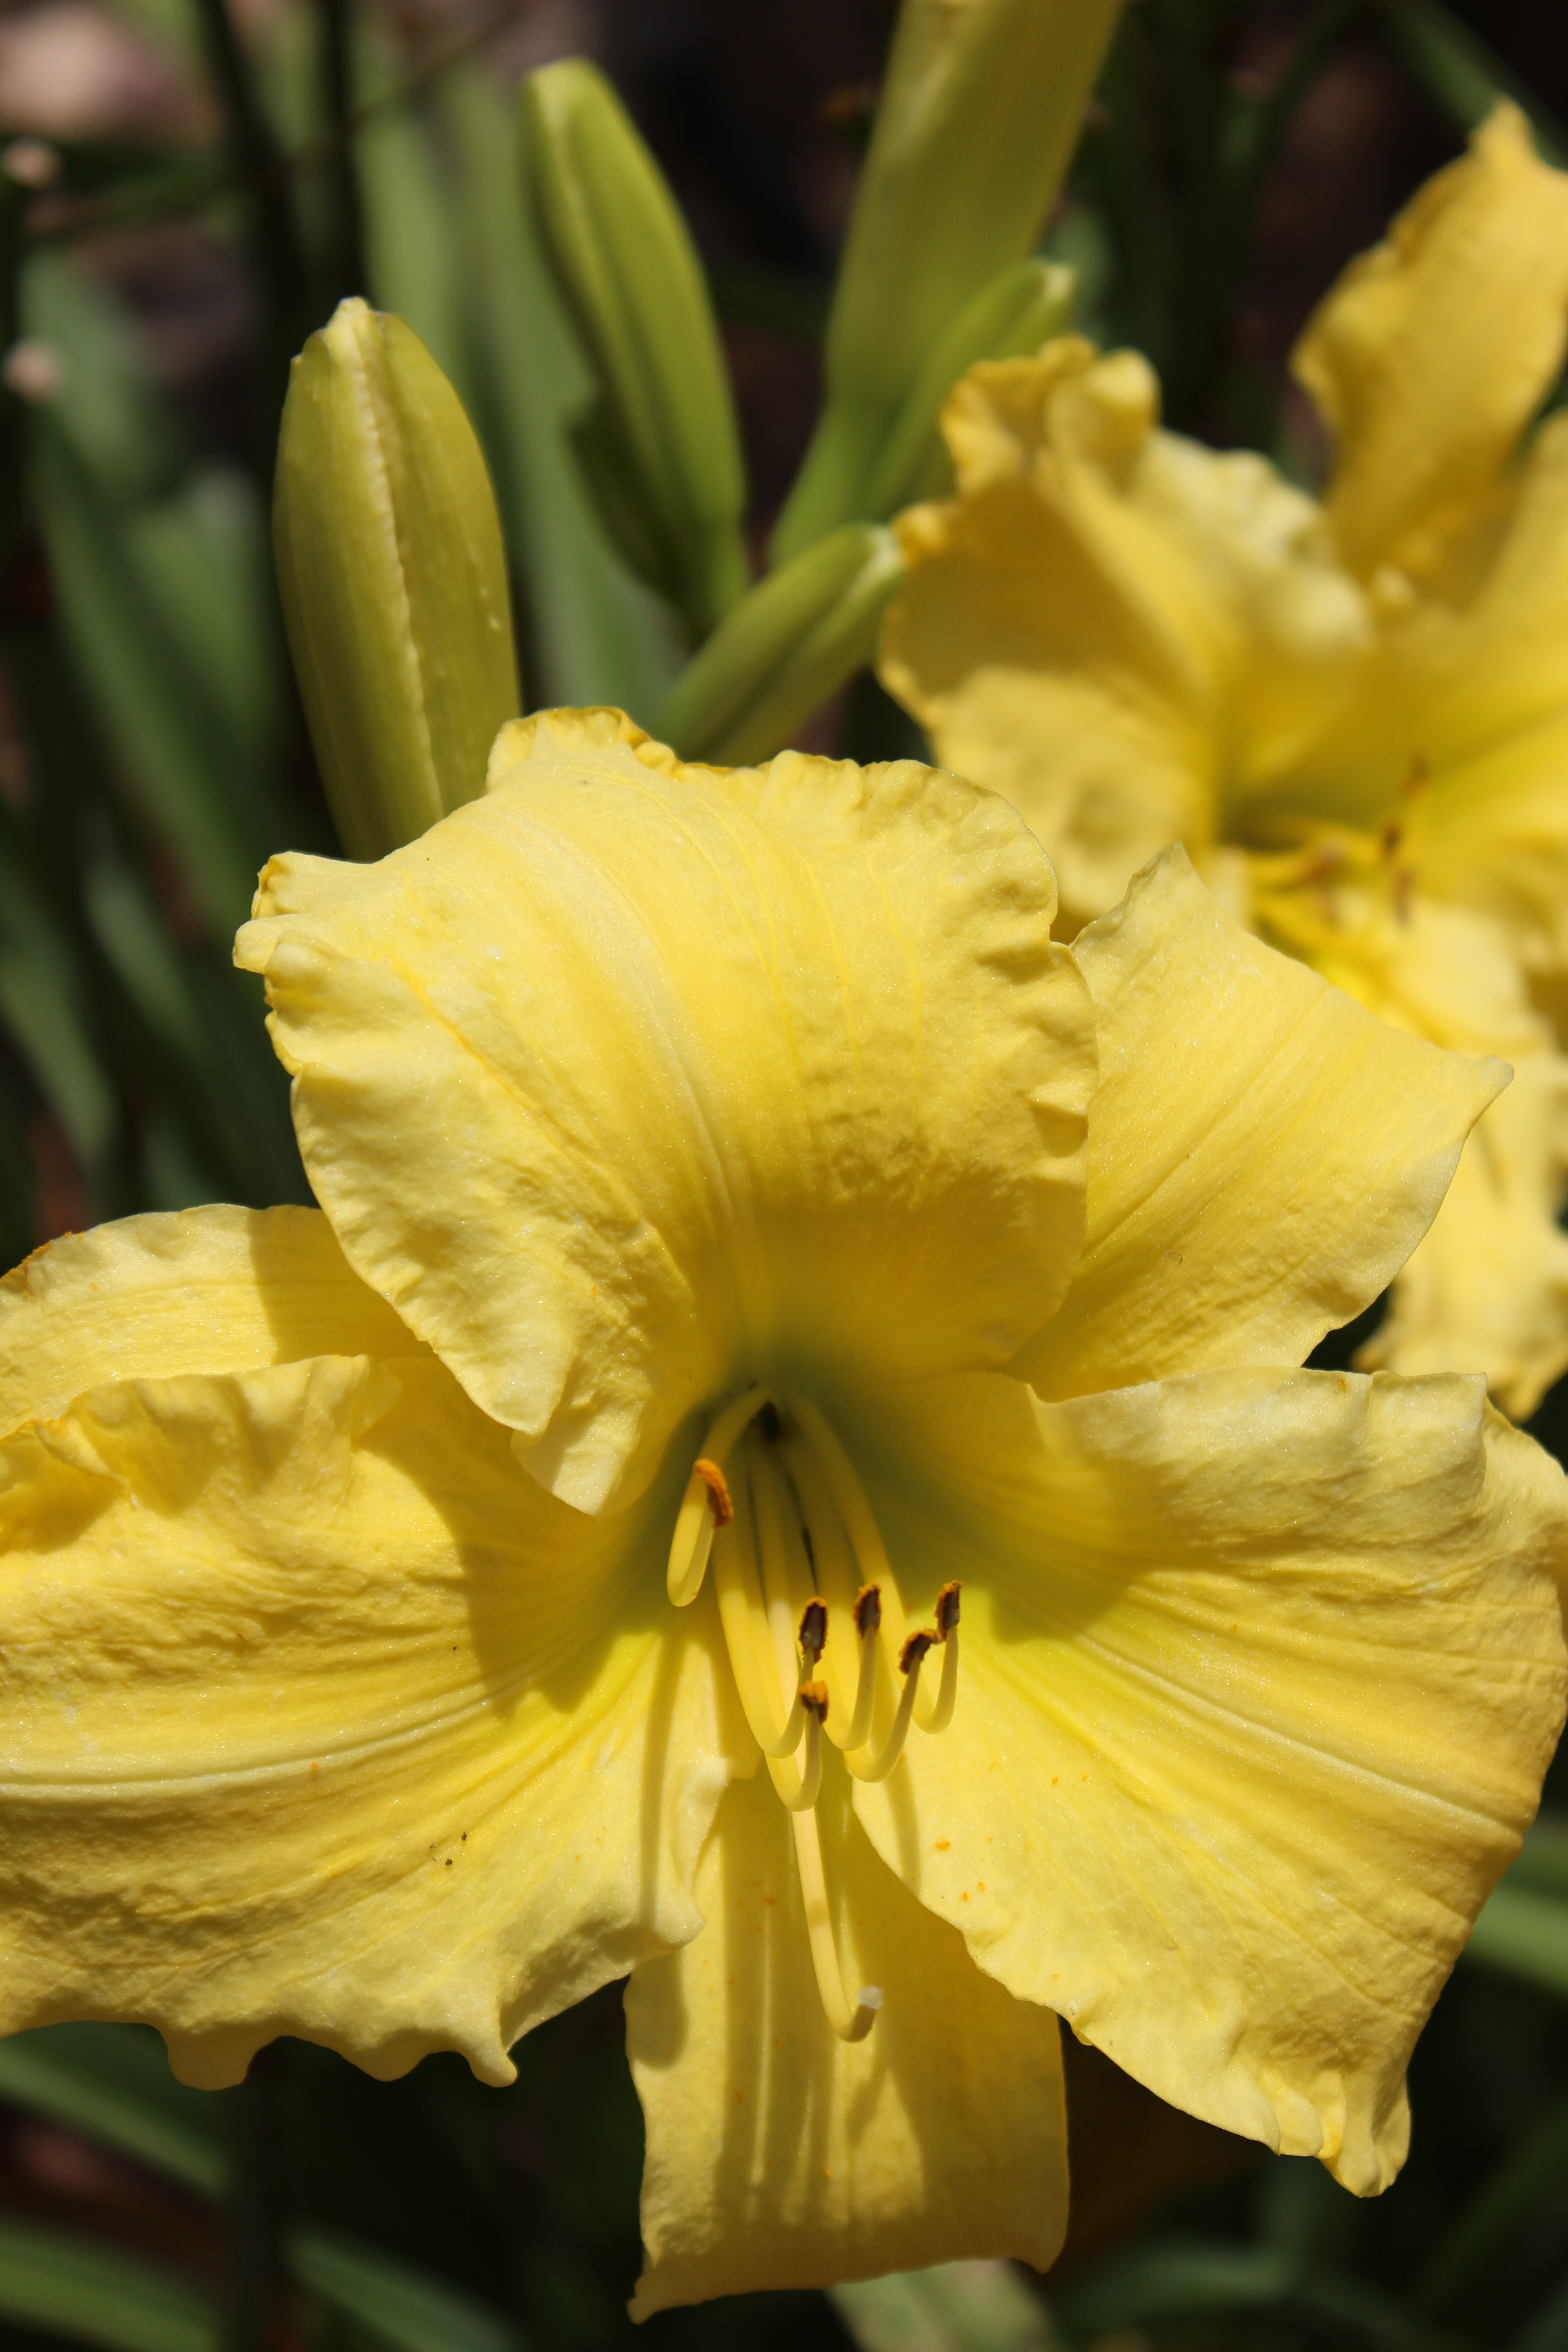
My daughter has a lily and rose garden. This is her newest stargazer, Playtime.

This is my favorite plant. Eucomis/Pineapple lily.


GO visit some gardens around the country at http://www.maydreamsgardens.com Garden Bloggers’ Bloom Day
Follow the Flower!


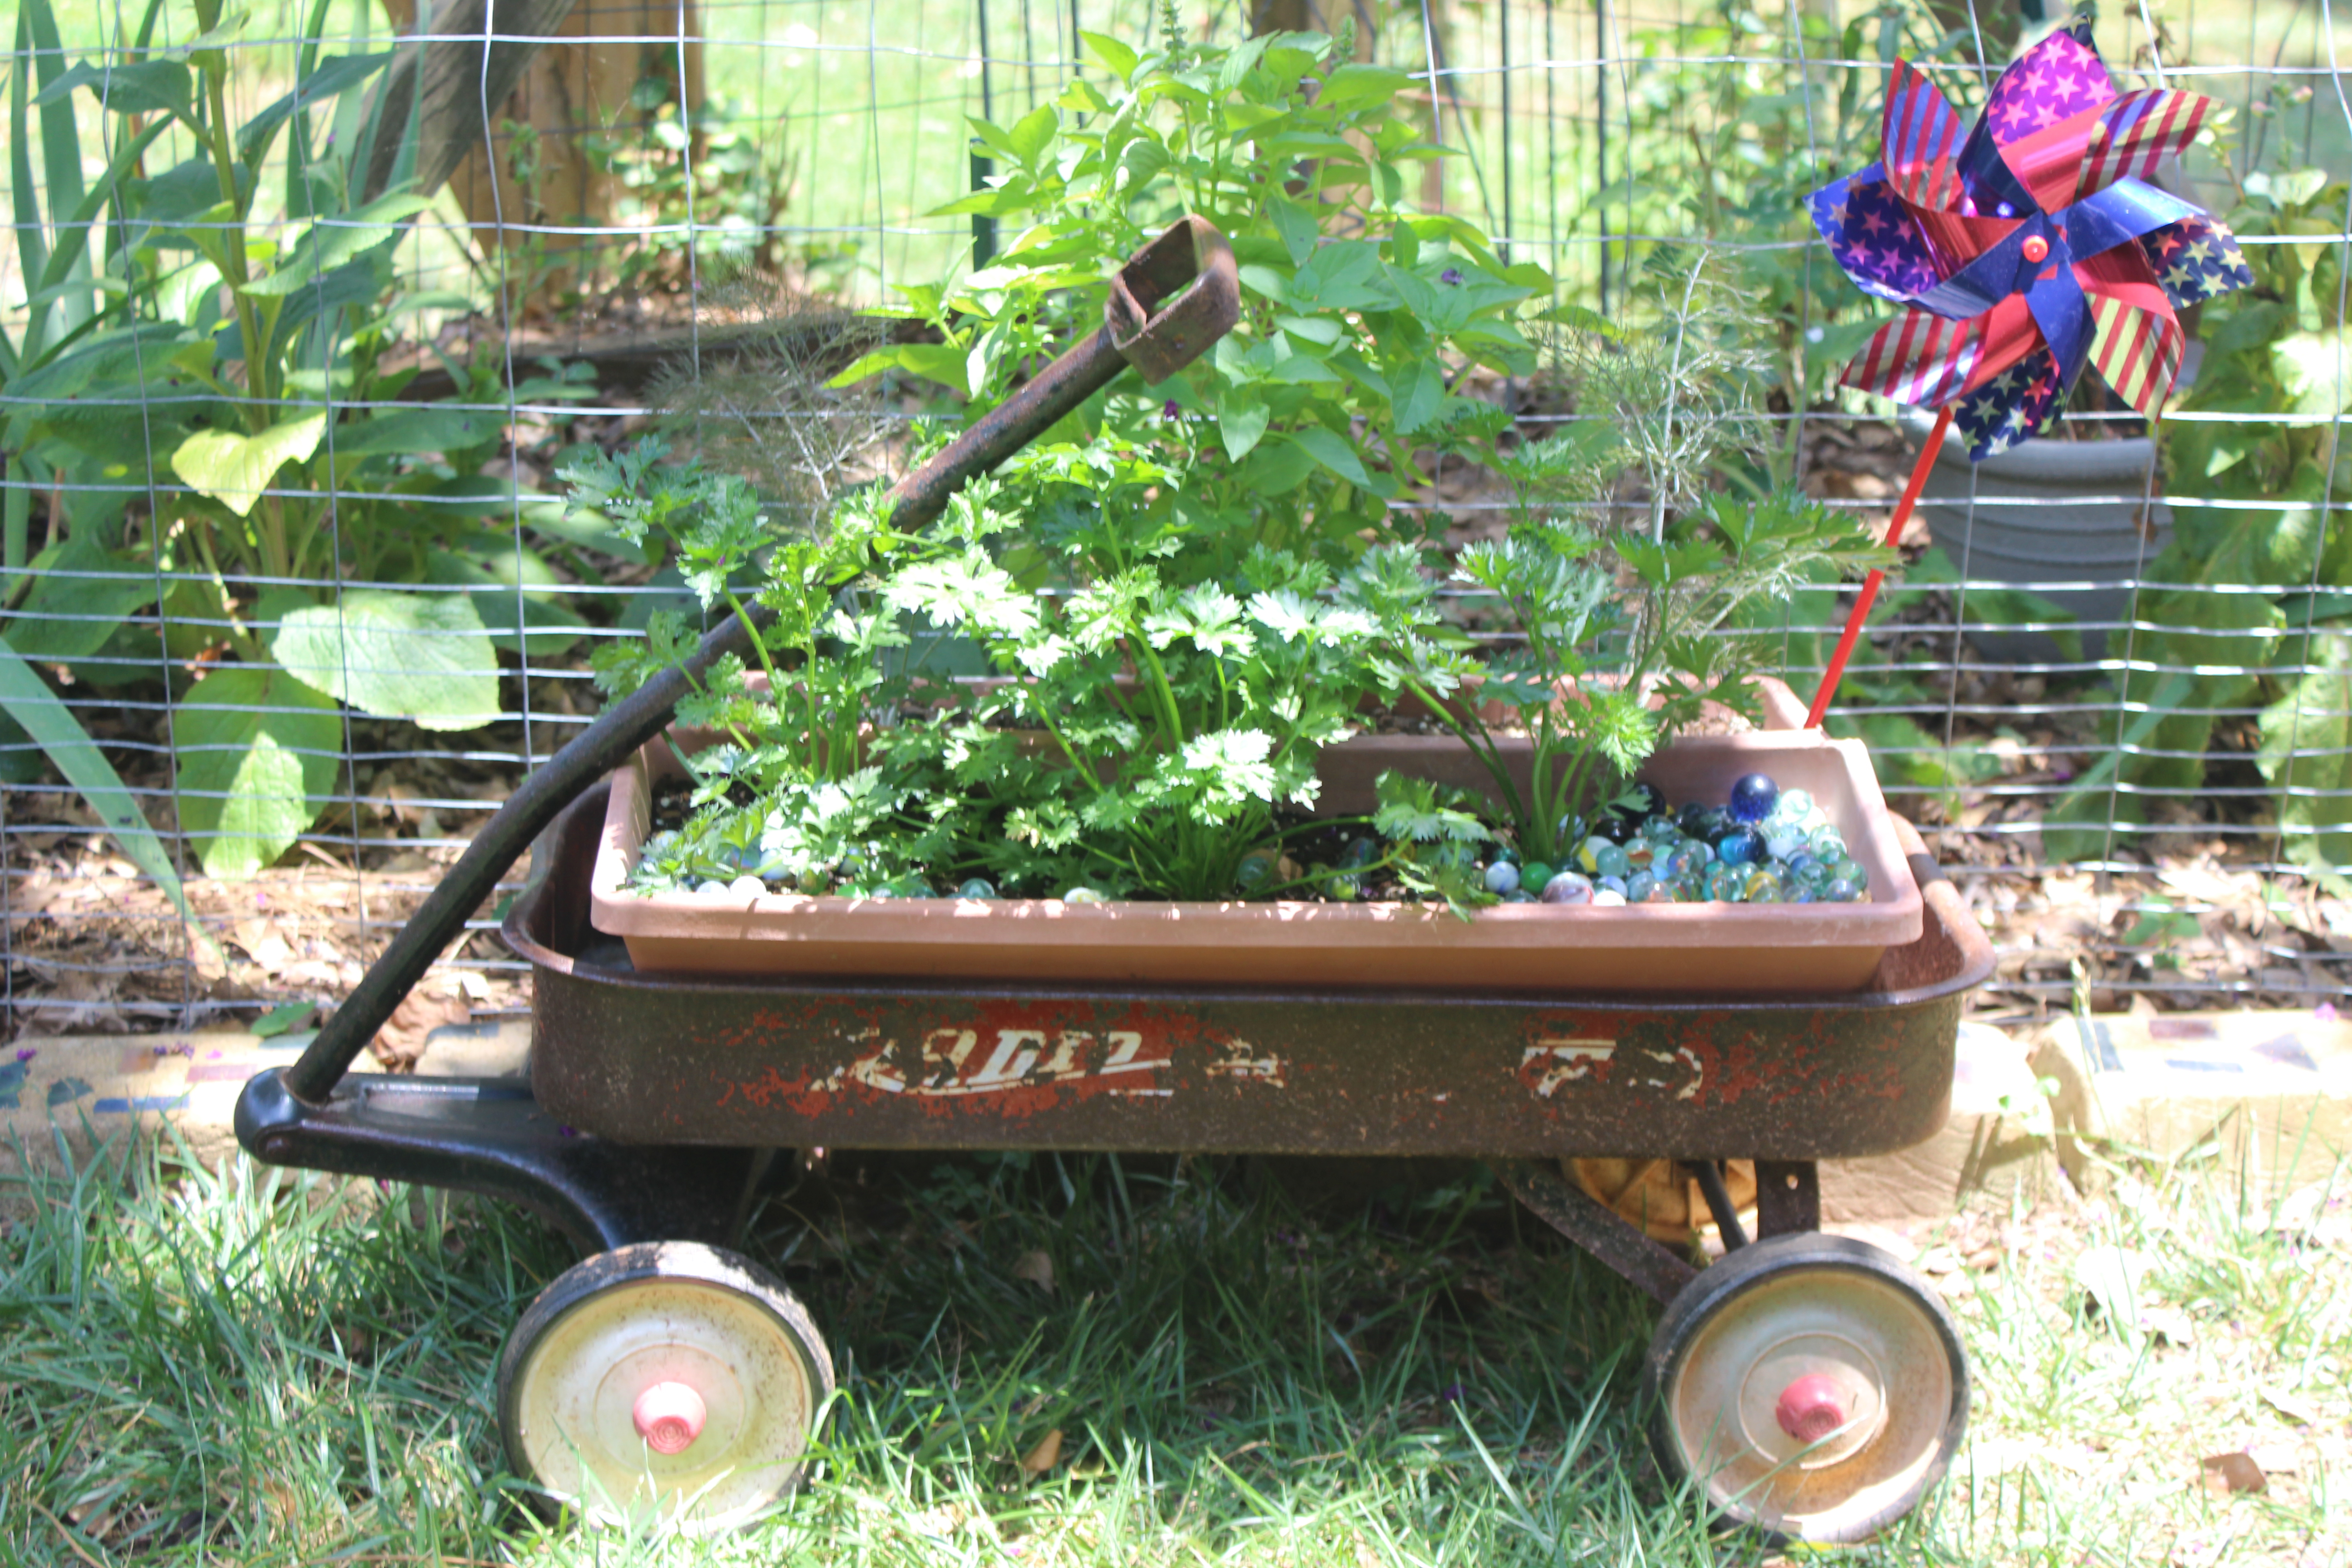
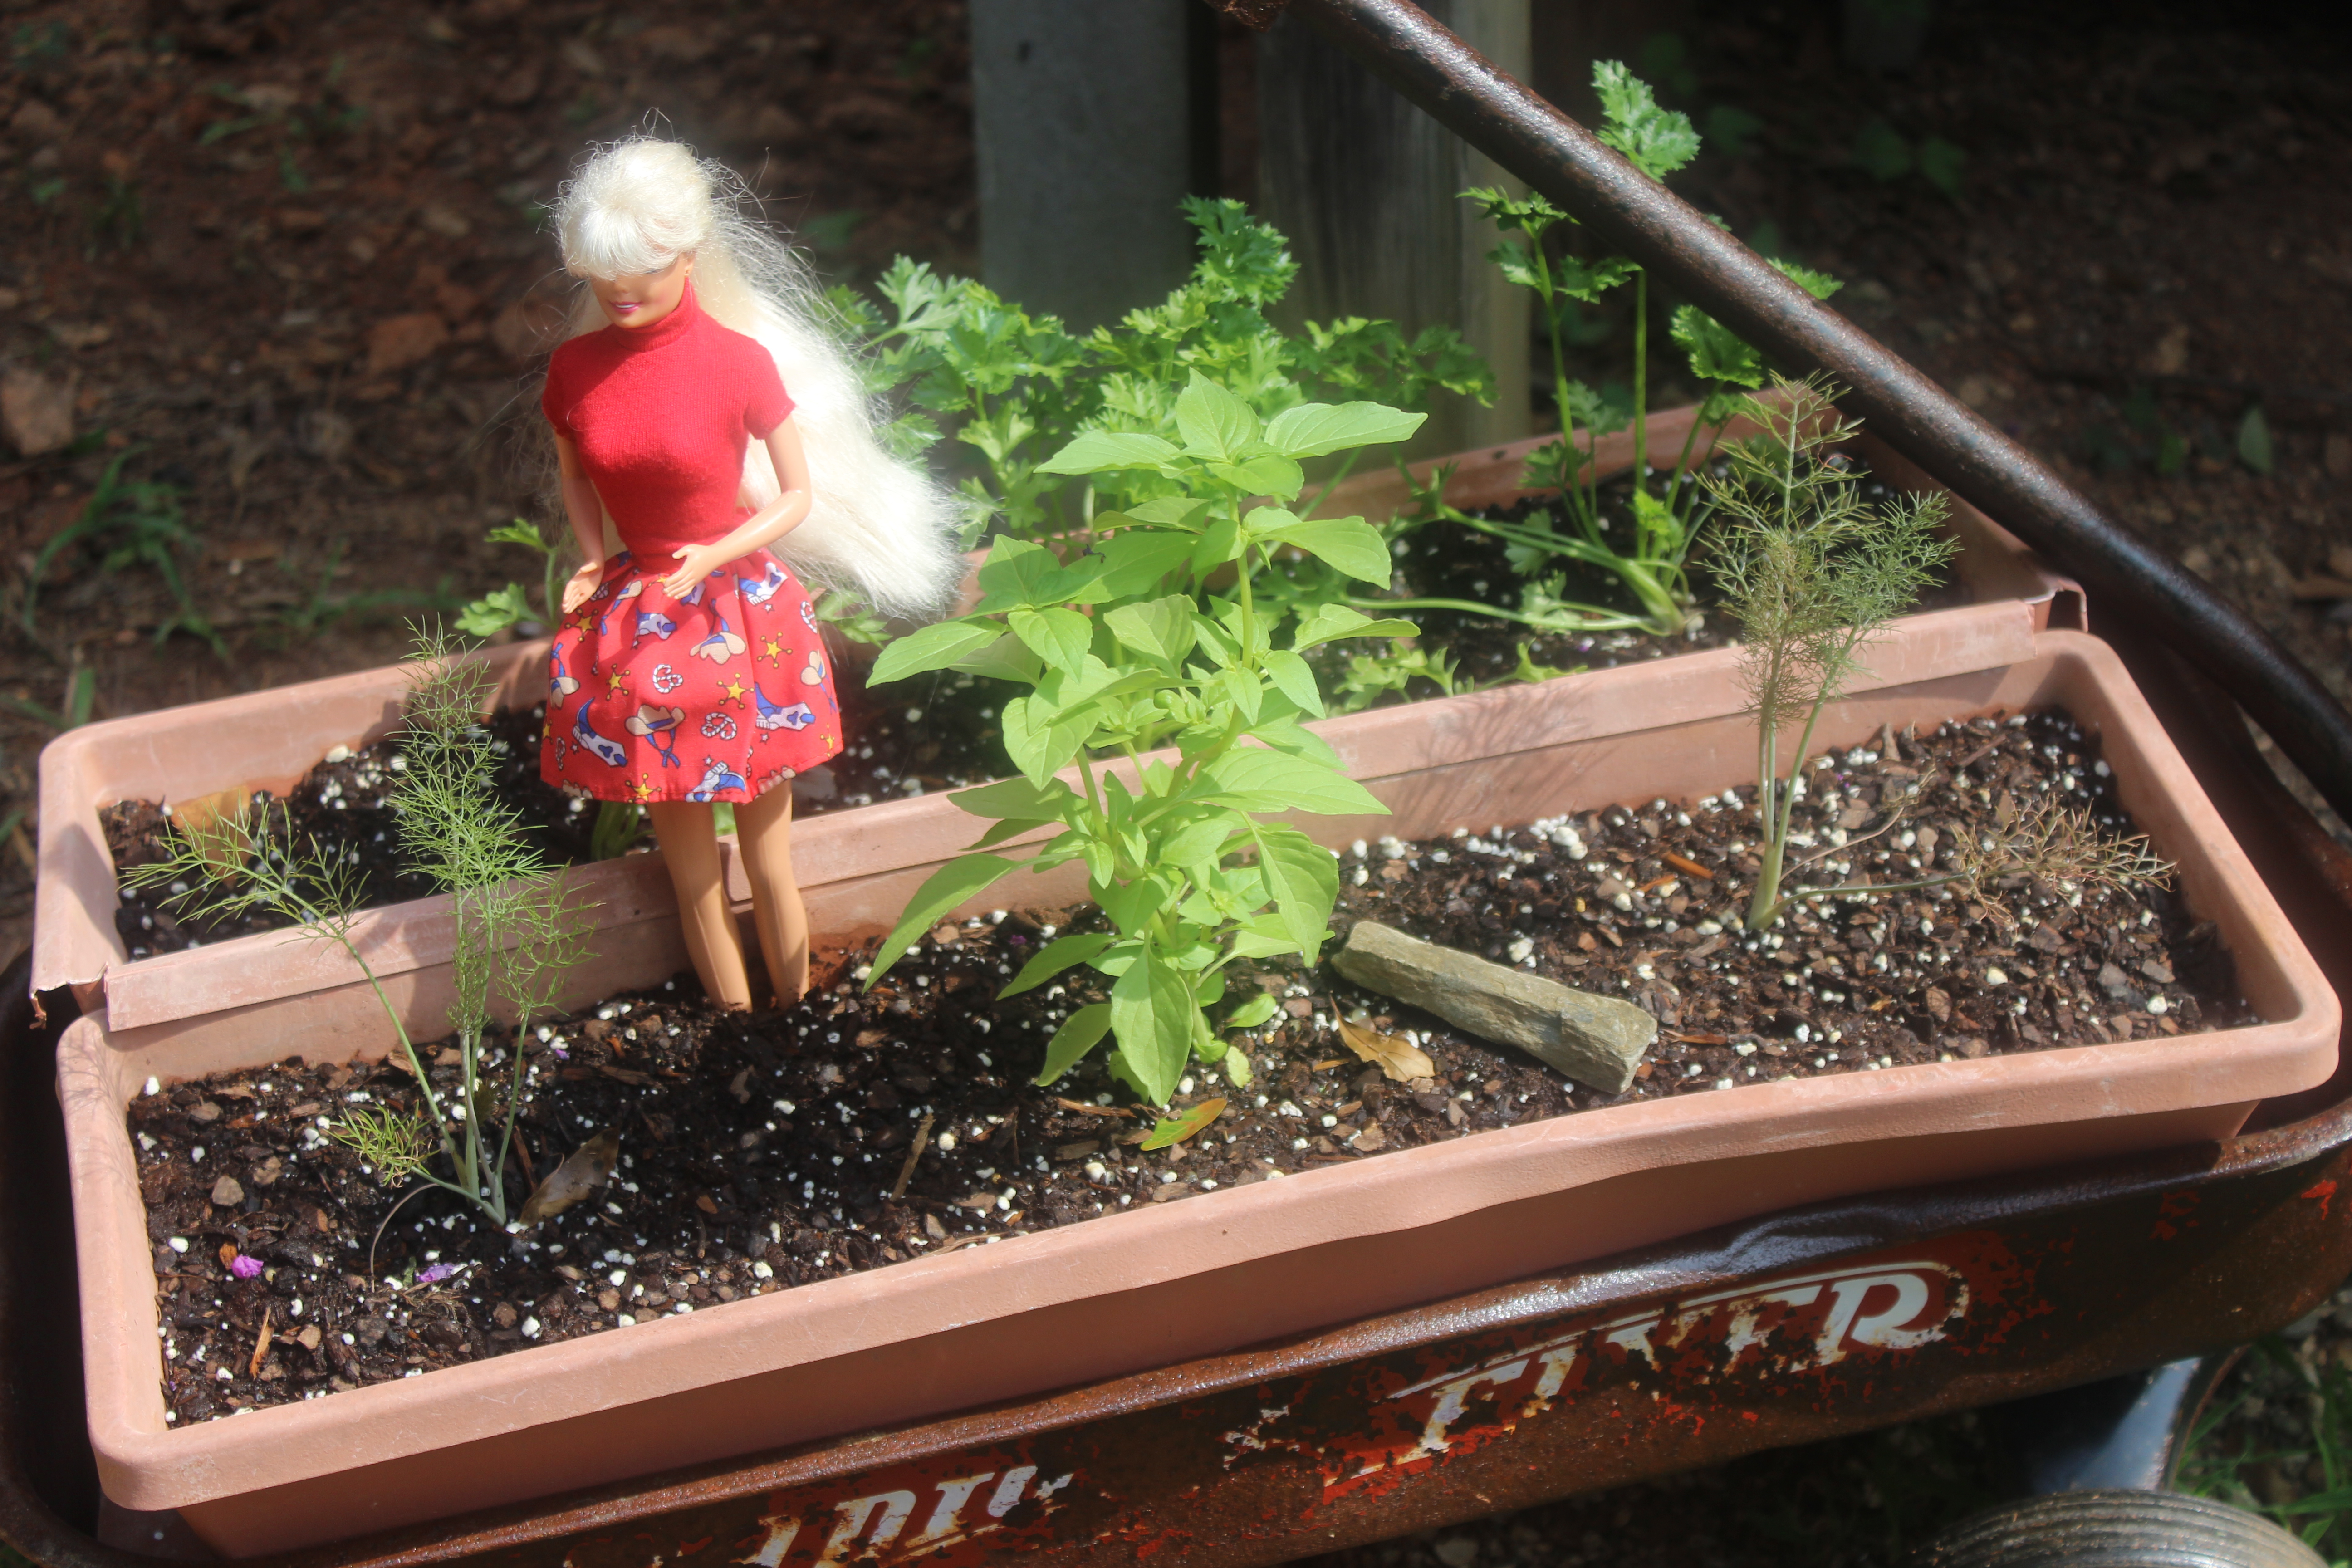
The kids are grown now. No grandkids in sight. No use keeping this rusty, little Radio Flyer wagon. It’s too small to haul things in. It’s got that big dent in the side. The paint’s half off and it’s rusting away.
It’s one of the racing wagons. My boy and girl used to pull those up to the top of our hill and race down toward the lake, banging into each other as they went. It made me nervous, to see them flying at top speeds toward open water. Just in time, they would whip them aside for one final wreck. I should have put a stop to it, but the screams of joy were worth risk of bumps and bruises.
Once Mermaid Barbie rode shotgun with the girl during a particularly fierce downhill battle. When it was over, the girl realized that Barbie had lost her head. We looked high and low for it. Finally, I bent down and looked under that little wagon. There was Barbie’s head, dangling up under the axle by that long blonde mane. Her head was removed with the help of scissors. It had to be screwed back on, literally.
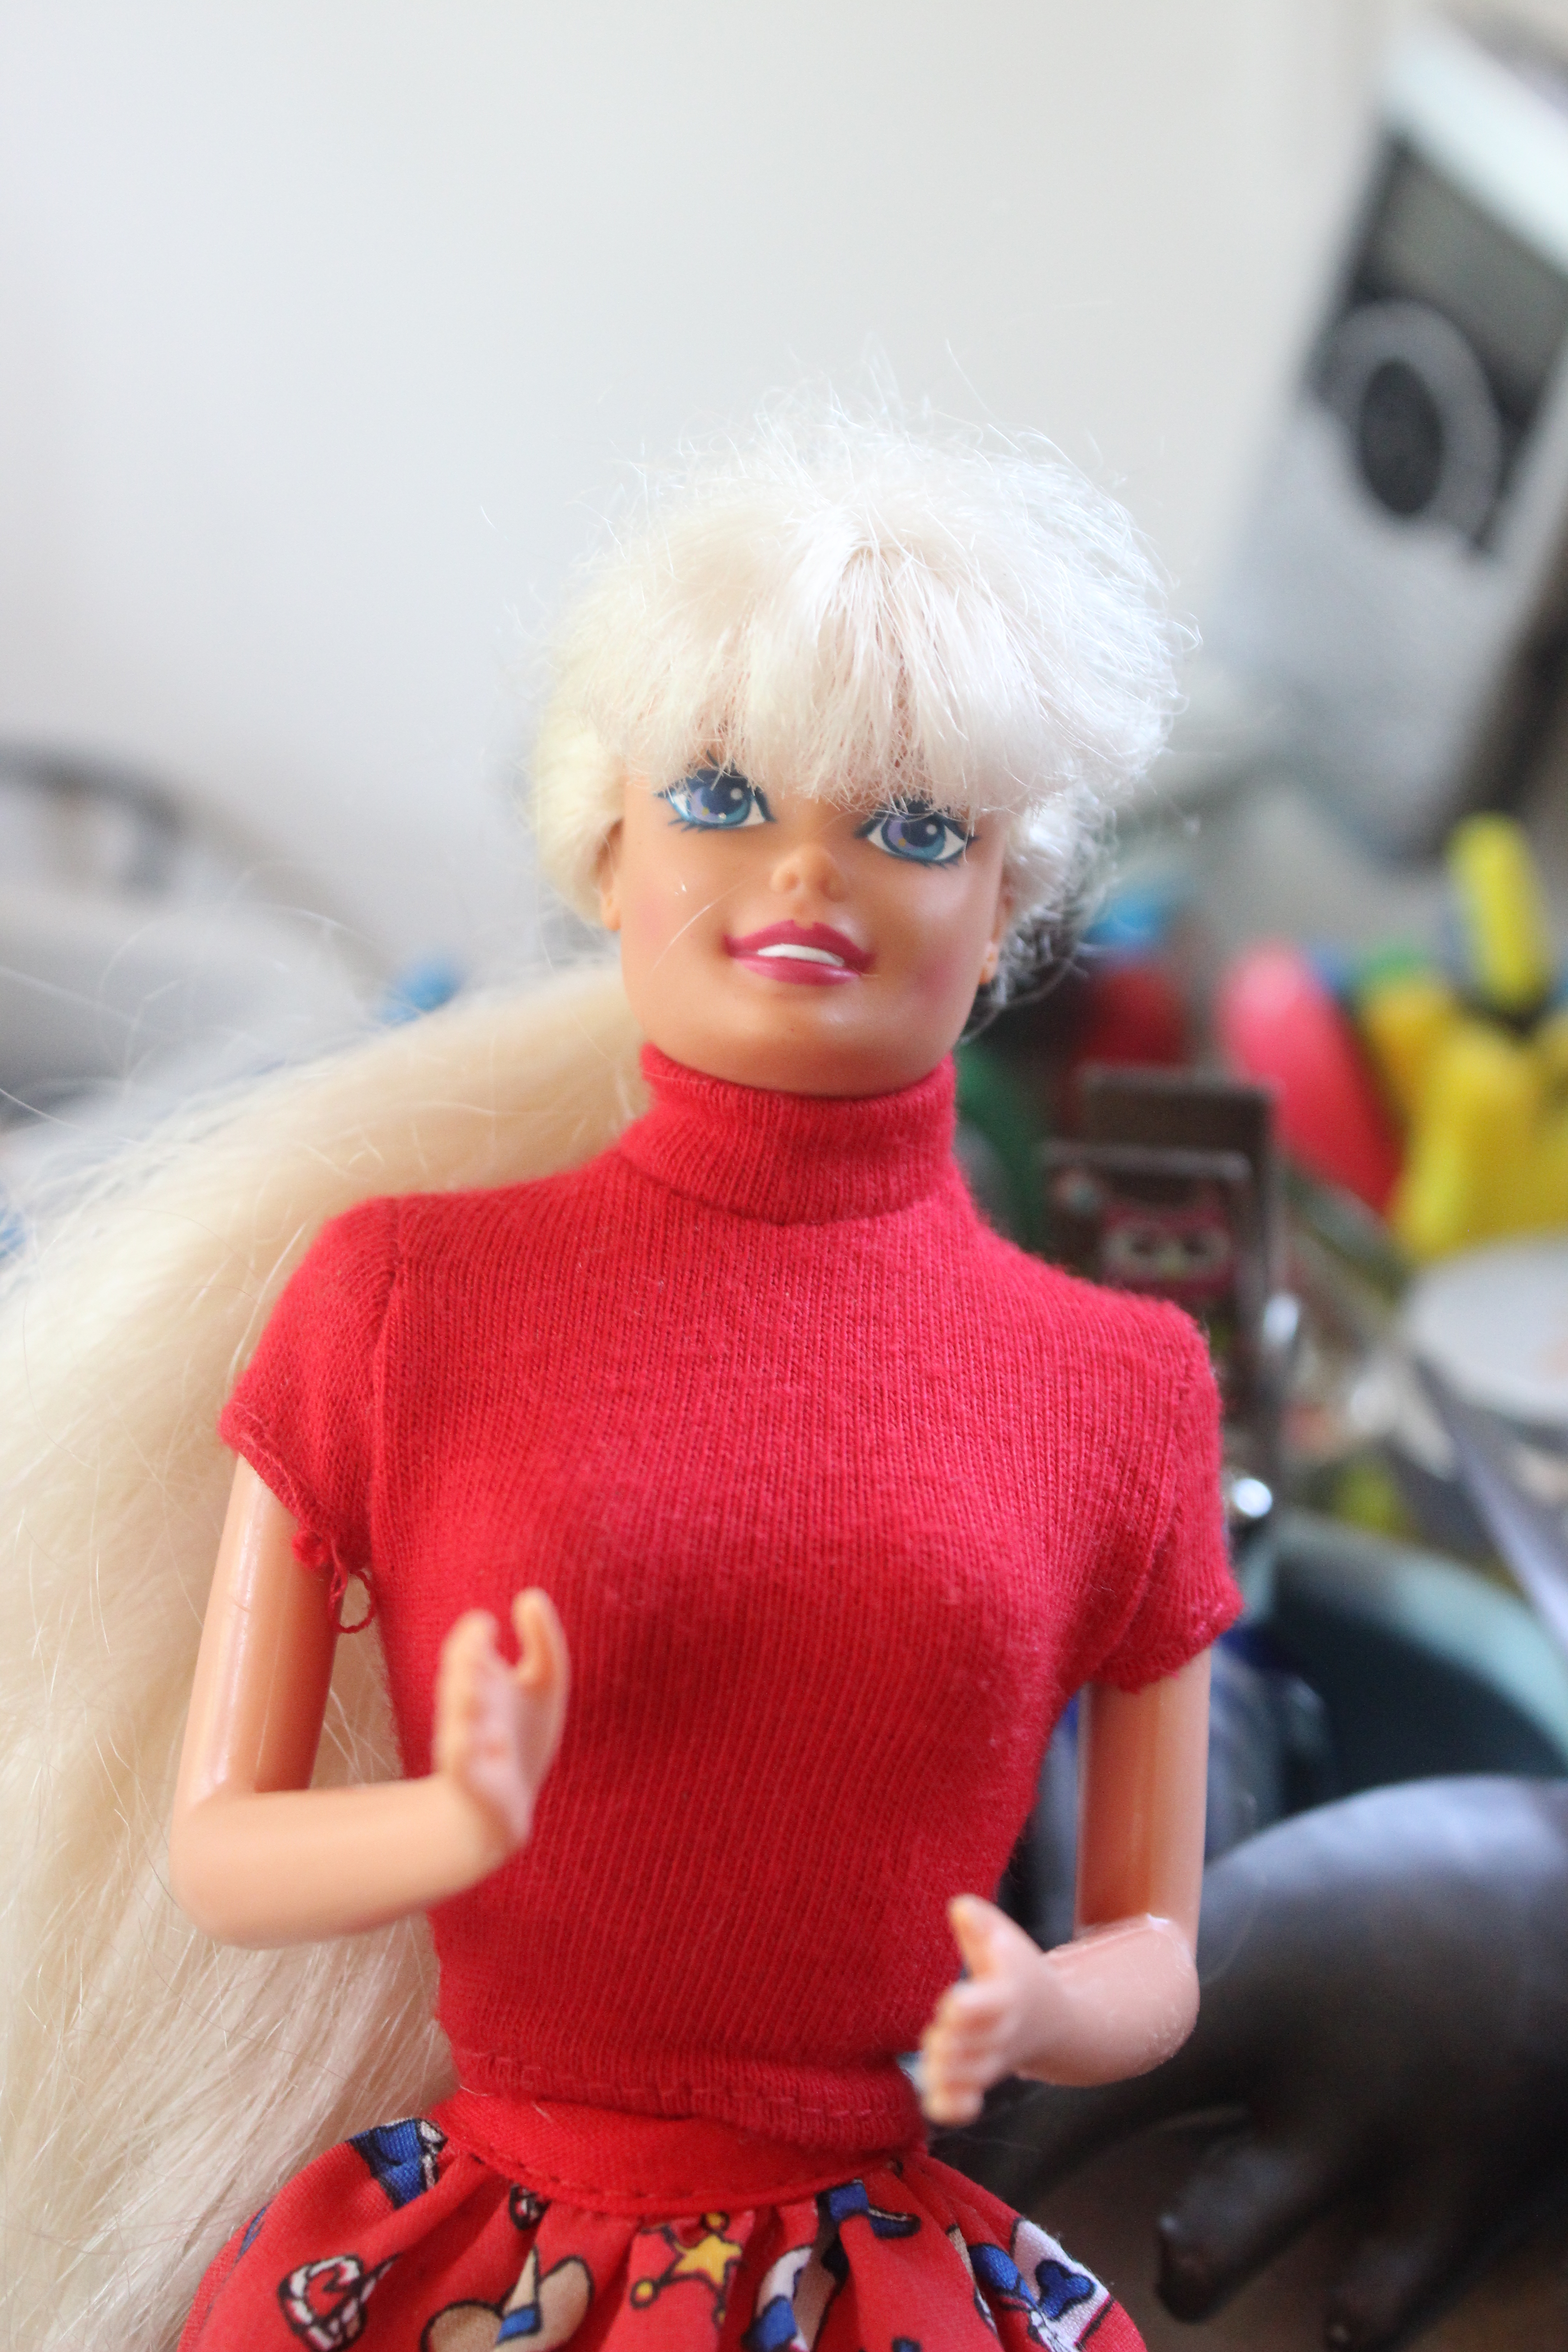
Babs back on the wagon.
Here are the steps I took in preserving and re-purposing the little Radio Flyer wagon. I did not want to repaint it.
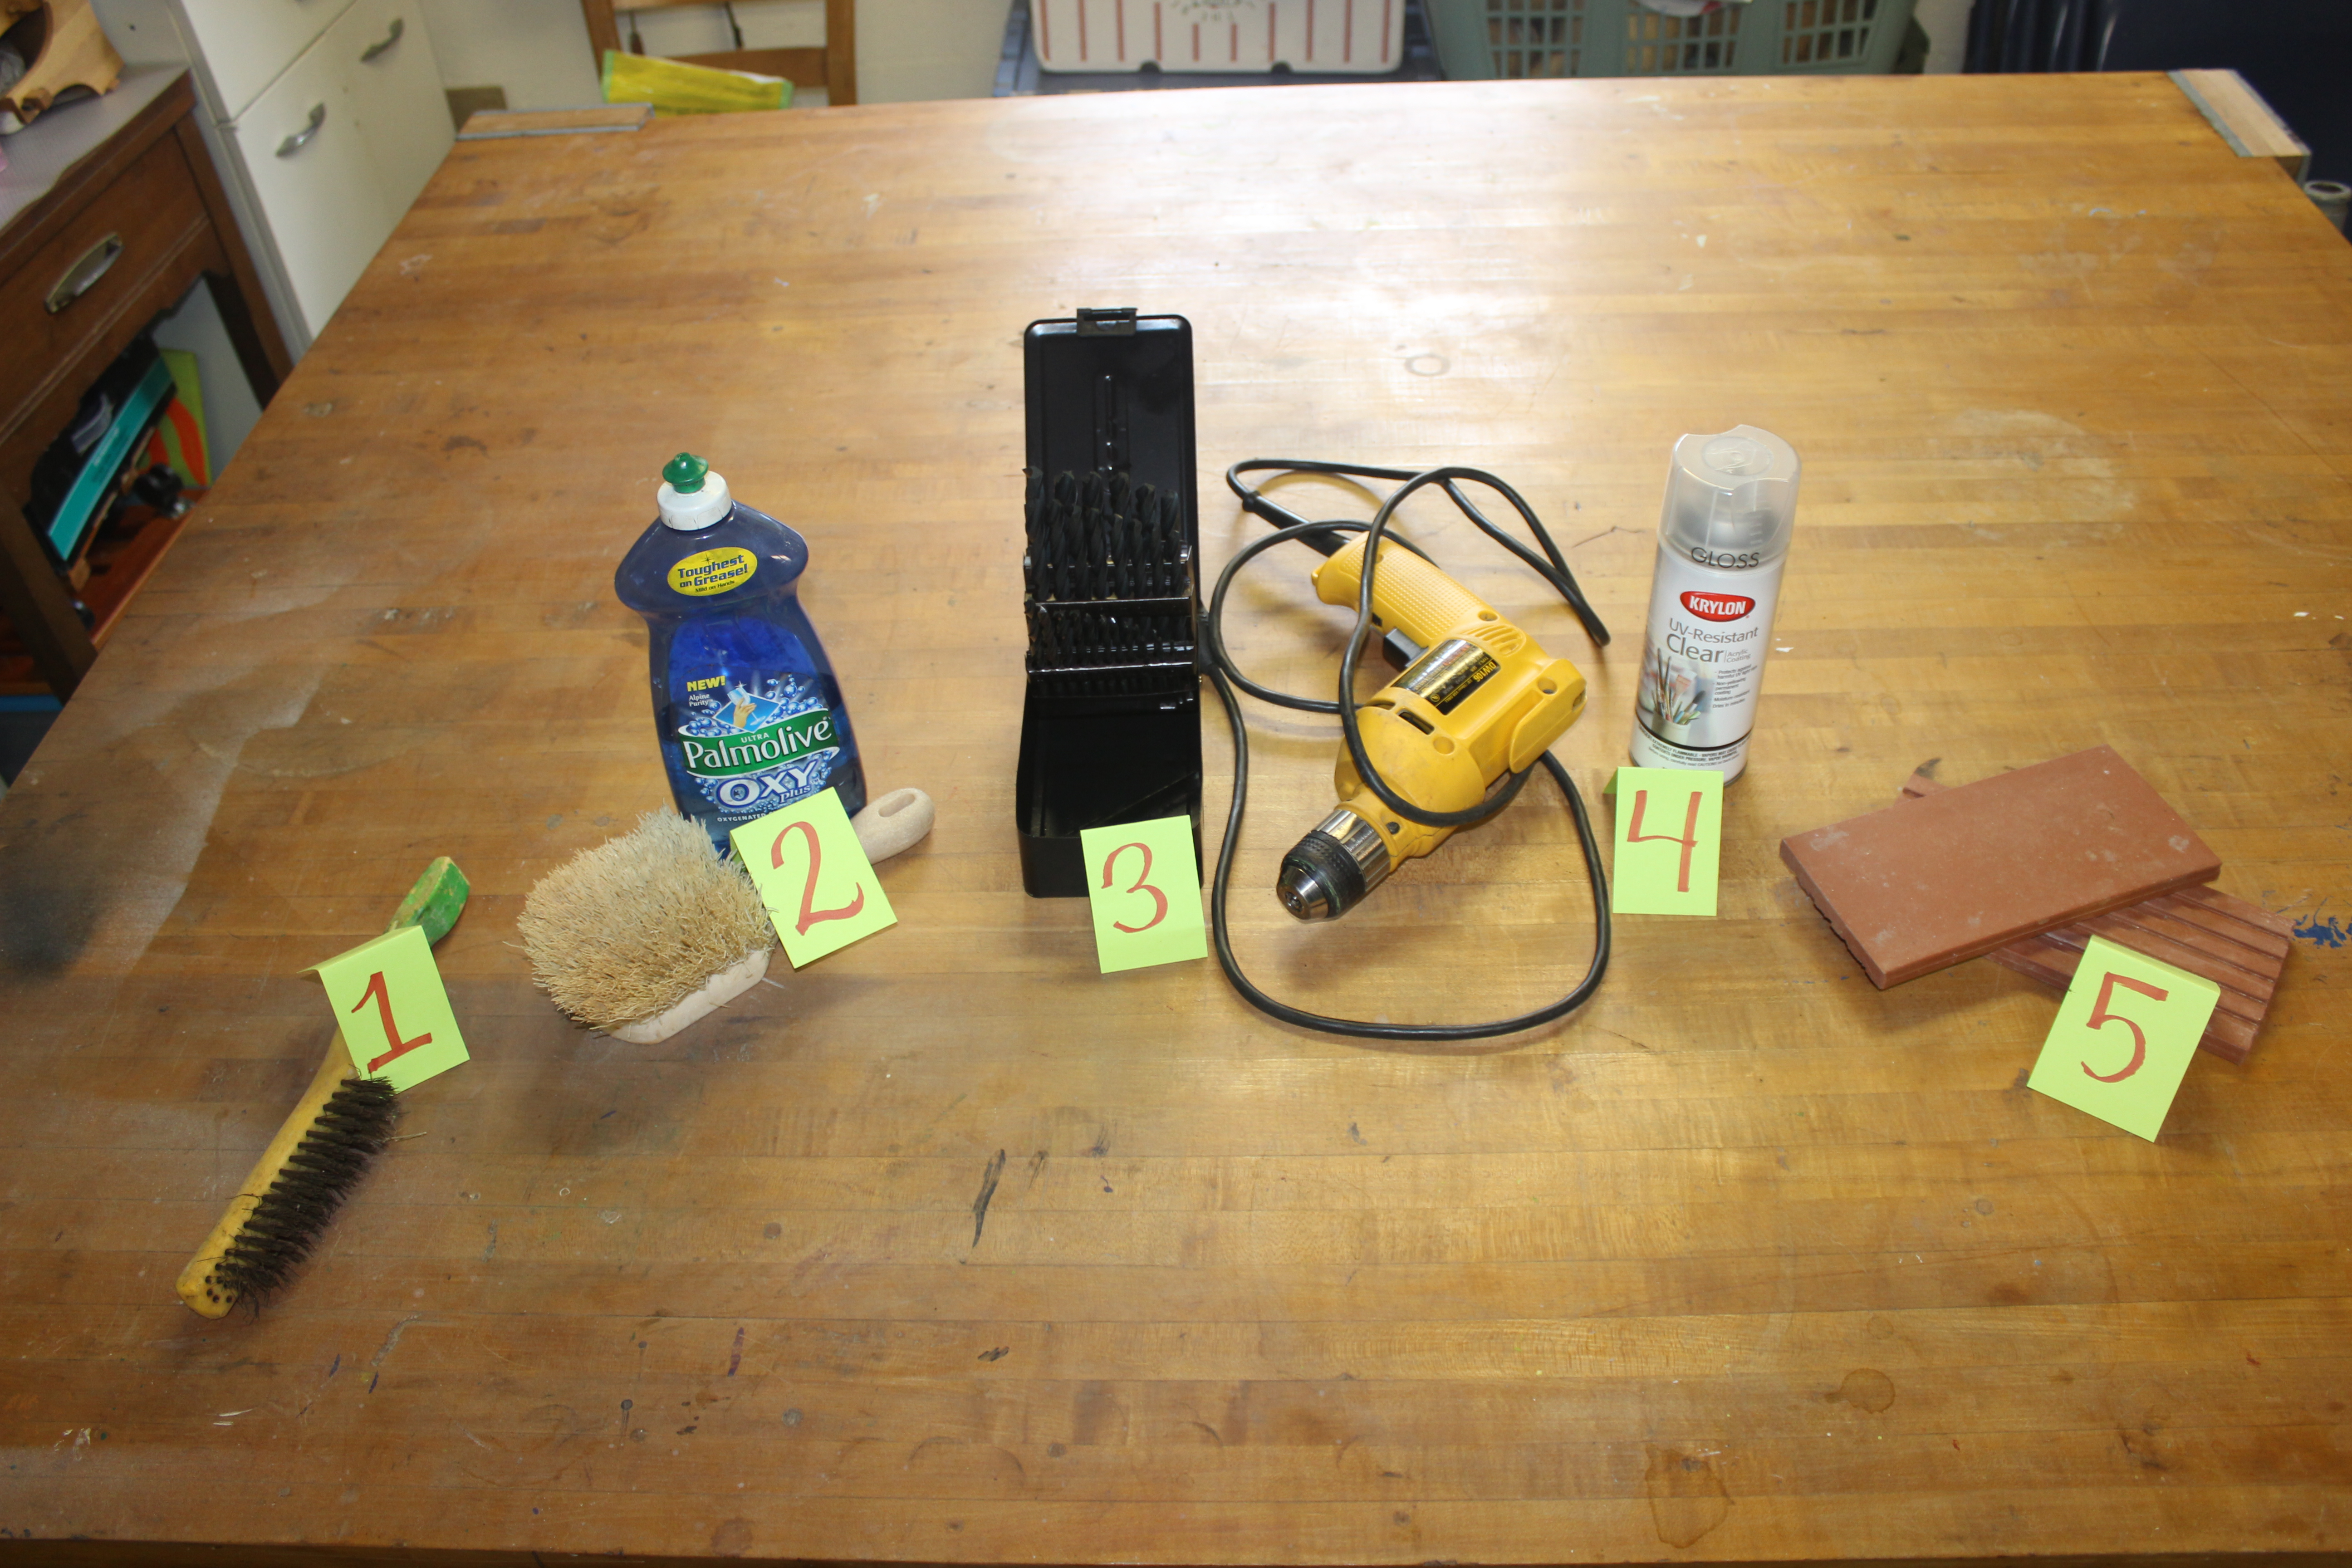
1. Use a wire brush to remove rust.
2. Scrub off rust dust and debris with a scrub brush. Then wash and dry.
3. Drill 12-15 holes in the bottom using a drill bit for metals.(They are black.)
4. Seal the entire wagon with an acrylic sealant appropriate for metals.
5. Place tiles in the bottom for better drainage of planters.

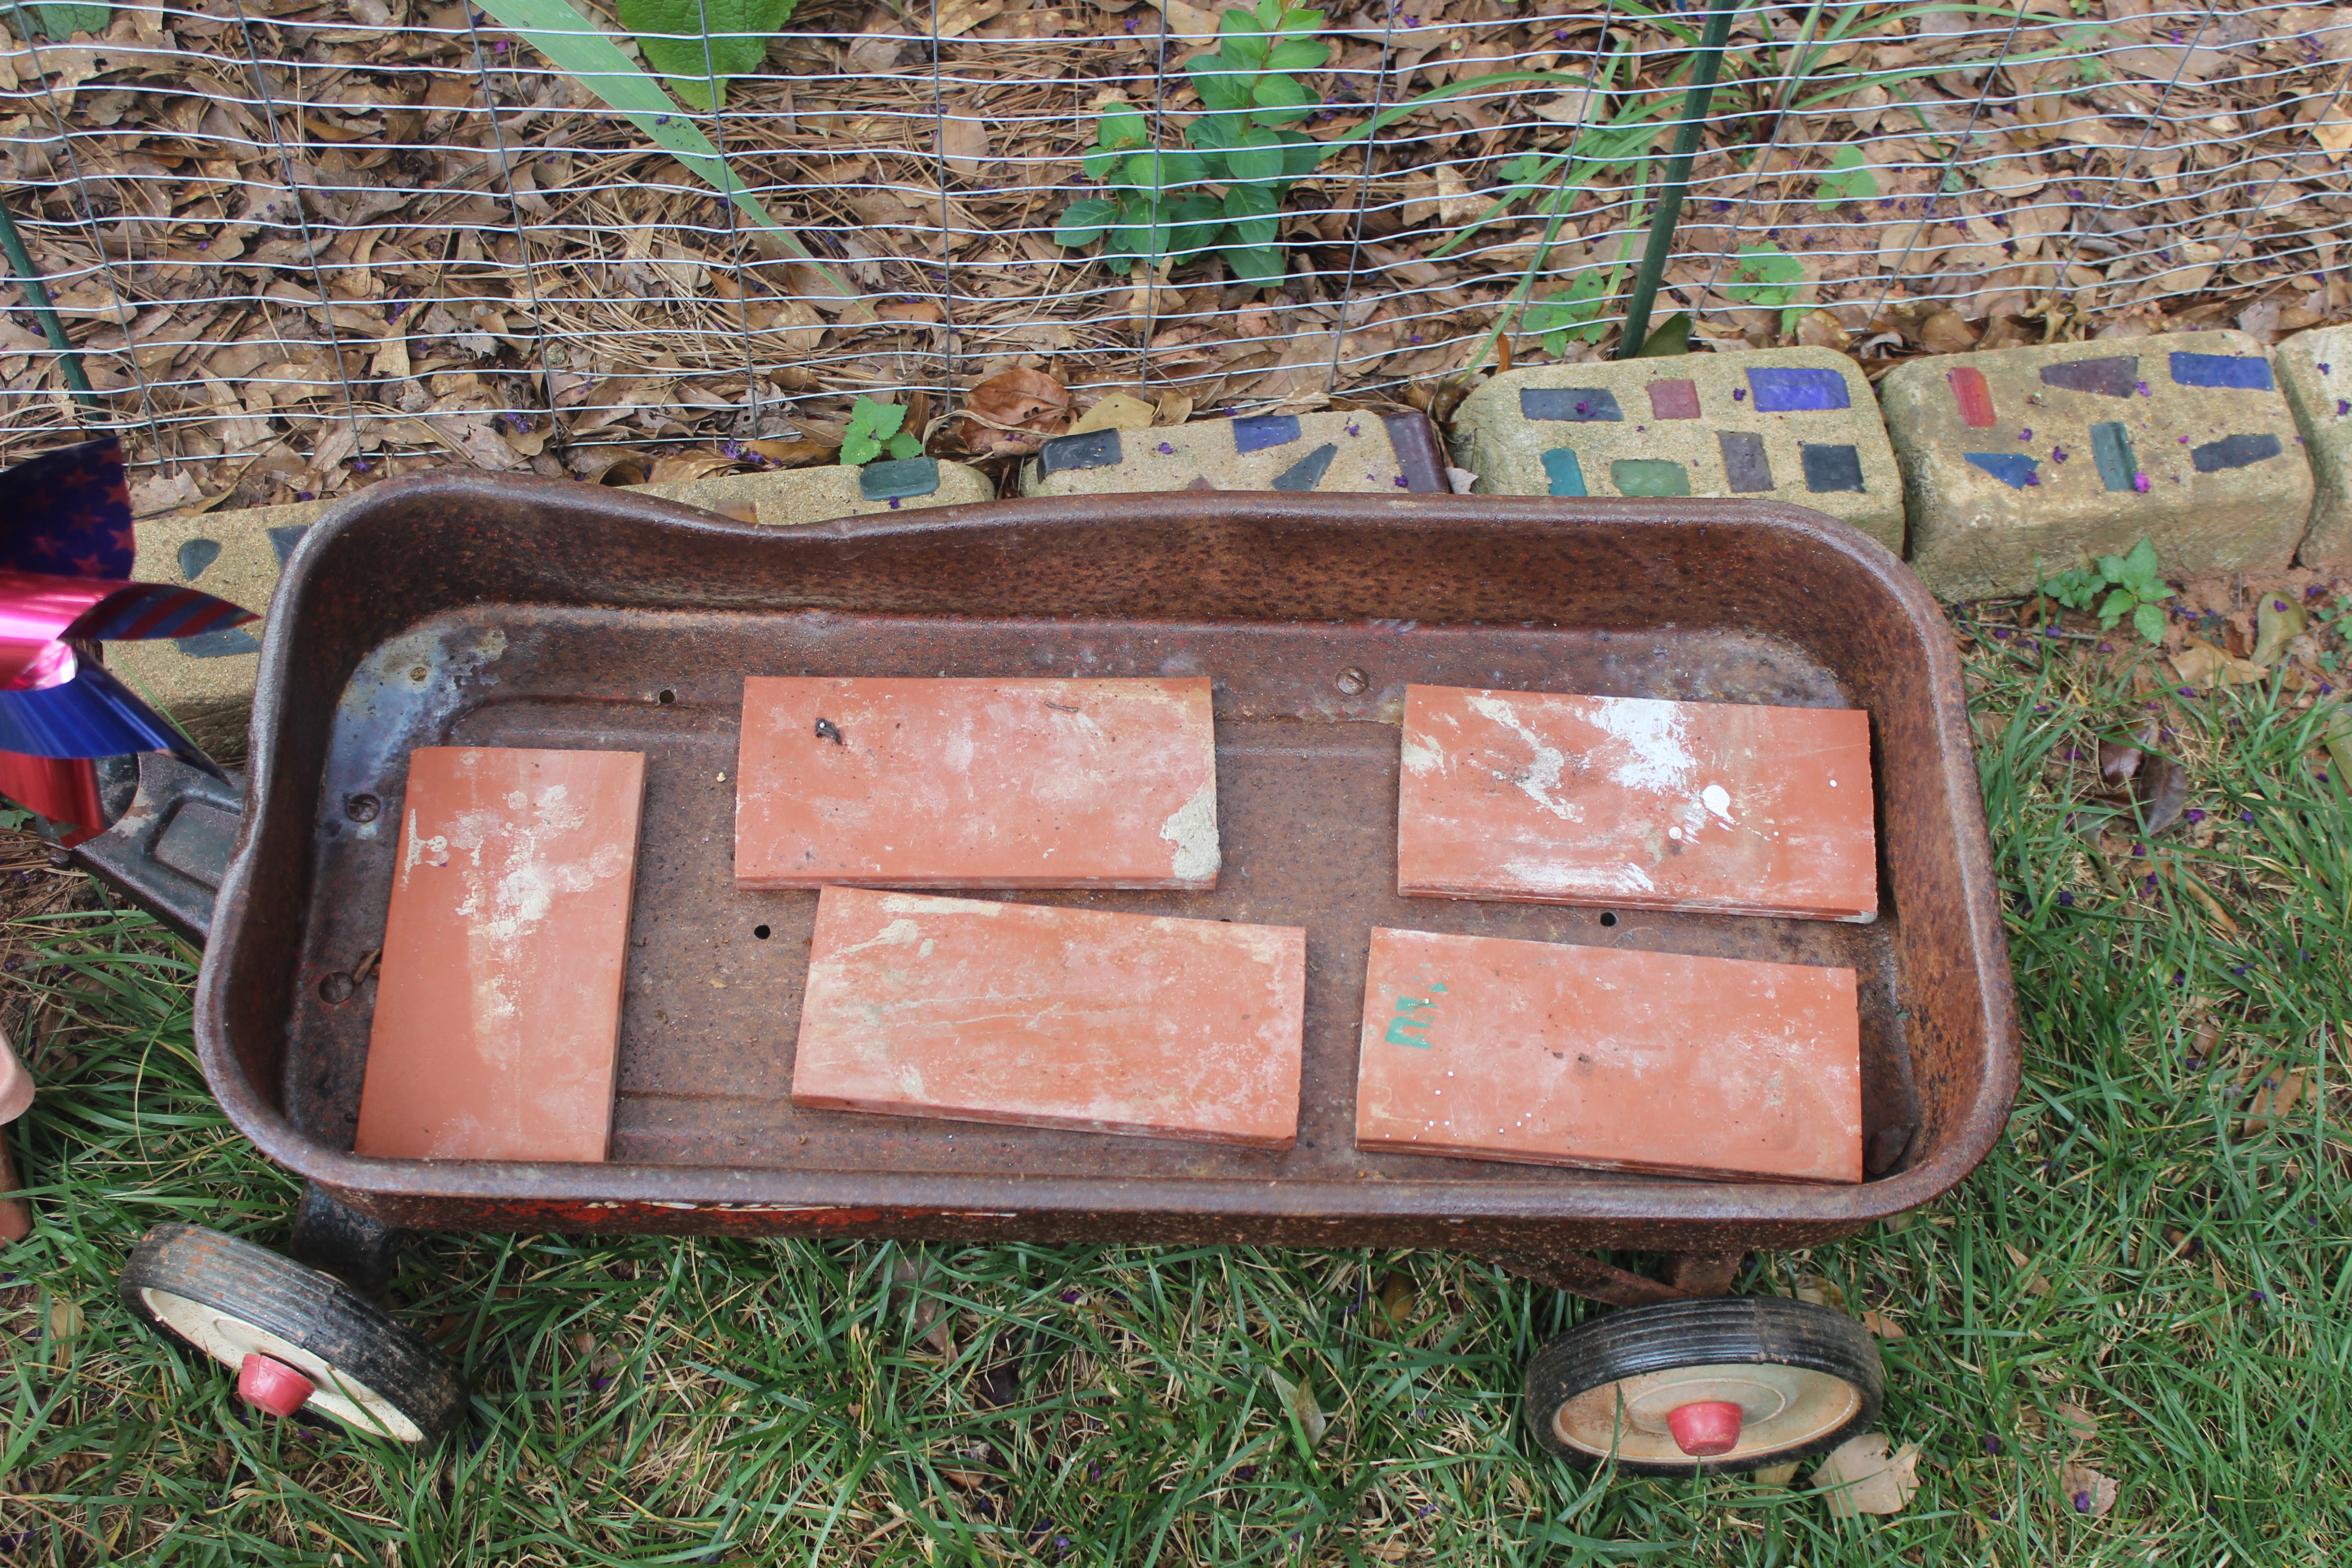
I just had to hold on to that little wagon, since it held so many memories for me.