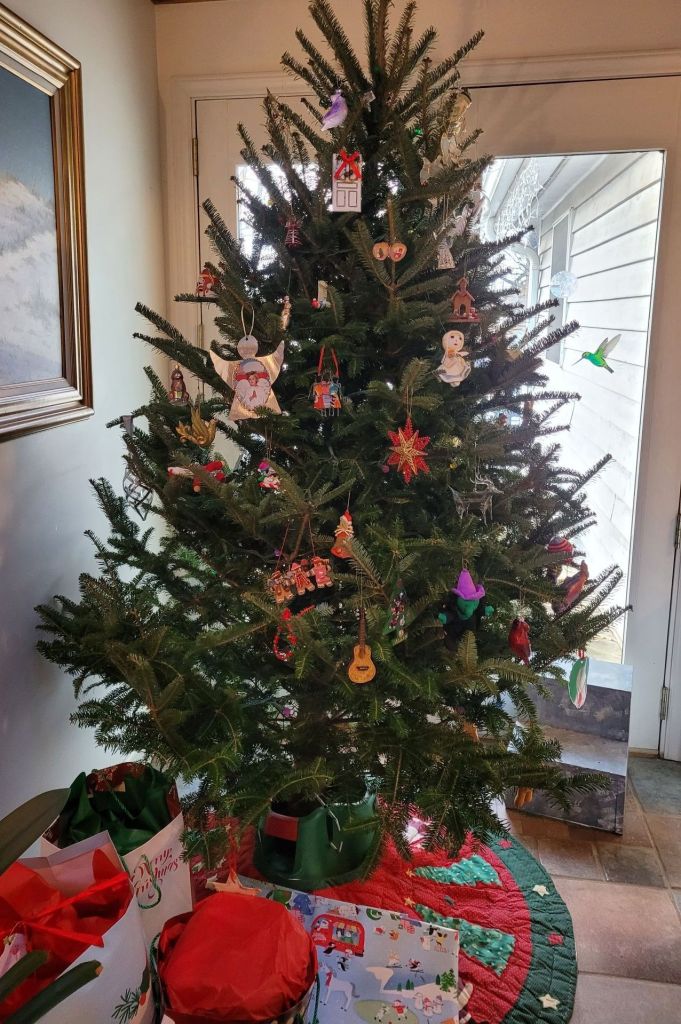
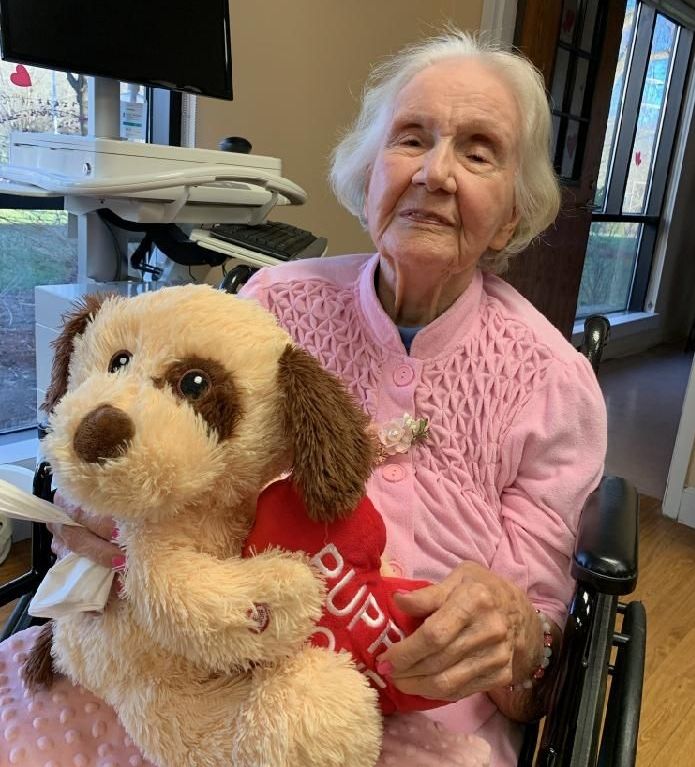
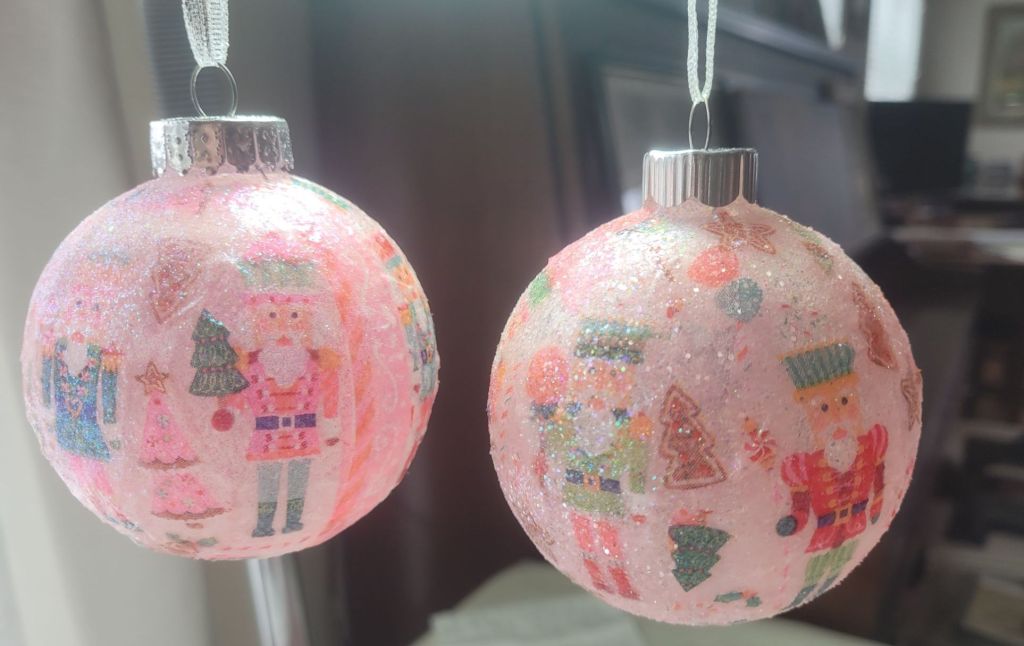
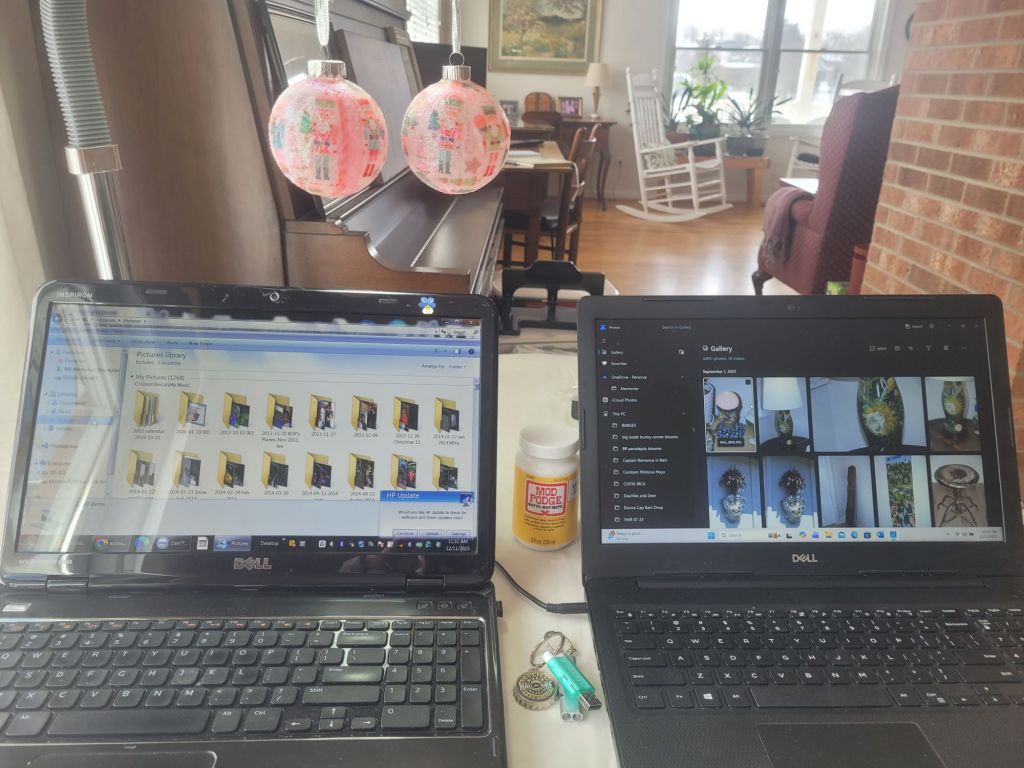
This will be our first Christmas without Mama. I am making memorial ornaments for me and my sister. They are pink, Mama’s favorite color.


I will share the steps for doing this. You only need plain ornaments, decorative napkins, glue, foam paint brushes, glitter and scissors.
I use paper plates to contain the mess. This is a really messy project. That’s why I love it!
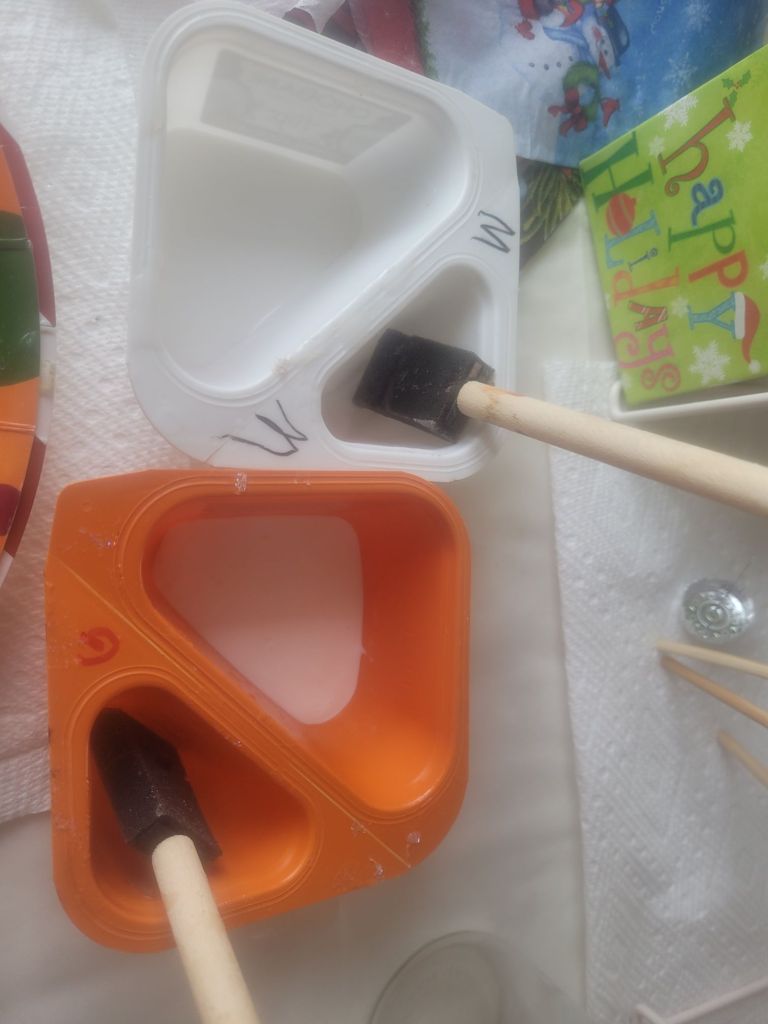
Used yogurt containers, Choboni flip and Qui, are great for glue and water. I labeled my glue containers M for matte and G for gloss. I have used both so you can see the difference.
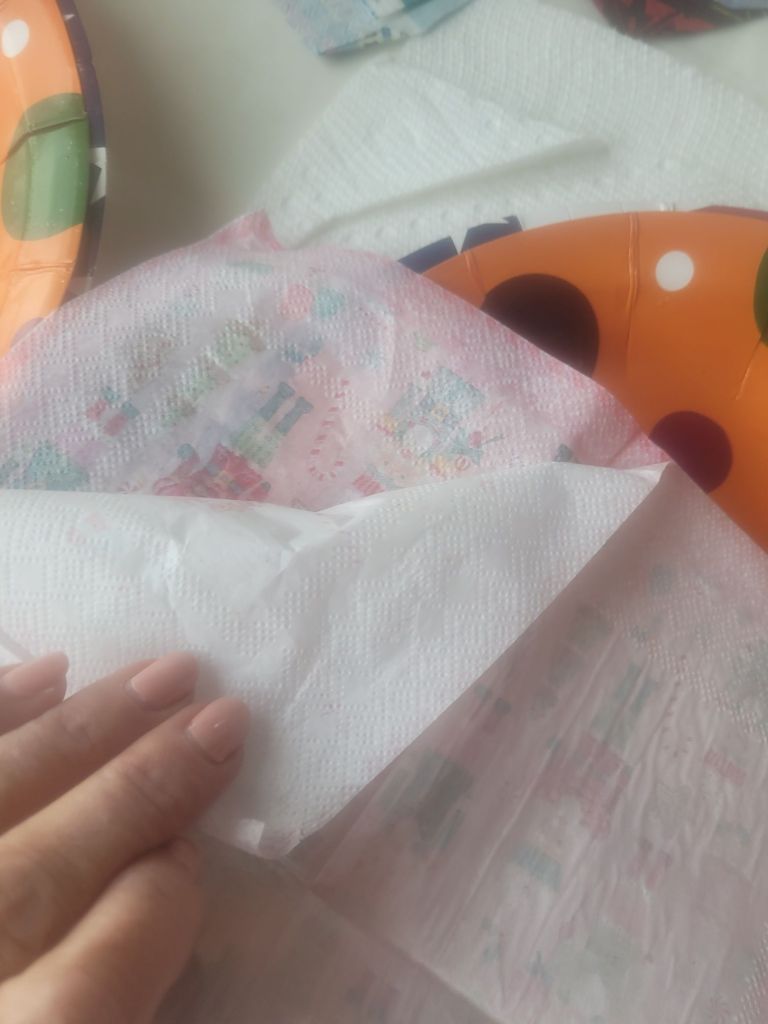
Peel the back two layers off your napkins. Save these for cleaning up.
Also remove the top hanger of the ornaments. Do not lose these in the mess!
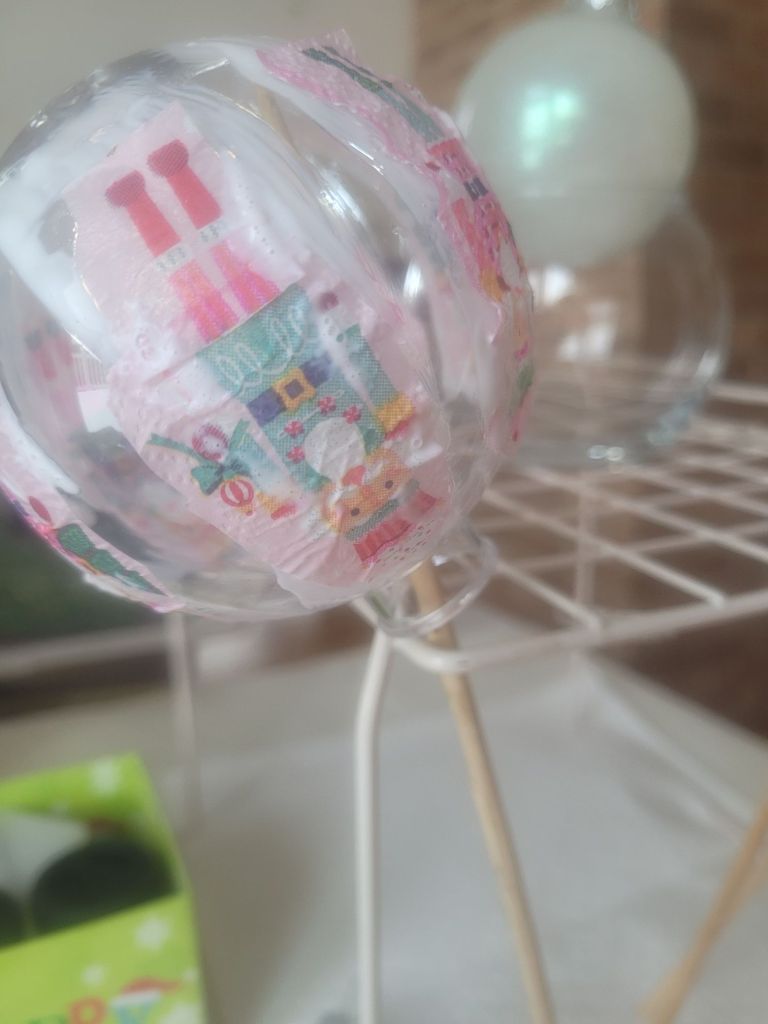
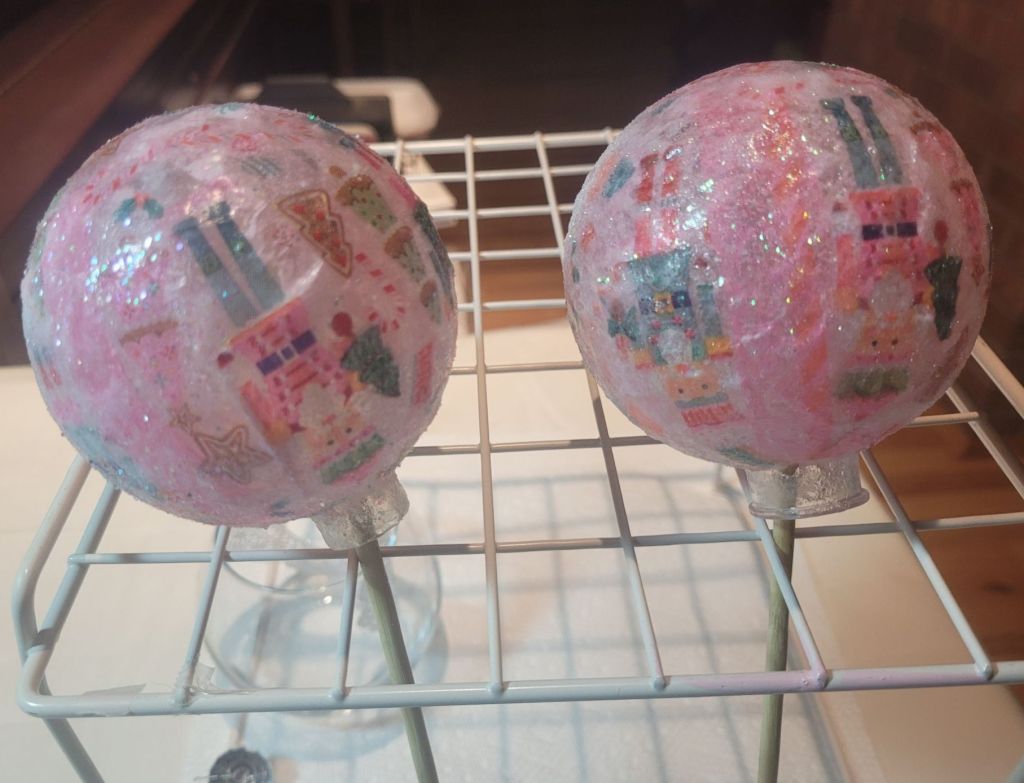
I stick shewers and my fingers in the top holes to hold the balls.
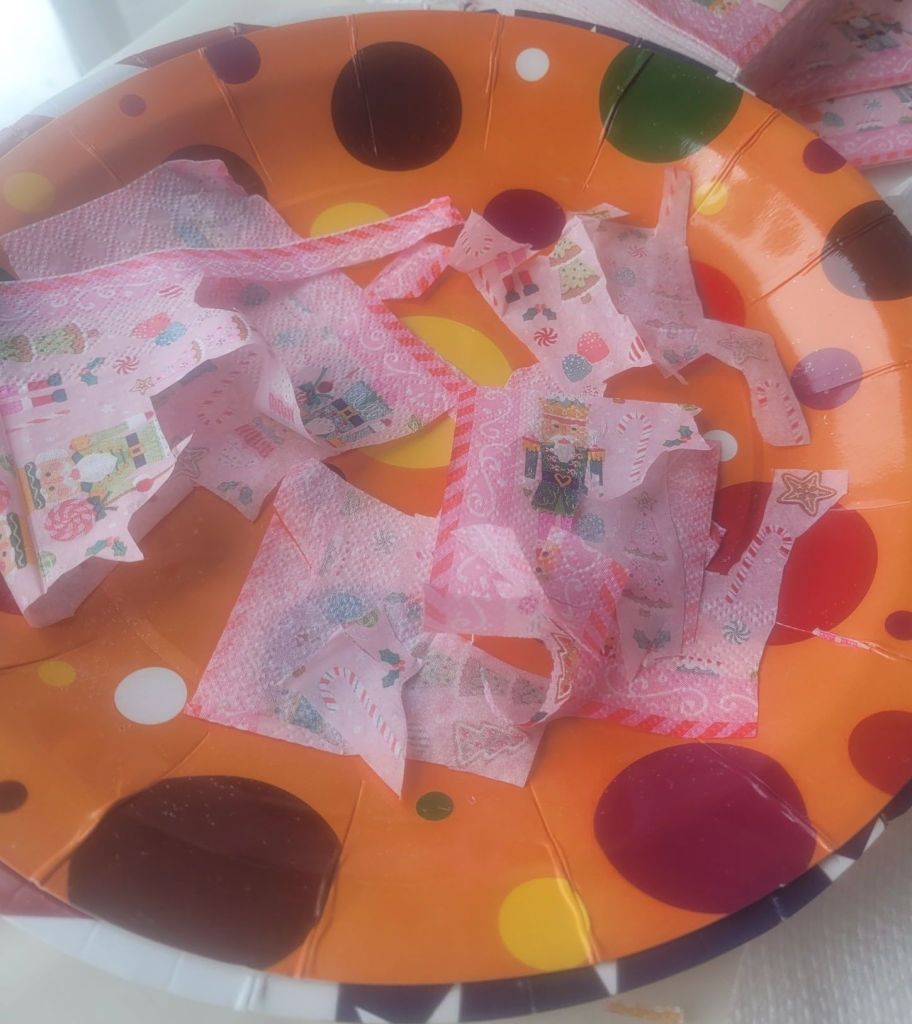
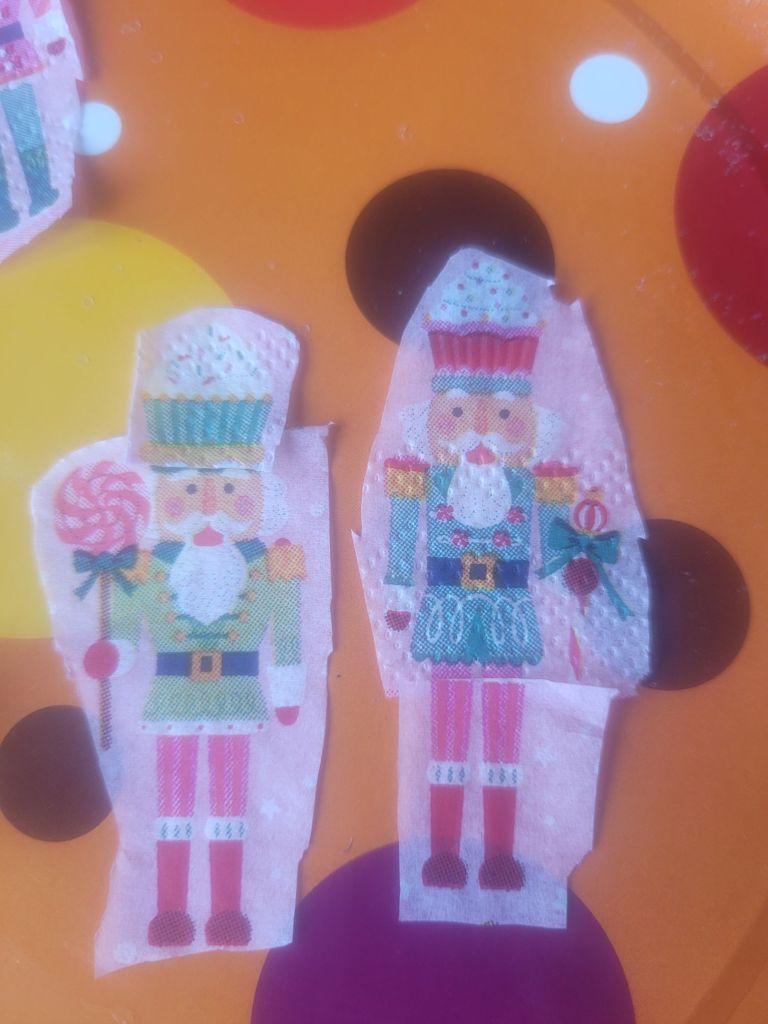
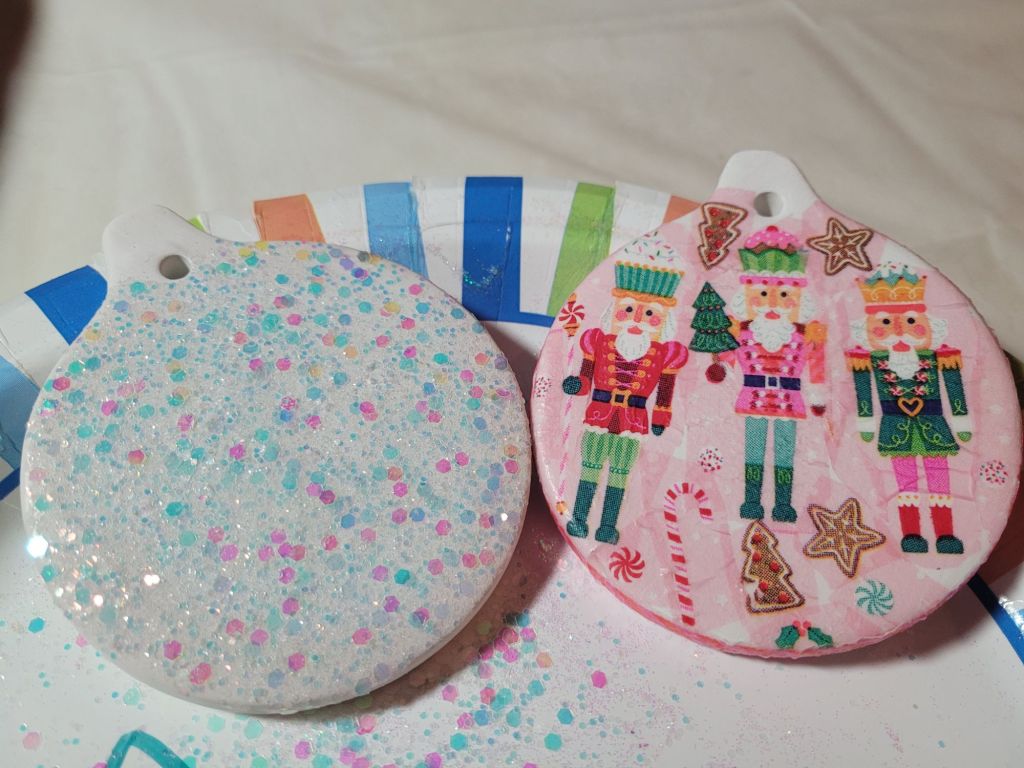
Cut out the central designs to be featured on your ornament. These go on first. Plan your spacing and arranging.
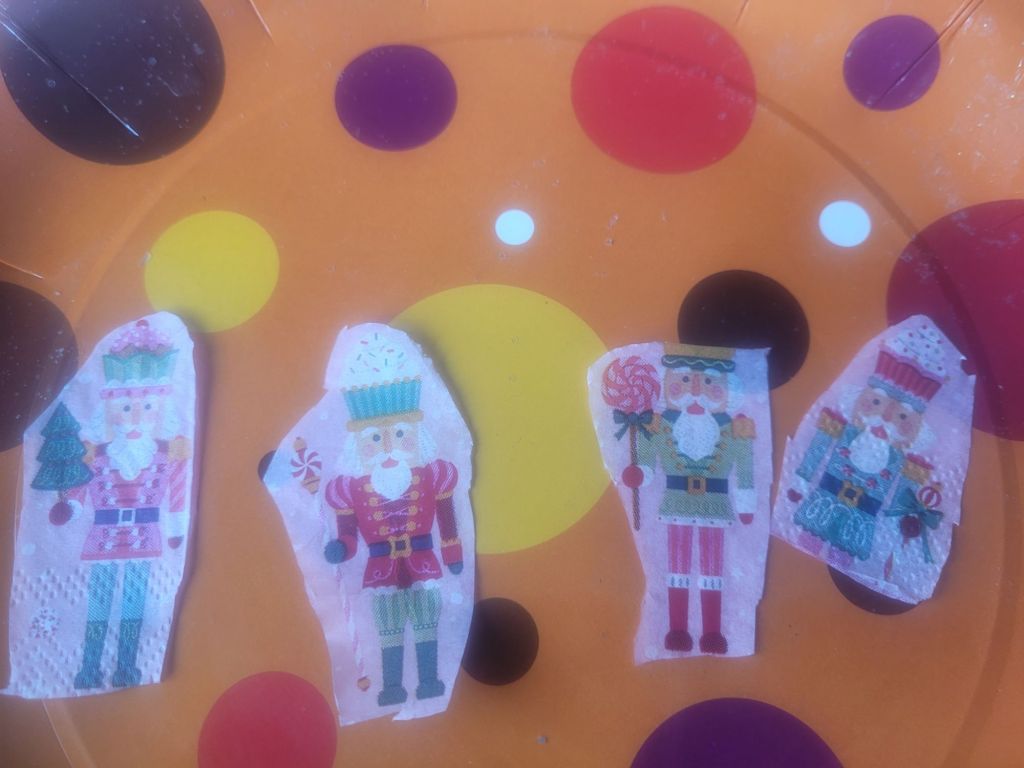
Sometimes parts get cut off and must be replaced, like little paper Frankensteins.
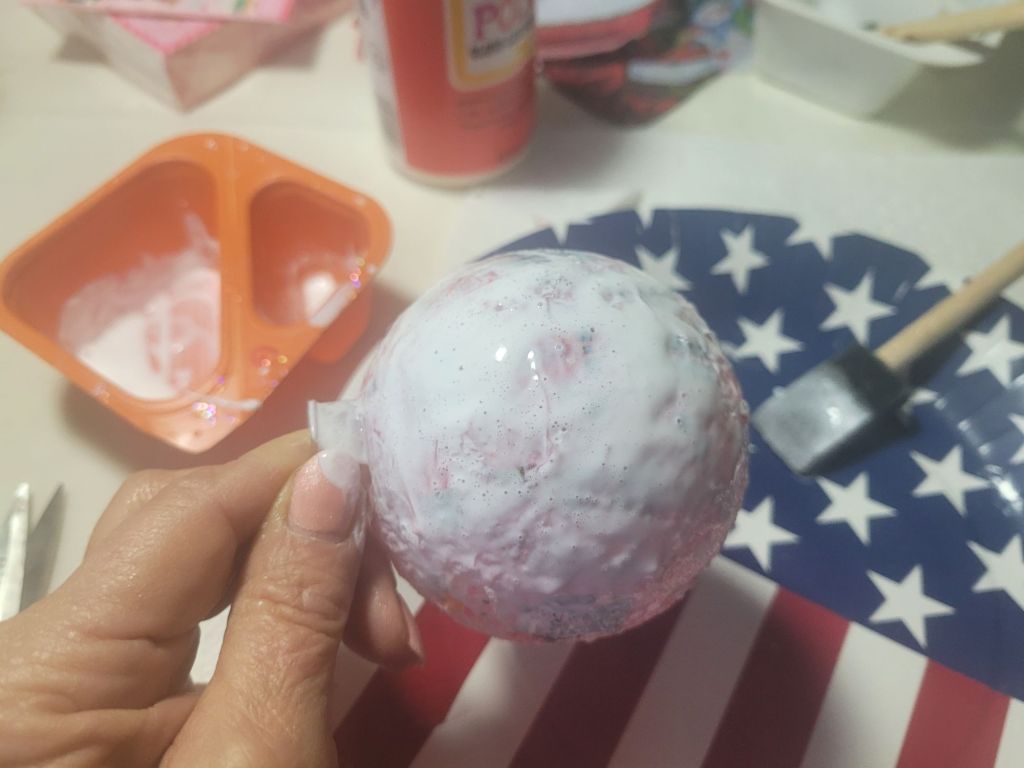
Then either hang or perch them on something to dry. This means leave them alone for a bit. Repeat again until totally covered.
If this were a Decoupage Party it would be time for Mimosas and snacks. Since I am alone, I am using the down time to write steps as I go. Pausing is hard for me.
Now use the napkin scraps to fill in the blank parts of the ornament. Overlap as little as possible. Glitter and glue will cover the booboos.
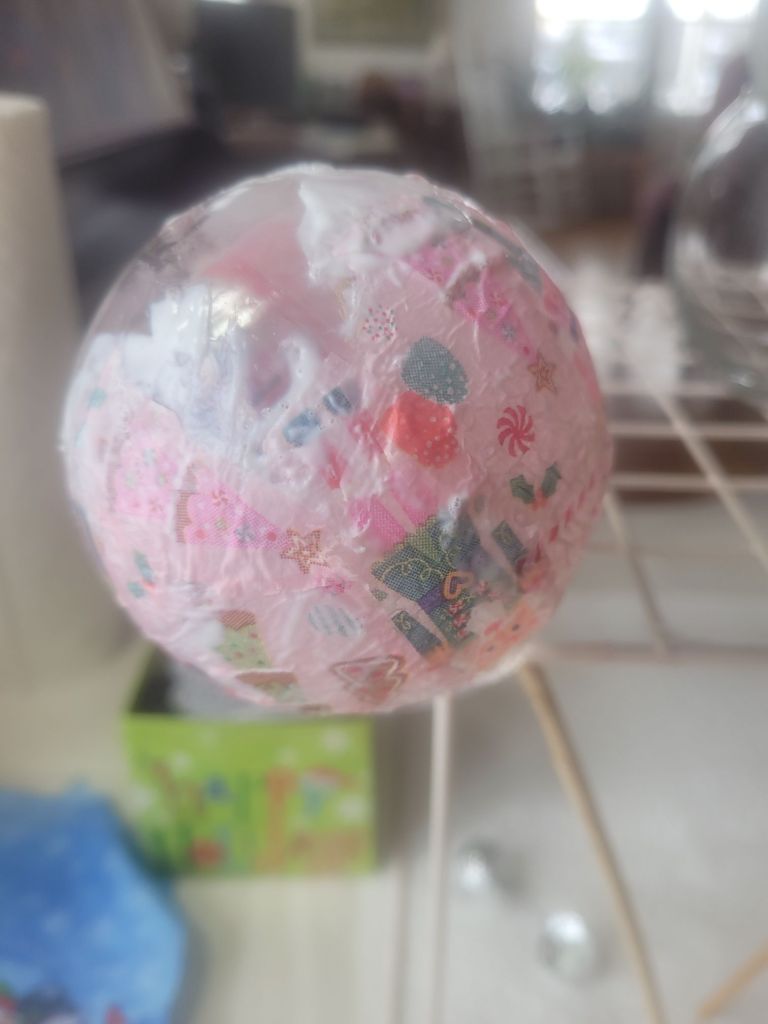
Lastly, you cover any bare sections with custom cut pieces of plain background from the waste left from the napkins.
Let’s talk glitter. It is possible to do a perfect job of decoupage and ruin it with the wrong glitter. Very detailed designs need white, extra fine glitter. Do not use irridescent unless you want to add color, or there is a simple design, or lots of repetition or you want to cover up some ugly. Some shaggy irridescent glitter totally blocks the design
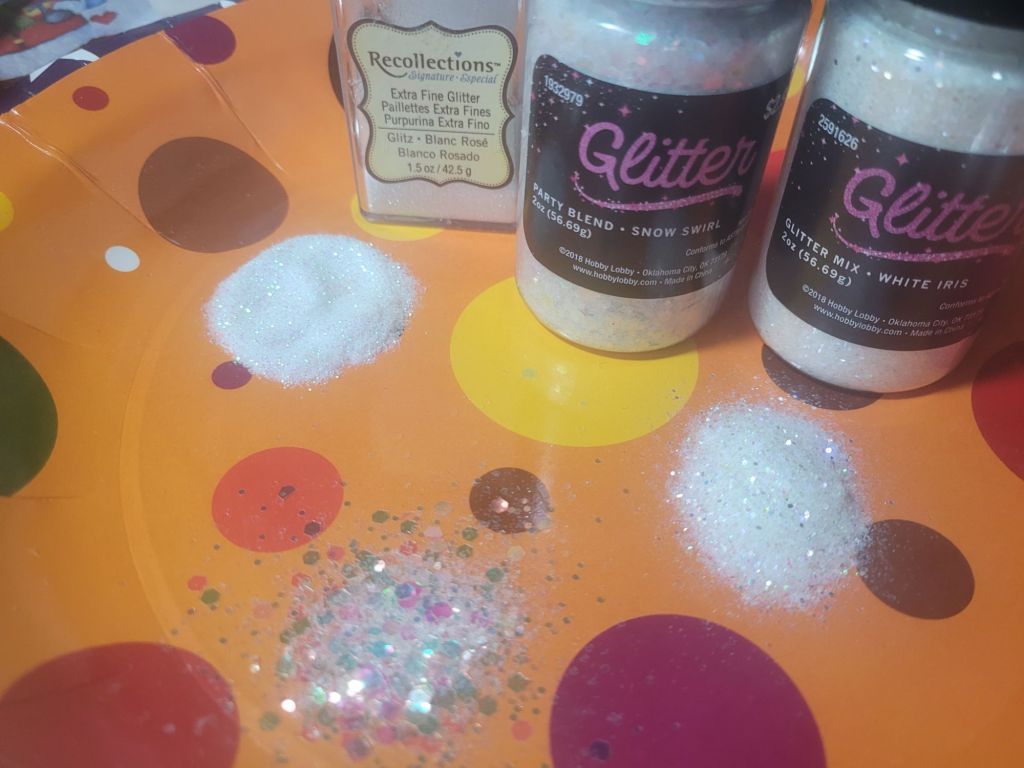
Party Blend or bling should be used on plain ornaments as a featured texturizer.
I usually save all residual glitter and mix it on the last ornament. I hate the ball glitter. It rolls. Do not buy it…ever.
Let the completed ornaments dry over-night. I usually use clear spray to seal these, but don’t have any here.
Warning, if you sigh alot or sneeze, this may NOT be the craft project for you. I am a sigher and usually send tiny pieces of napkins and glitter all over.
FLOW